Hitbox file
is a PNG image with transparency that is used to determine the custom level gameplay.
Table of contents
Understanding the basics of hitboxes
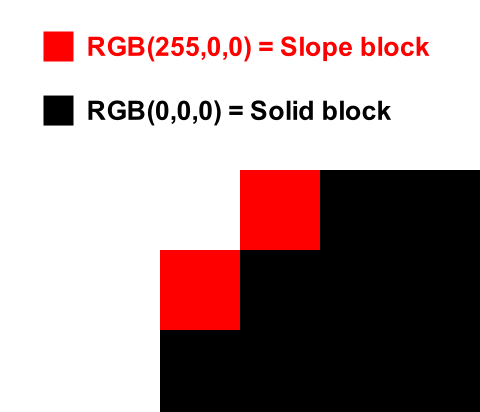
The hitboxes are determined by the pixels that you will draw on the image file, each color has a different use and logic that can be used for plentiful of platforming or behaviours.
Level image
This image file (called level) can be found in the root folder of your level. The level file resolution needs to be specifically 780 by 585 pixels because the game needs a grid (13 columns by 13 rows) to determine the hitboxes for each screen.
Level image not found (using Worldsmith)
- Open your project.
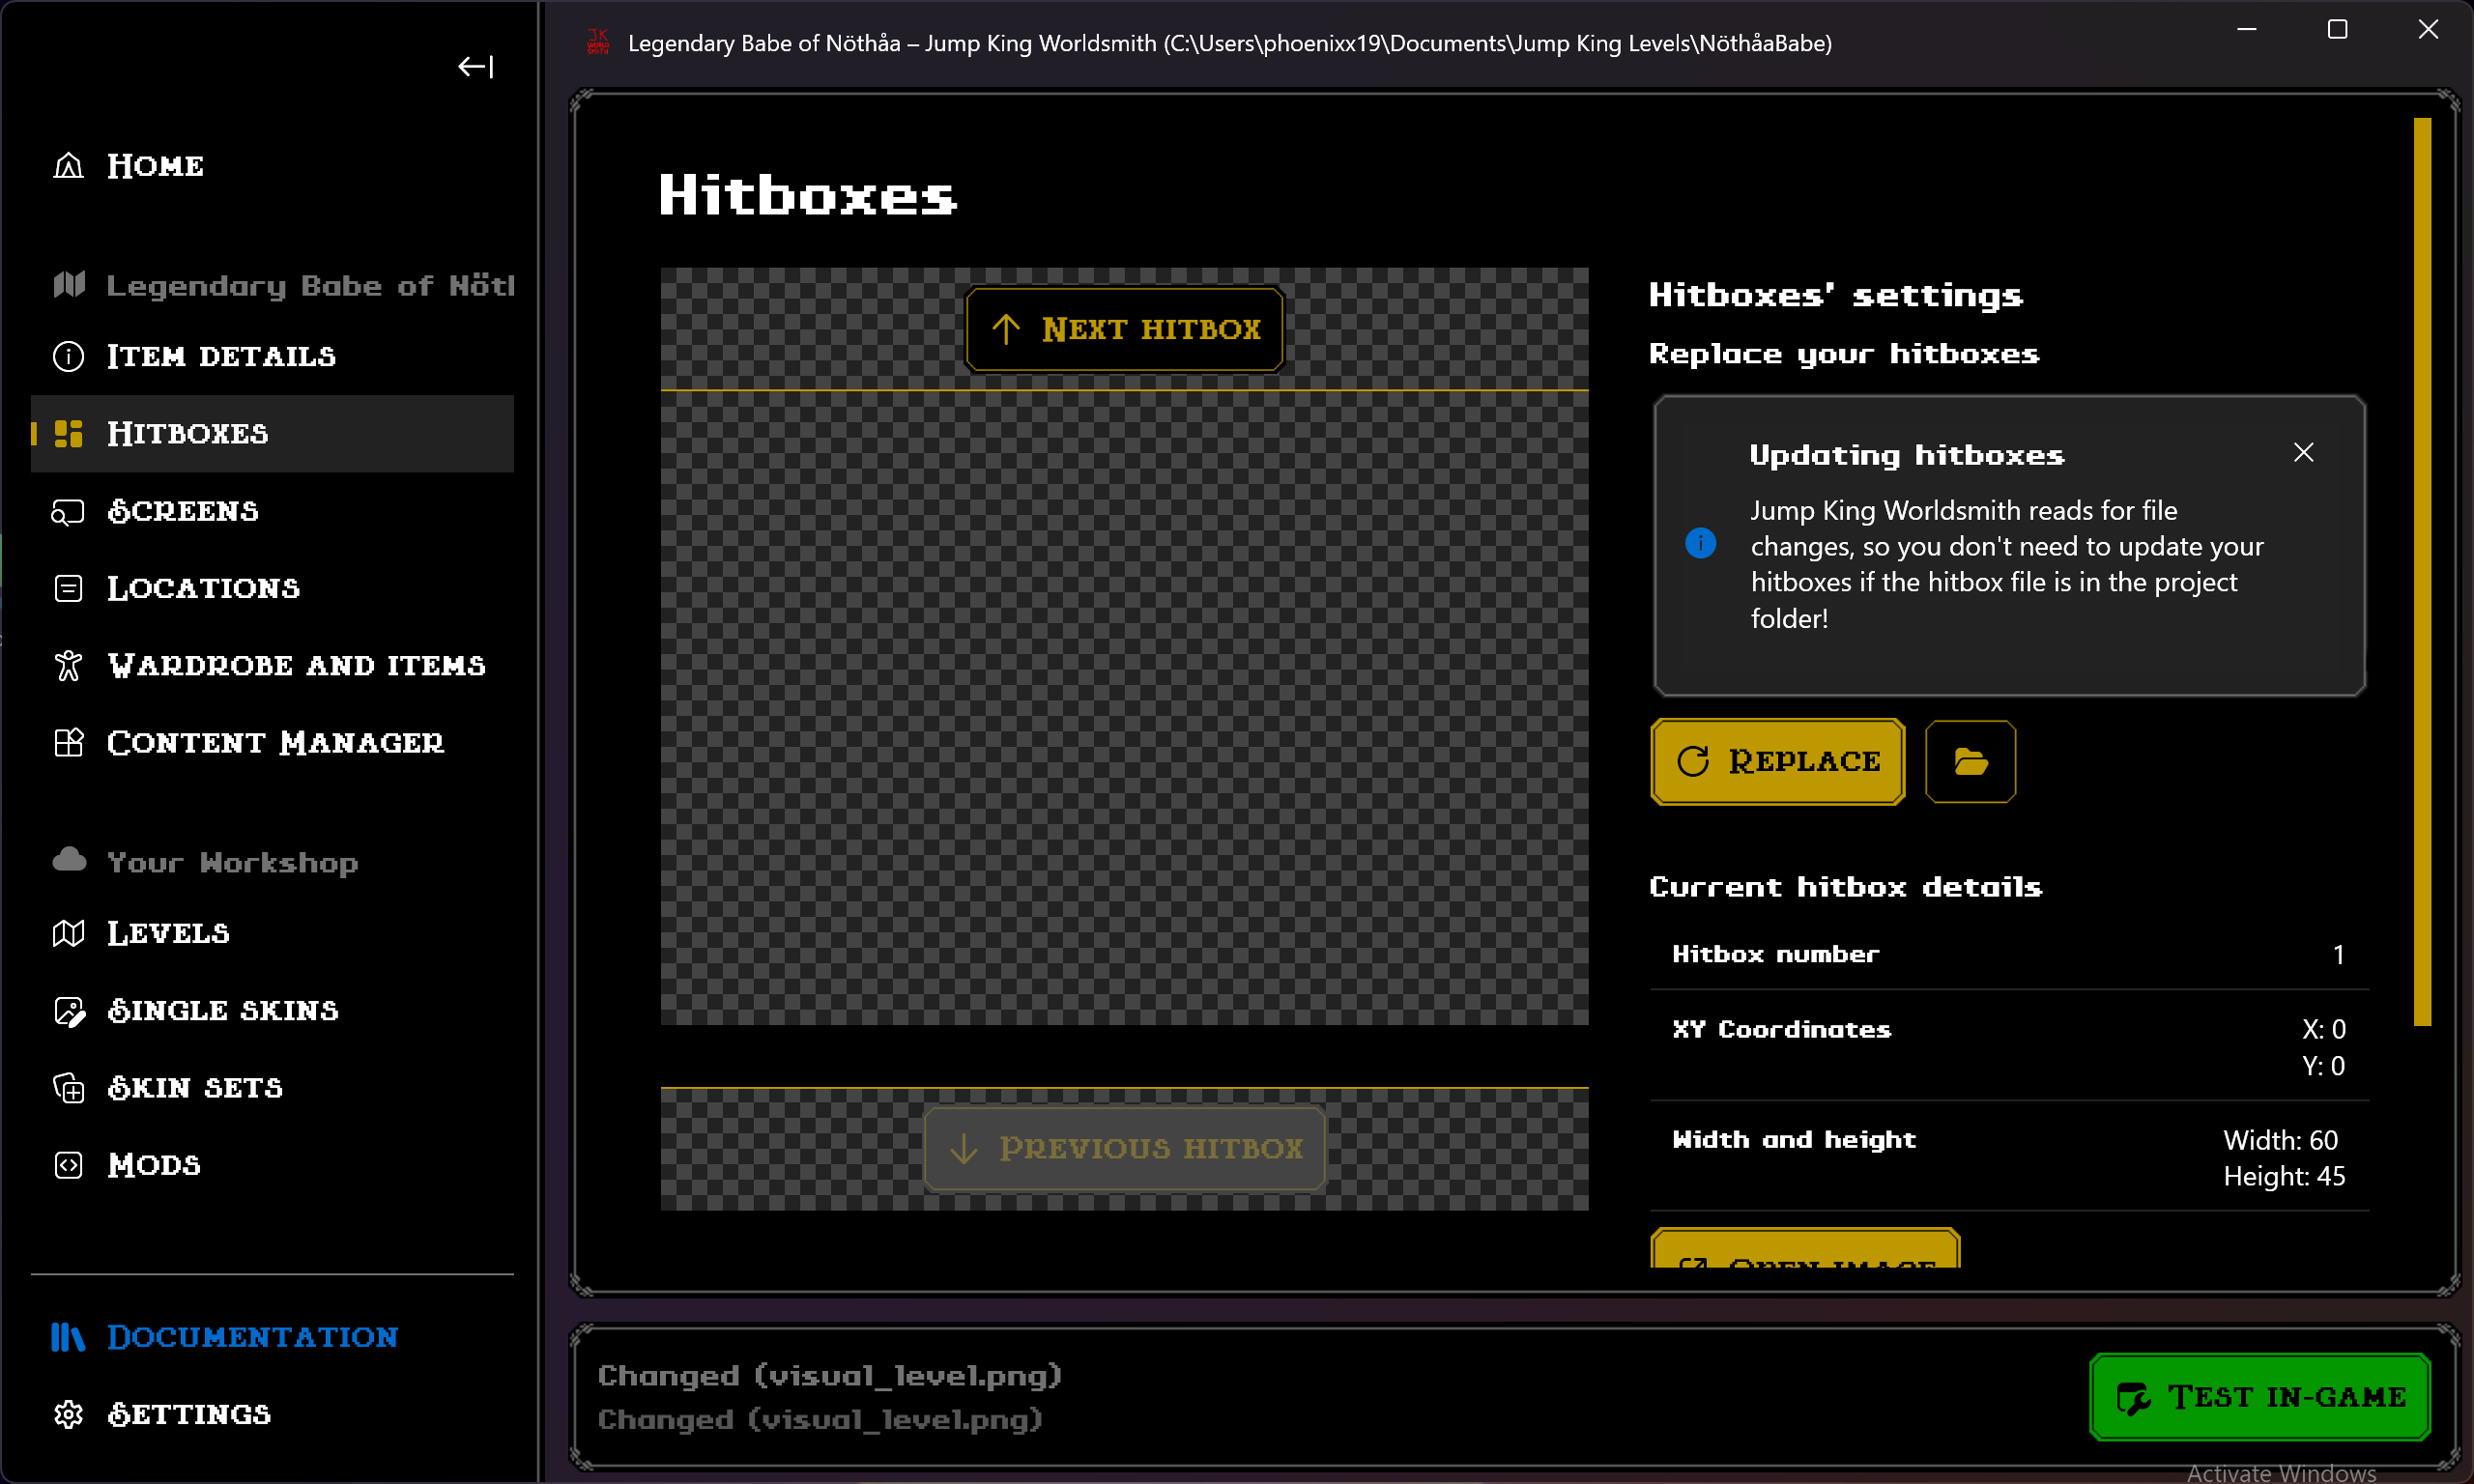
Navigate to the Hitboxes page.
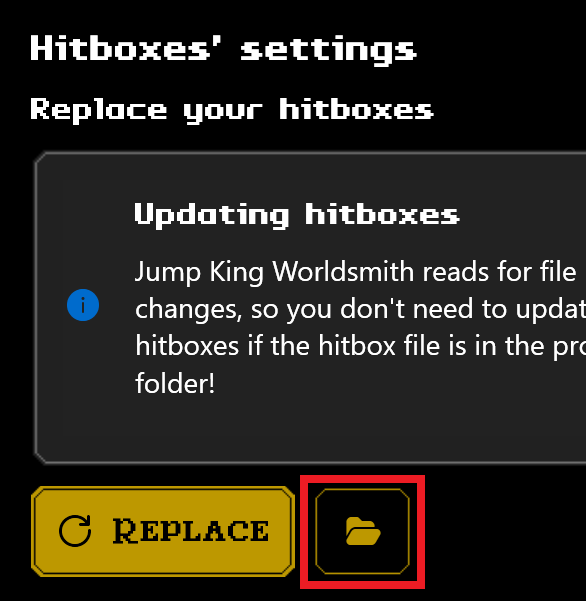
Your file will be generated now, you can click on the button with folder icon to open your level’s folder.
Here’s an example of how hitboxes look on the level image file:
From the example shown, every screen is ordered by column starting from top to bottom.
Visual level image (Worldsmith only!)
If you are using Worldsmith, you will also find a visual_level file in your level’s folder. The visual_level file resolution needs to be specifically 60 by 7605 pixels, 1 column with 169 rows. This should be the same as your level file but reorganized in a more “usable” state.
Since Jump King uses the level file, Worldsmith will automatically build the level file for you.
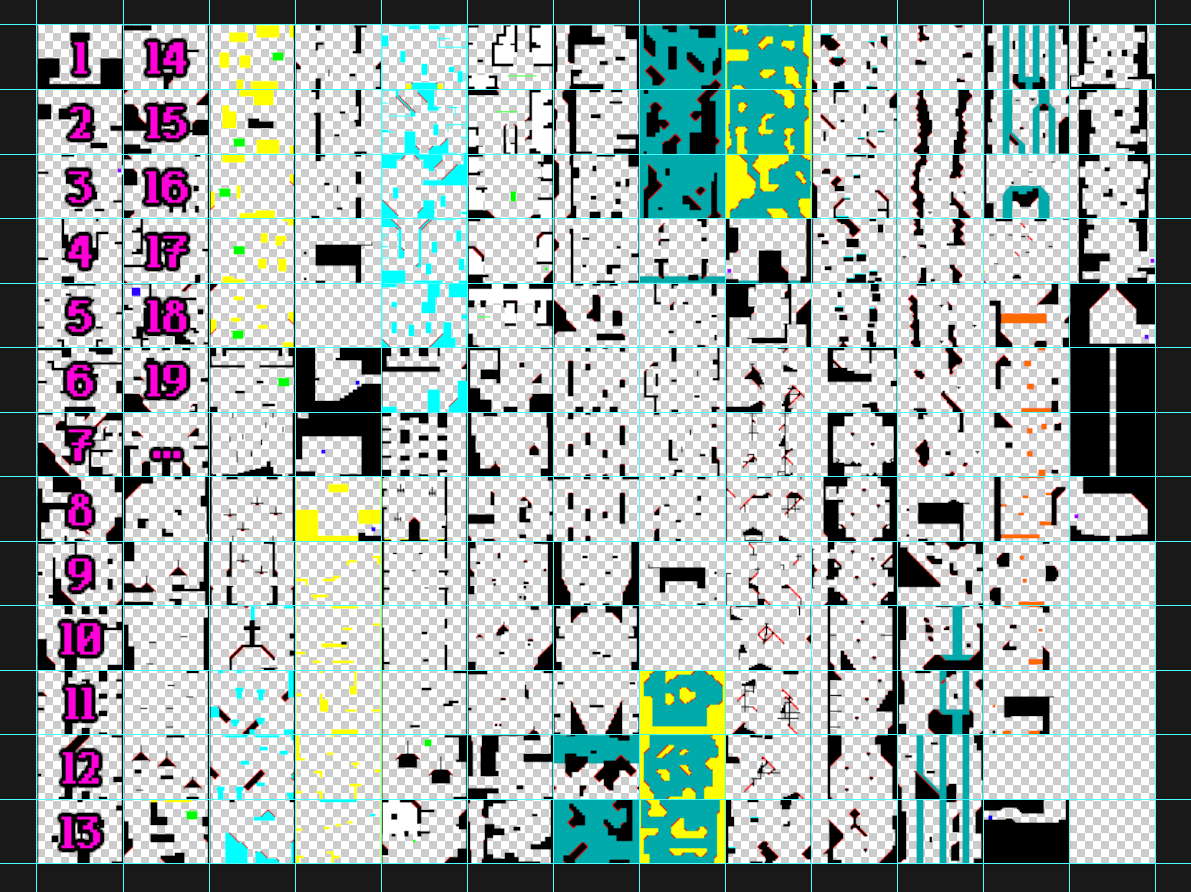
Here’s an example of how hitboxes look on the visual_level image file:

From the example shown, every screen starts from bottom to top.
Common similarities
Regardless their differences, both level and visual_level images share some common similarities:
- Each screen is sized 60 by 45 pixels meaning that 1 pixel on the hitbox equals to 8 pixels in-game. (since the screen size for other details is 480 by 360 pixels).
- The current total amount of possible screens is 169.
Take in mind what the screen number is from the examples above, since this will get heavily used in the next chapters.
Following the common screen size, you can add an helper grid (with whatever tool you chose to draw hitboxes) to help you find easily the hitbox of your screen without overflowing into a new one.
Modifying the hitboxes
Open your visual_level file with your pixel-art software of choice. You can easily open its folder by clicking the folder button in the Hitboxes page.
Edit your hitboxes freely.
Once you’ve deemed it worth a try, save your changes using your pixel-art software of choice. Once saving, Worldsmith should be automatically building your hitboxes.
If you have the game closed, click Test In-game in the bottom-right corner of Worldsmith.
If your game was already open from testing your level before, simply navigate to the pause menu and click Update and the new hitboxes should show up.
Next up
Even if the details you have planned look good, what matters more is the quality and fair of your hitboxes. Please give a read to some tricks and tips from JumpKingPlus’ veterans.
Read up on Starter Blocks then head to Screens.