Screens folder
contains textures such as background, foreground, midground, scrolling images and masks.
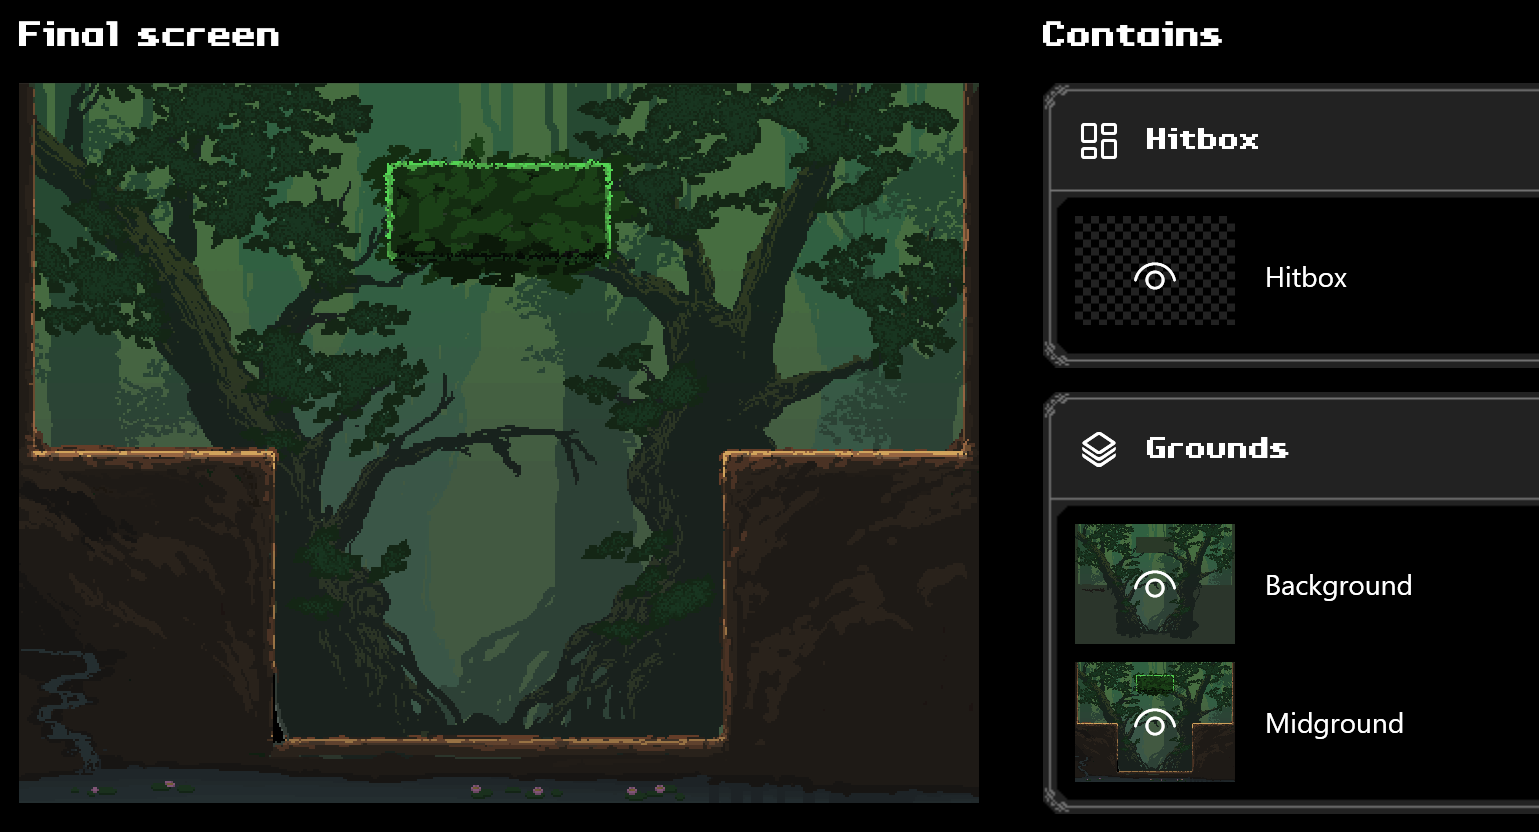
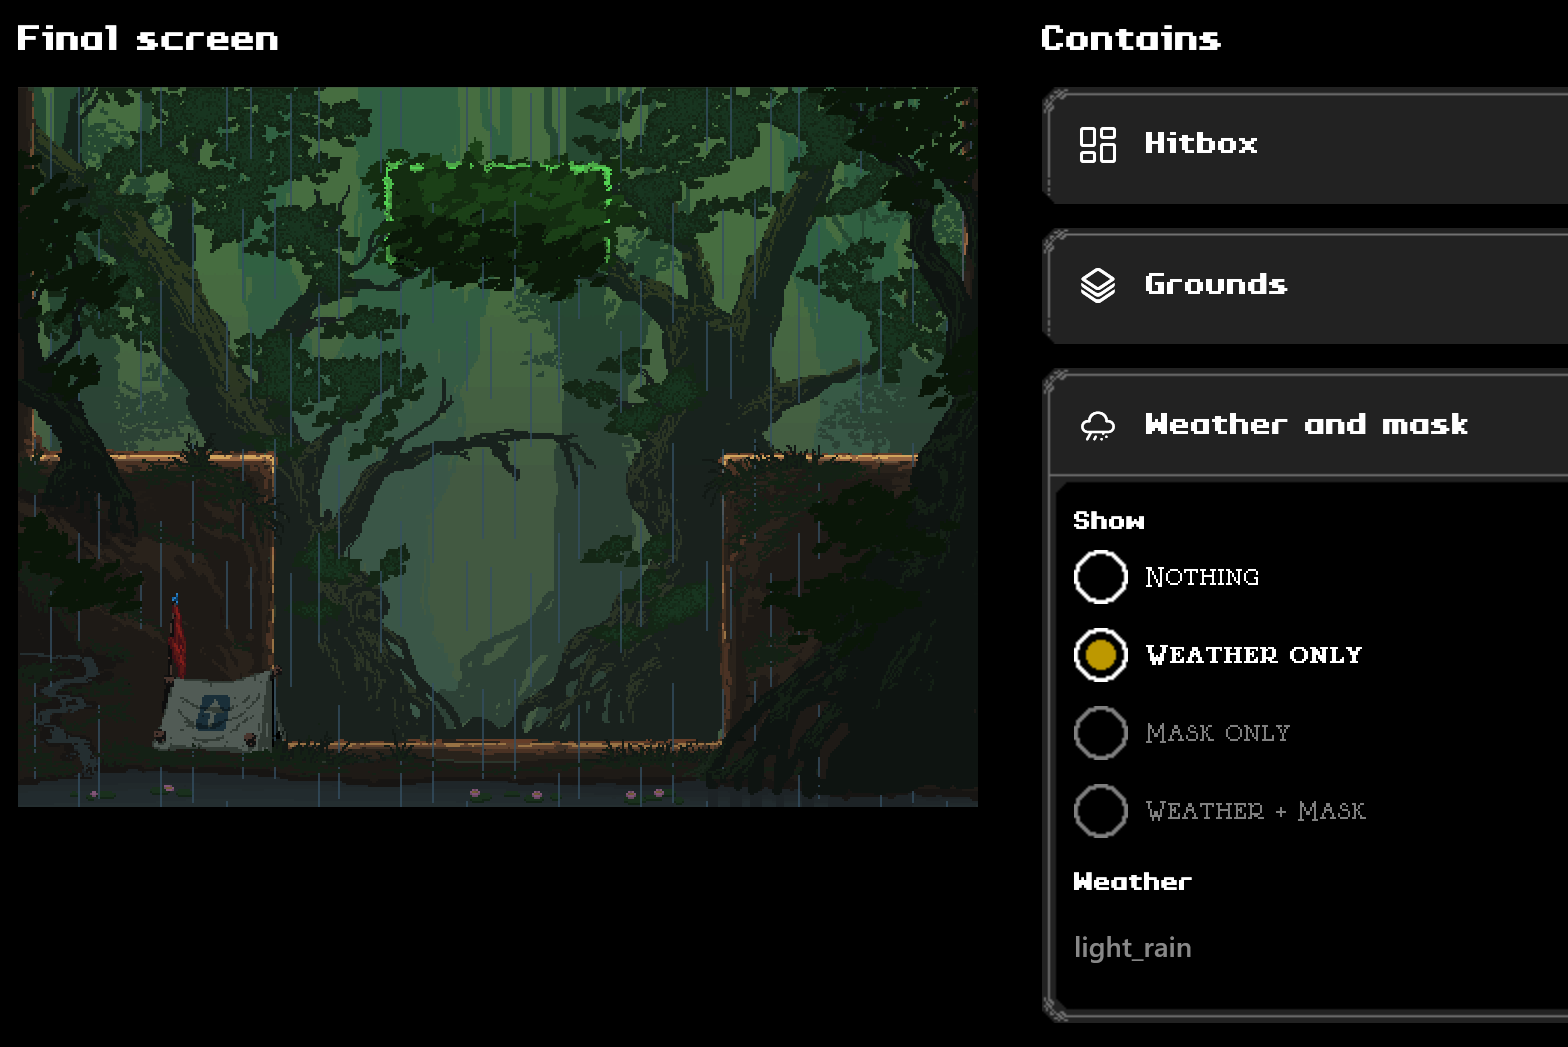
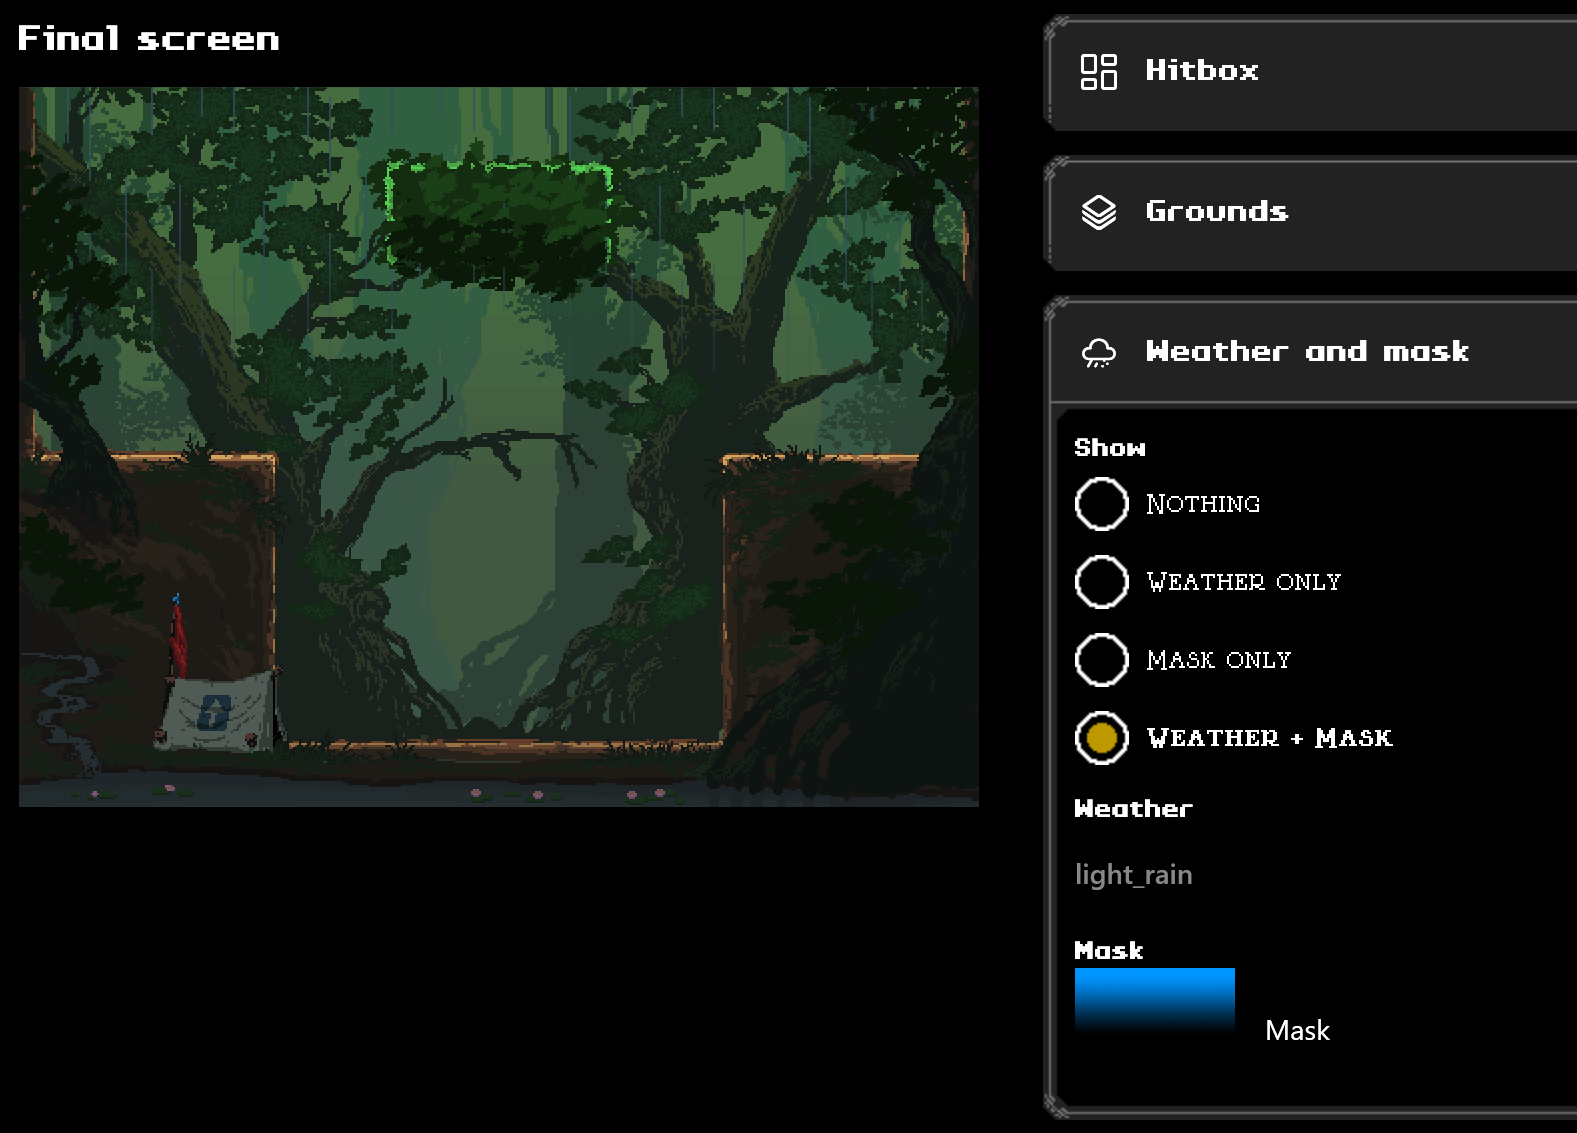
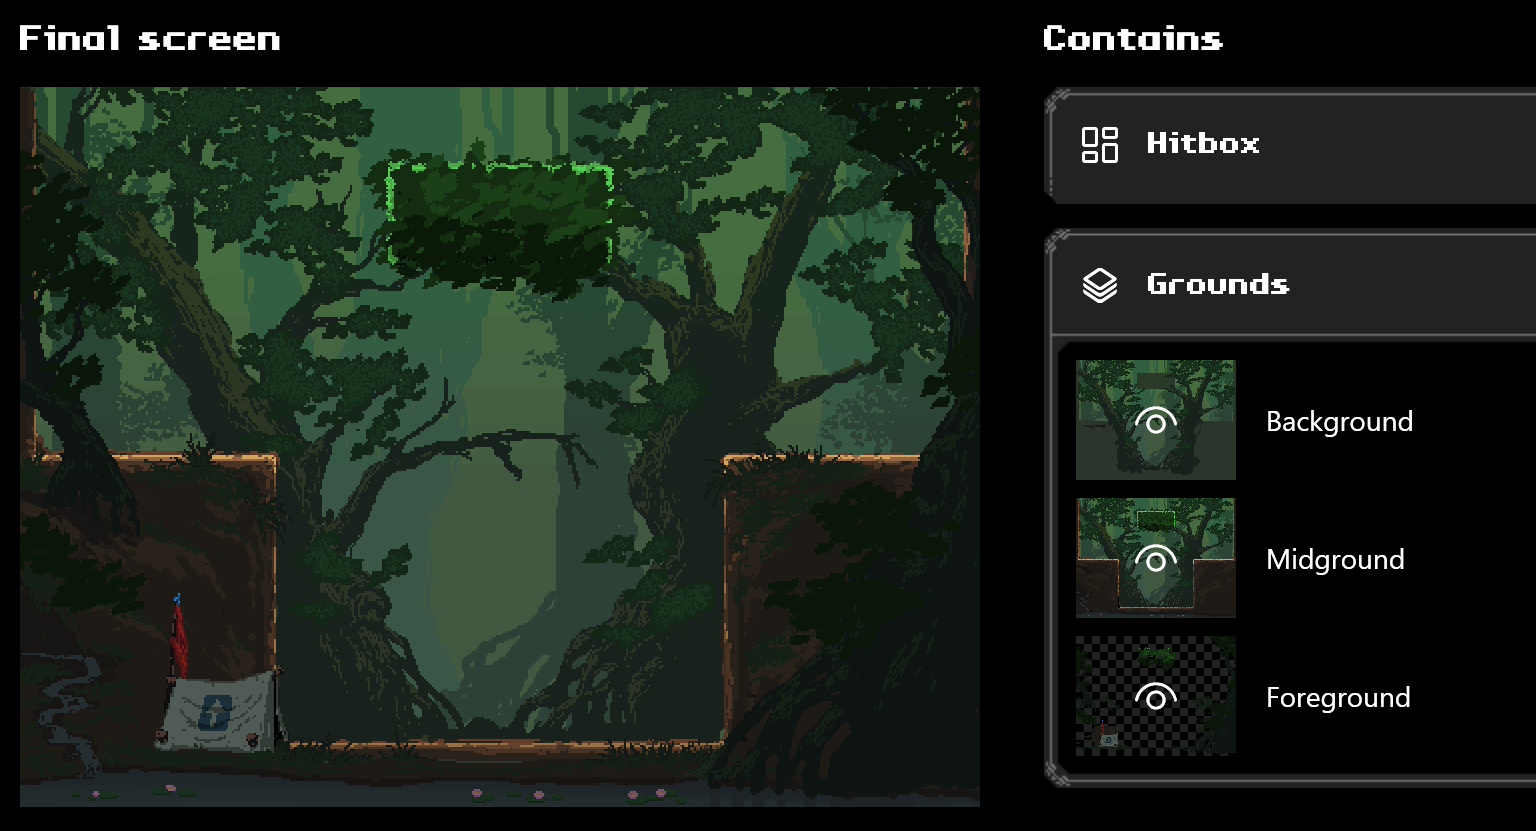
All of the layers of a screen can be merged to make a result like the example below (without counting the hidden wall because that’s a type of prop). Every layer has its own name, format and folder; hover on the image below and click on the image you want to know more about!
Image of contents


All the following details can be found inside the Screen page, therefore the documentation is omitting the unnecessary Screens page navigation on each step.
Background
At the lowest ground there’s the background.
The background is commonly used for skies or gradients to put on the back end of screens.
Adding a background
- Using the Go to screen… button or the up-down arrows, move to the screen you want to add a background.
Right-click on the preview on the left-side of the page, a context menu like the following should appear.
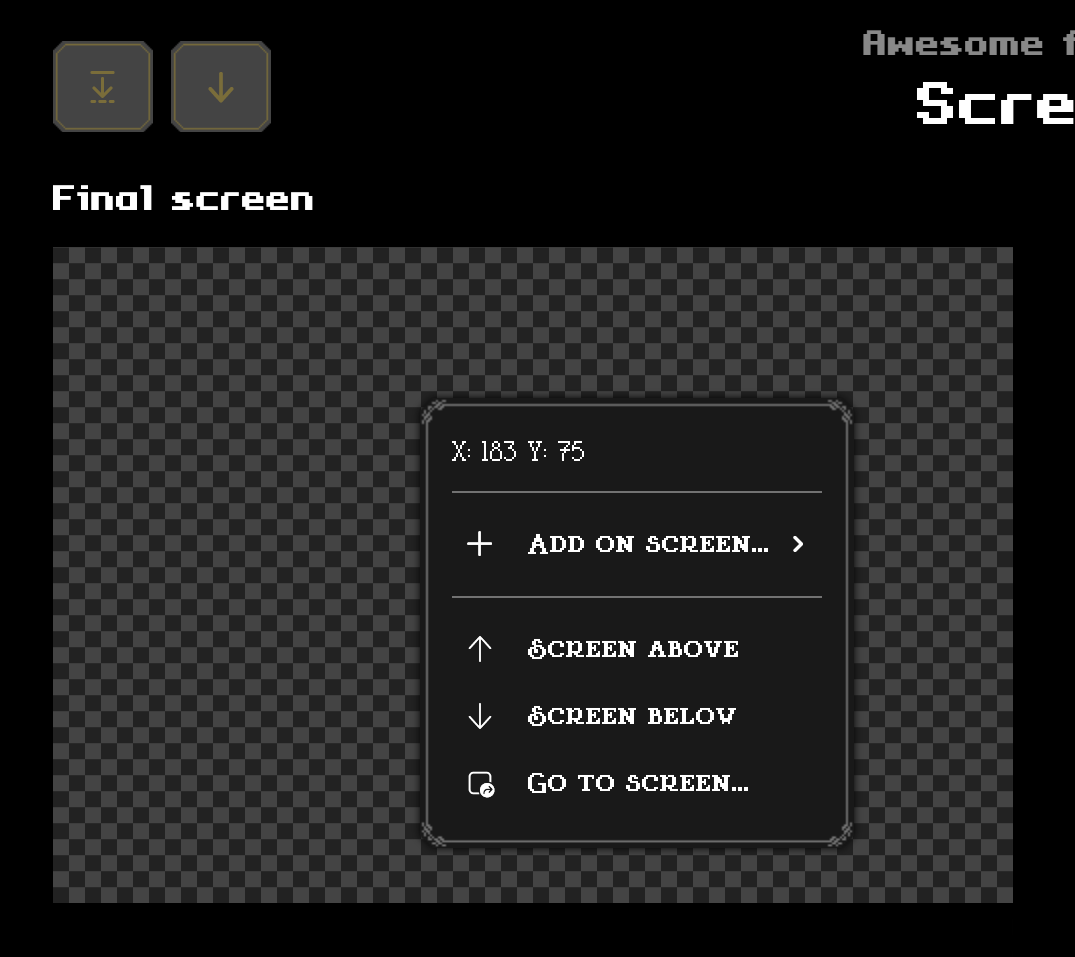
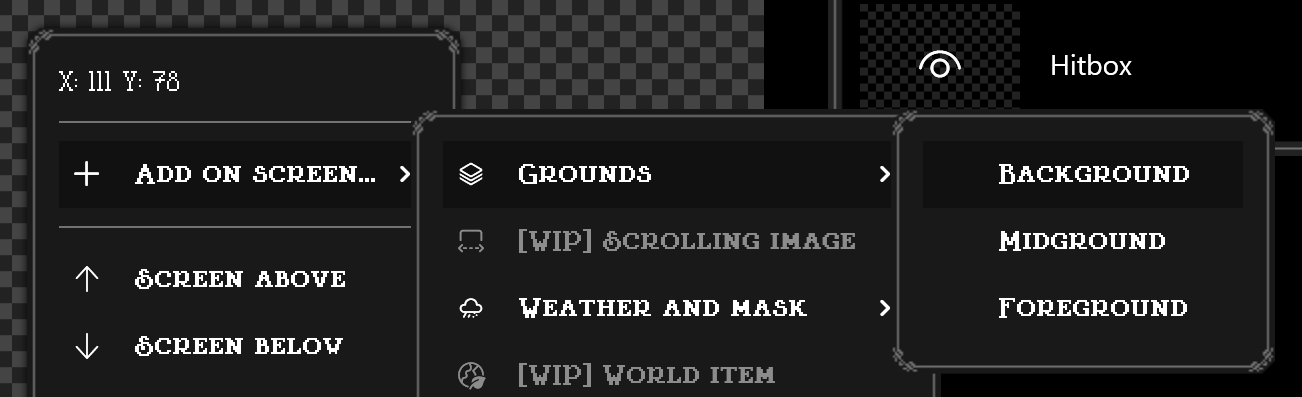
Navigate into Add on screen…, then Grounds, then click on Background.
Select your background image and click Open.
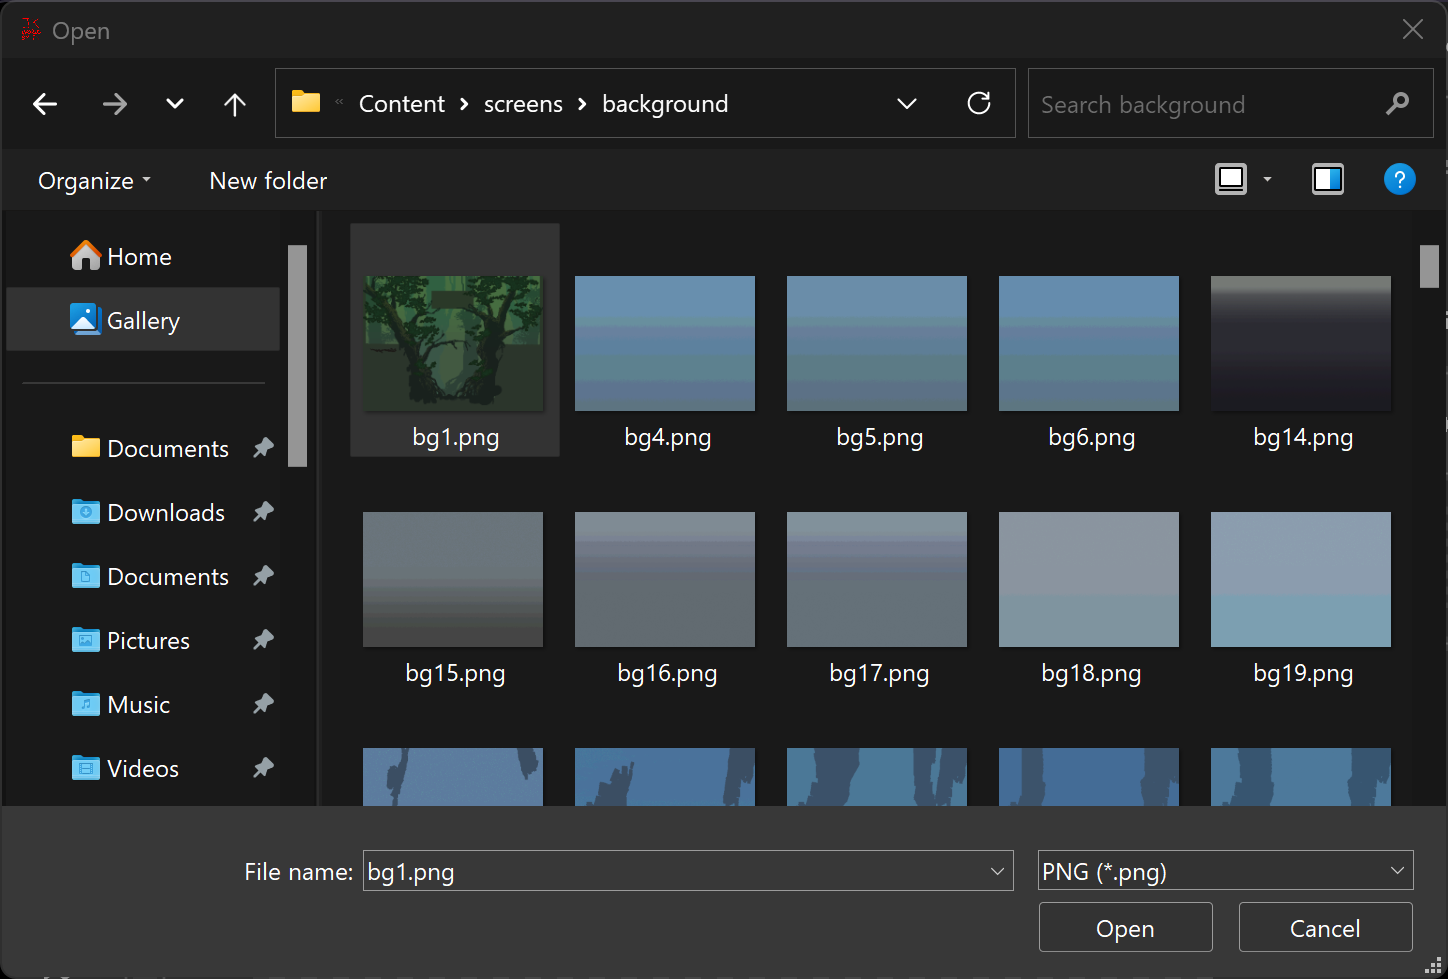
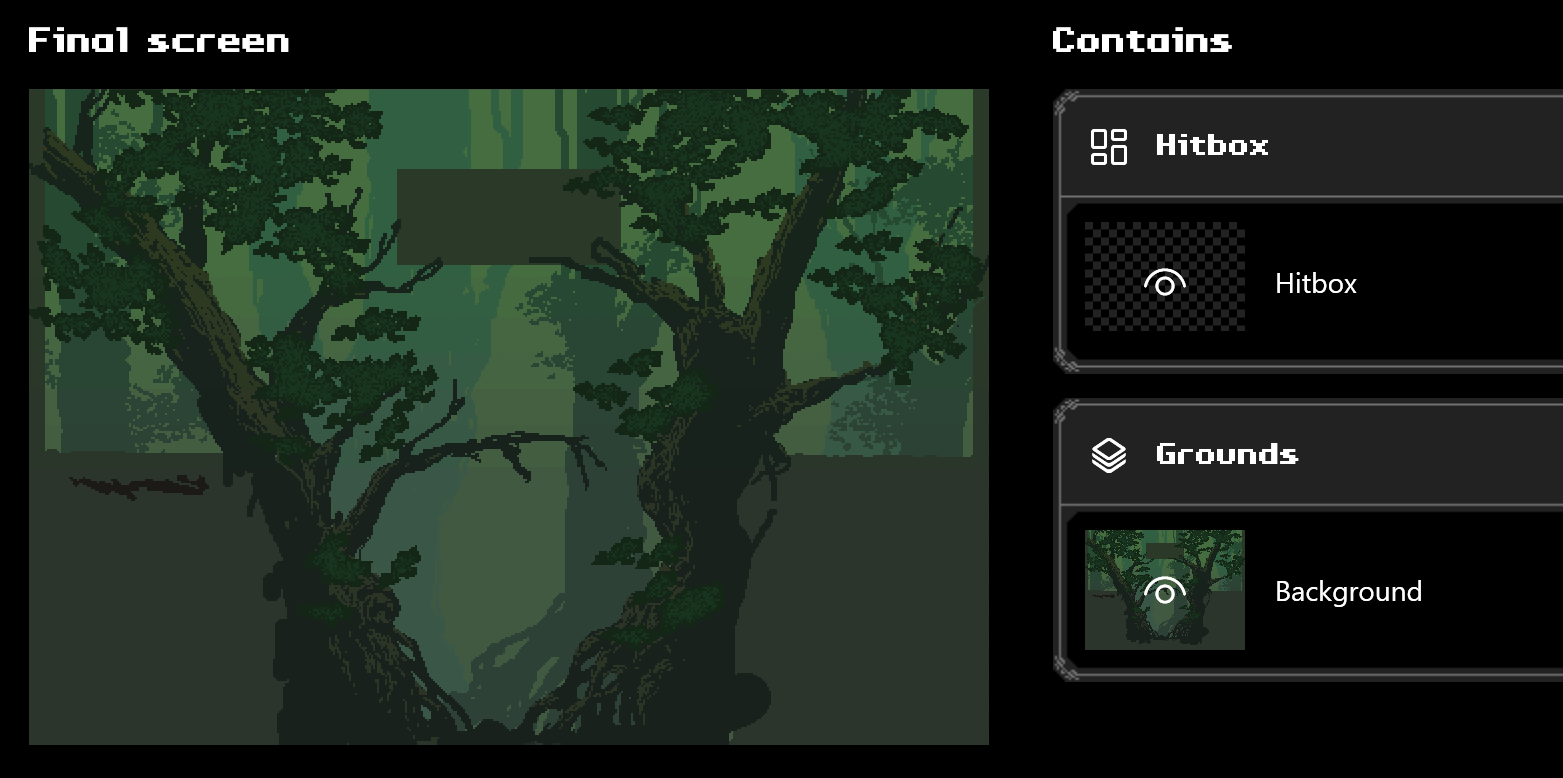
After clicking Open, you should be able to see your new background inside Worldsmith!
Replacing or removing a background
- Using the Go to screen… button or the up-down arrows, move to the screen you have the background you want to change/get rid of.
From the right side of the page, expand the Grounds tab.
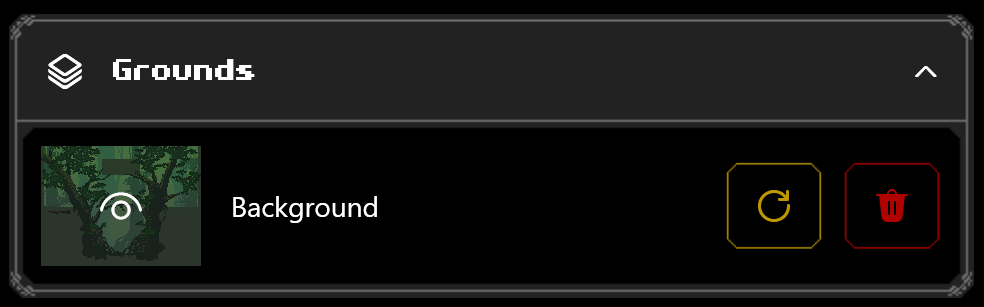
From here, you can click Replace (the yellow button) to replace an existing background with another one, or click Delete (the red button) to delete the background.
Scrolling images
The scrolling texture is commonly used for mist clouds or birds flying in the distance right before the player layer but above the background.
Adding a scrolling image
- Navigate to the Screens page.
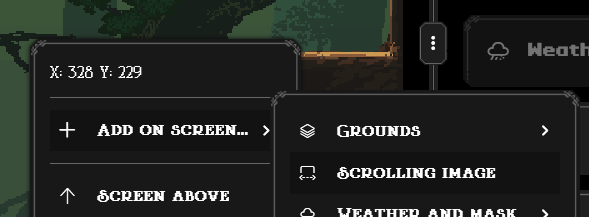
Right-click onto the canvas on the left side of your screen (where you have your level preview) and select Add on screen…, then Scrolling image.
Once clicked, a prompt will ask you a few details; mainly the scrolling image name and the scrolling image itself.
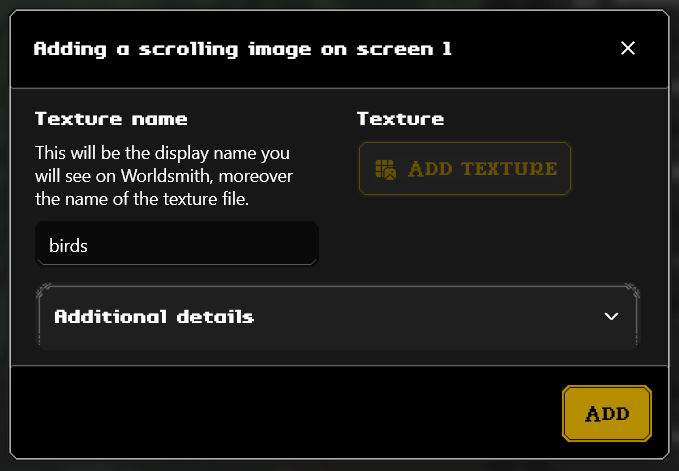
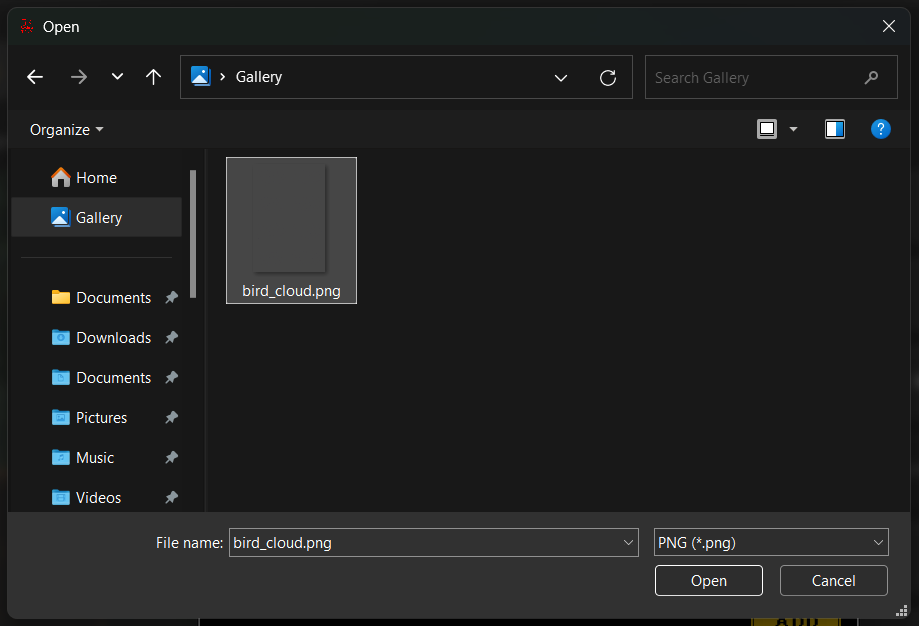
After choosing a recognizable scrolling image name, click on Add texture. A new prompt will ask you to select your scrolling image file. Once done, click Open.
- Added your texture, you could add additional details by opening the dropdown labeled as such.
Once done, click Add. Your scrolling image should be moving right away inside your preview.
Replacing or deleting a scrolling image
- Using the Go to screen… button or the up-down arrows, move to the screen you have the scrolling image you want to change/get rid of.
From the right side of the page, expand the Scrolling images tab.
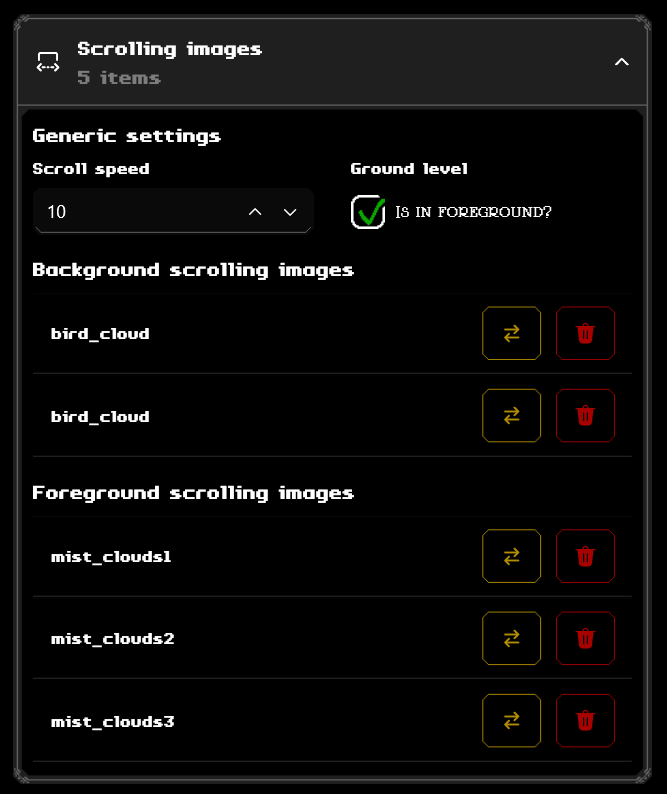
Click on the scrolling image you are looking for helping you by viewing the preview on the left side.

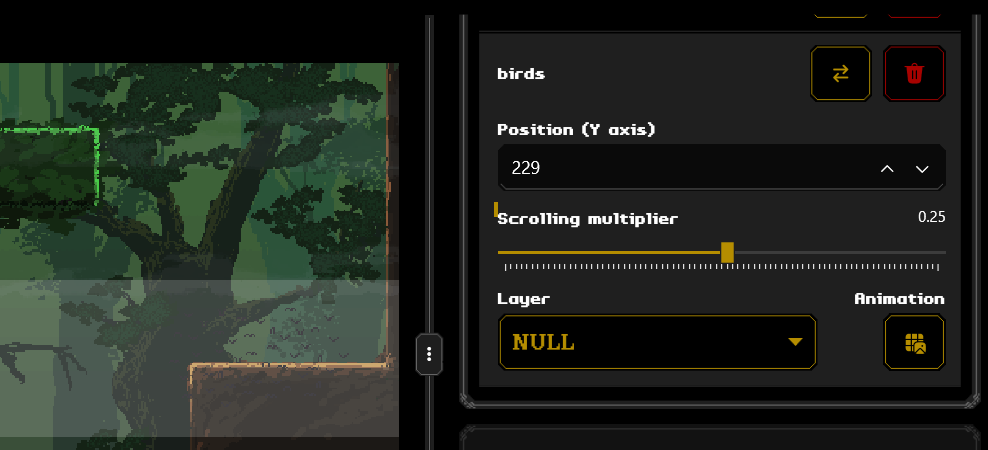
From here, you can click Replace (the two arrows yellow button) to replace an existing scrolling image with another one, or click Delete (the red button) to delete the scrolling image.
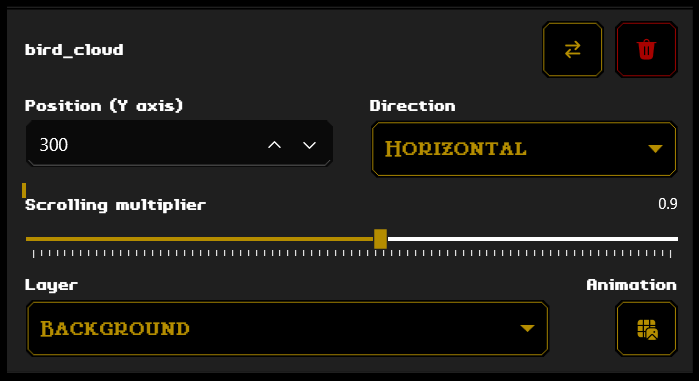
Use the Position inputbox to move your scrolling image through the screen, change its direction (horizontal or vertical) with the dropdown labelled as Direction, change its scroll multiplier (to make it faster or slower and changing directions) with the dedicated scroll bar or change its layer to make your scrolling image more immersive inside your screen.
Midground
Right after the scrolling images, there’s the midground.
The midground is usually used for platforms and details that are behind the player (the player can go over them).
Adding a midground
- Using the Go to screen… button or the up-down arrows, move to the screen you want to add a midground.
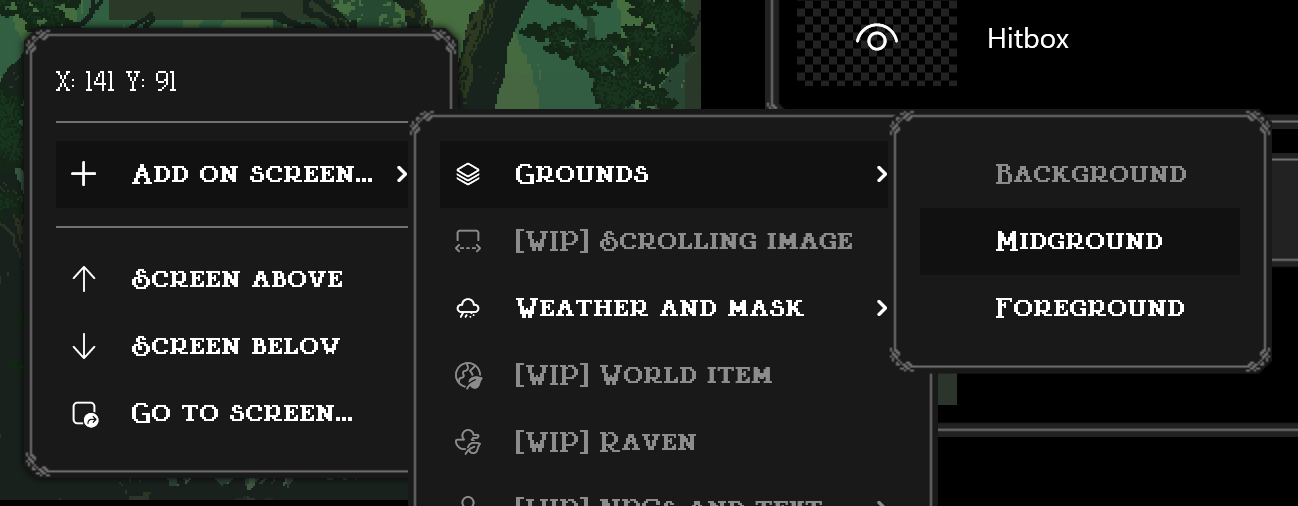
Right-click on the preview on the left-side of the page, a context menu like the following should appear.
Navigate into Add on screen…, then Grounds, then click on Midground.
Select your midground image and click Open.
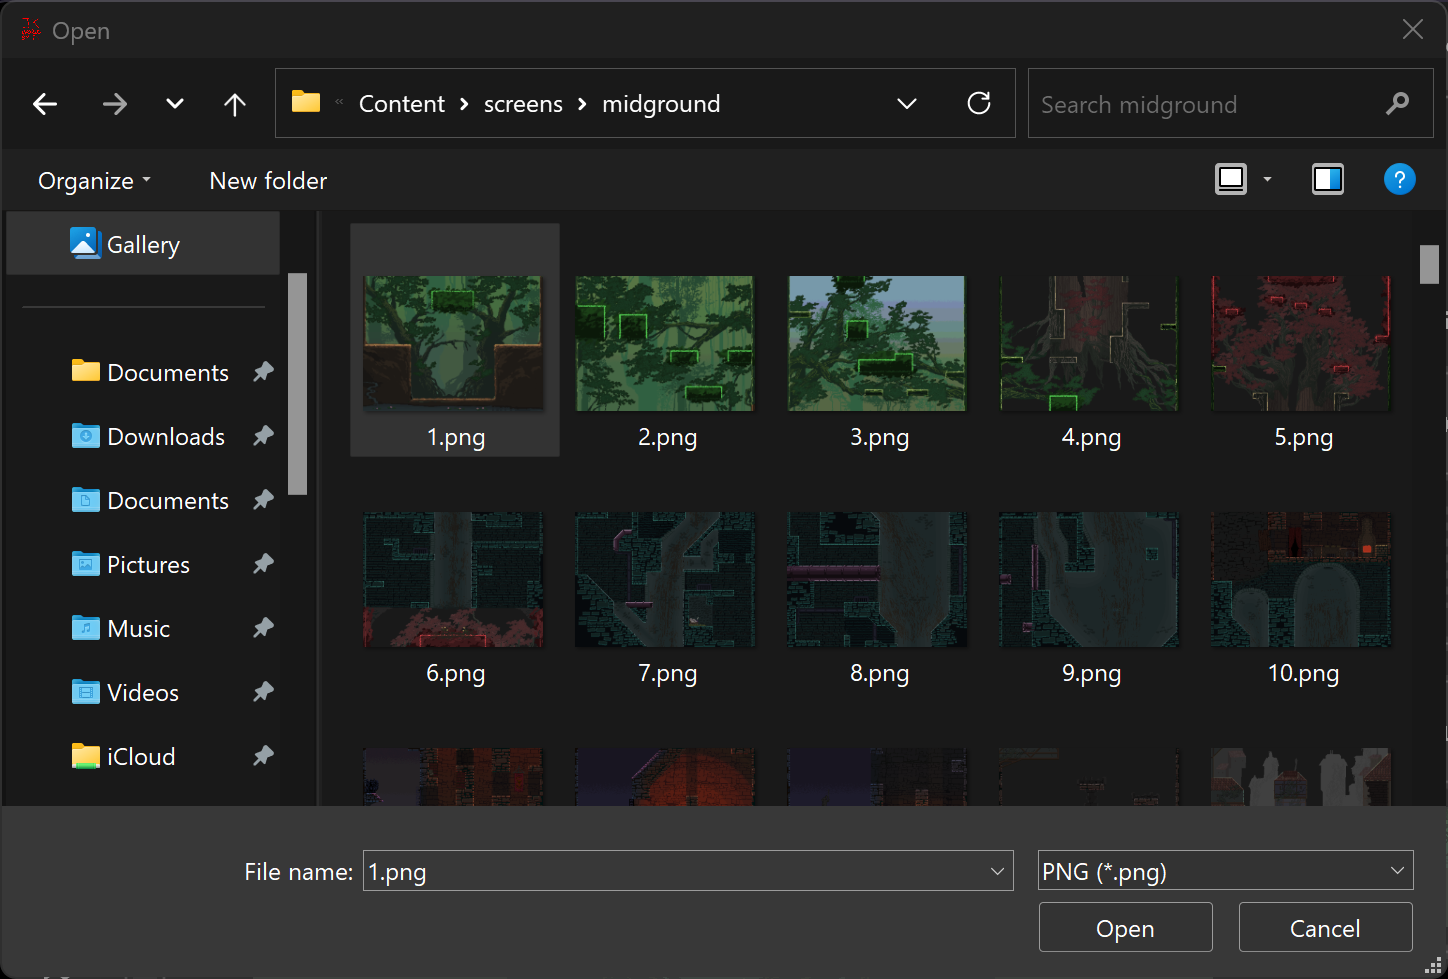
After clicking Open, you should be able to see your new midground inside Worldsmith!
Replacing or removing a midground
- Using the Go to screen… button or the up-down arrows, move to the screen you have the midground you want to change/get rid of.
From the right side of the page, expand the Grounds tab.
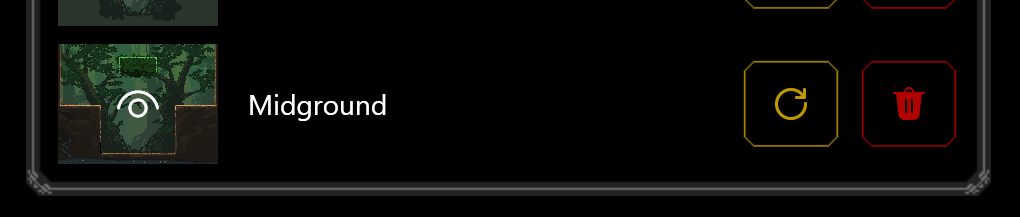
From here, you can click Replace (the yellow button) to replace an existing midground with another one, or click Delete (the red button) to delete the midground.
Weather
Weather is above the player layer-wise.
The weather is a particle effect that can help to create depth in your level.
We are planning to change the weather to make it more customizable in the future. As of now, it works in the same way JumpKingPlus did.
Adding a weather
- Using the Go to screen… button or the up-down arrows, move to the screen you want to add a weather.
Right-click on the preview on the left-side of the page, a context menu like the following should appear.
Navigate into Add on screen…, then Weather and mask, then click on Weather.

A new prompt will show up asking to you select a weather.
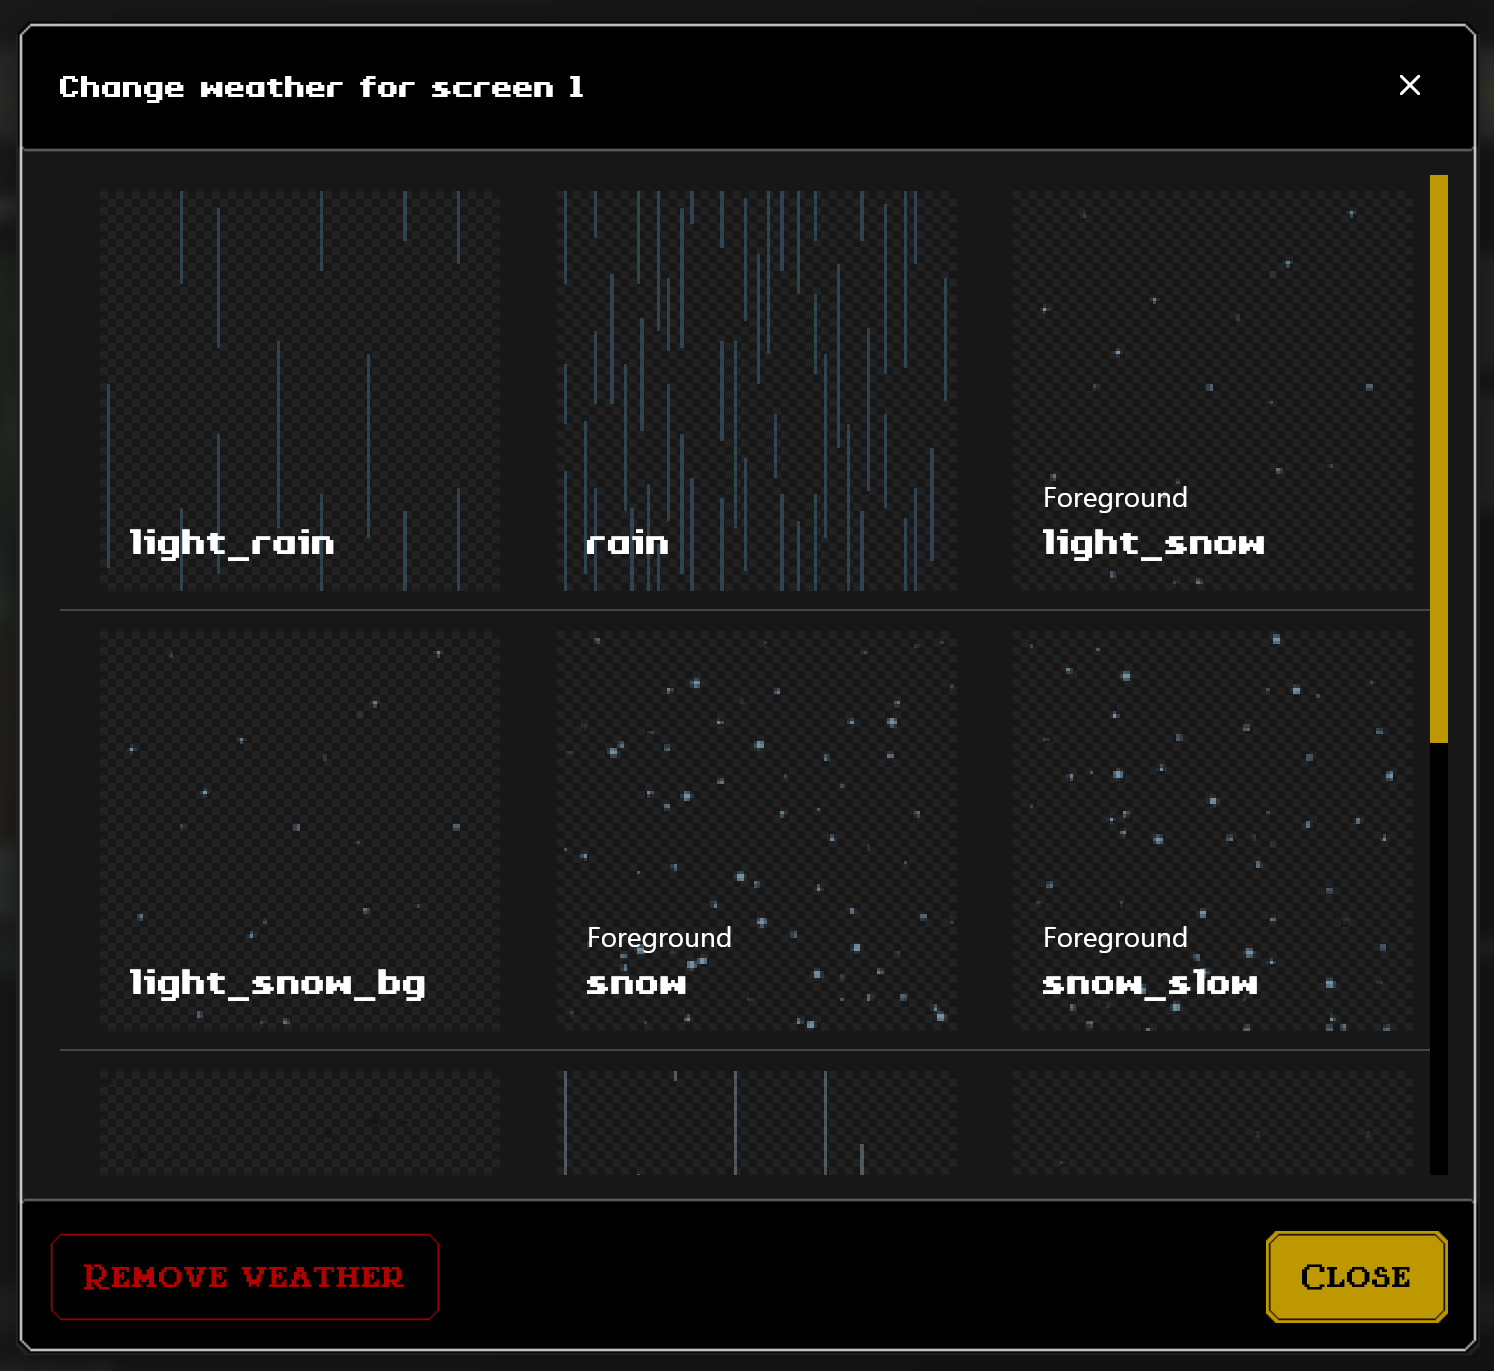
After selecting a weather, click Clise and you should be able to see your new weather inside Worldsmith!
Replacing or removing a weather
- Using the Go to screen… button or the up-down arrows, move to the screen you have the weather you want to change/get rid of.
From the right side of the page, expand the Weather and mask tab.
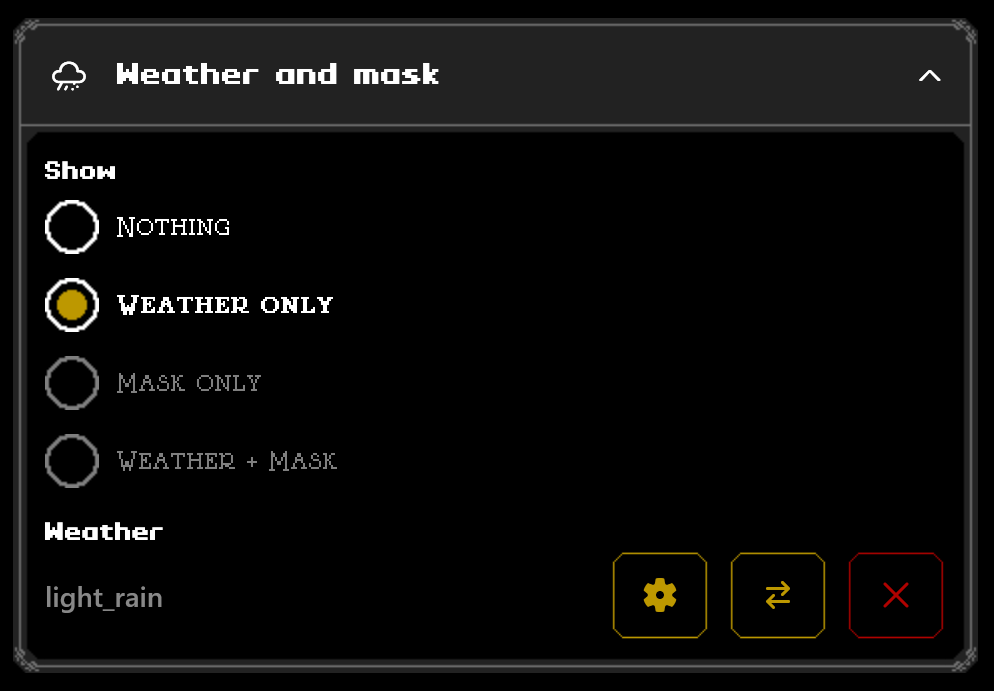
From here, you can click Replace (the yellow button with the arrows) to replace an existing weather with another one, click Delete (the red button) to remove the weather from the current screen or change the weather settings (with the yellow button with the cog).
Steps (without Worldsmith)
The weather.xml file can be found inside the particles folder of your level.
Adding/removing weather
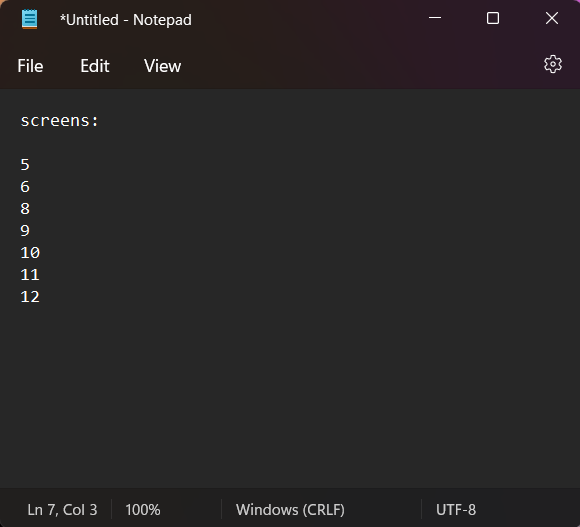
Make a list of the screens where you want to add a specific weather.
Navigate to
particlesand openweather.xml.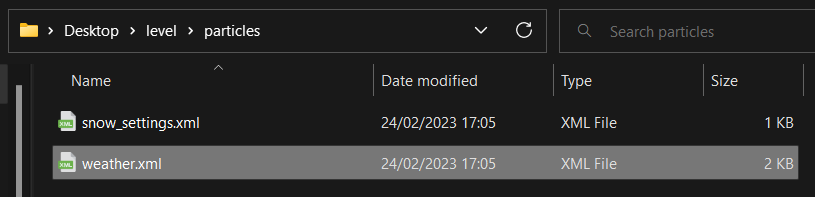
- Inside this file you should see plenty of pre-existing particles that can be used for your level. Find which weather to use.
Navigate to the
Weathertag that contains your chosen value.
- Inside
screens, add the following snippet and replaceYOUR_HITBOX_SCREENwith the screen number for each screen you want to have the weather in:<int>YOUR_HITBOX_SCREEN</int>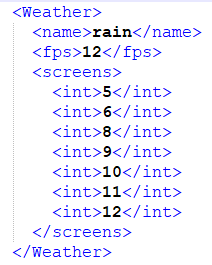
If you want to modify the velocity, you can tinker with the
fpsvalue.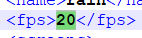
Despite the weather is behind the player by default, the weather can be on the foreground by adding the following snippet in the
Weathertag.<foreground>true</foreground>
To remove the weather from one or multiple screens:
Write down the screen(s) you want to remove the weather.

Navigate to
particlesand openweather.xml.Search for each screen number and remove their entire
inttag.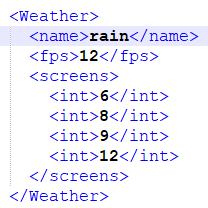
If you wanted to show the weather only in a portion of the screen, continue reading about weather masks.
Mask for weather
The weather, being an effect that repeats on the whole screen, can be rather annoying or obstructing other details on screen, that’s there the mask comes in. Masks can be used to give more depth to the level by cutting out the unnecessary particle (for example, inside a building like shown above).

The mask works just like the difference effect on Photoshop, which lets you display the particles effect only on the blue/cyan ( #0094FF) mask you are creating.
The mask only takes effect if a weather is present on a certain screen. Check out how to add a weather on a screen before continuing.
Adding weather mask
- Using the Go to screen… button or the up-down arrows, move to the screen you want to add a weather mask.
Right-click on the preview on the left-side of the page, a context menu like the following should appear.
Navigate into Add on screen…, then Weather and mask, then click on Mask.

Select your mask image and click Open.
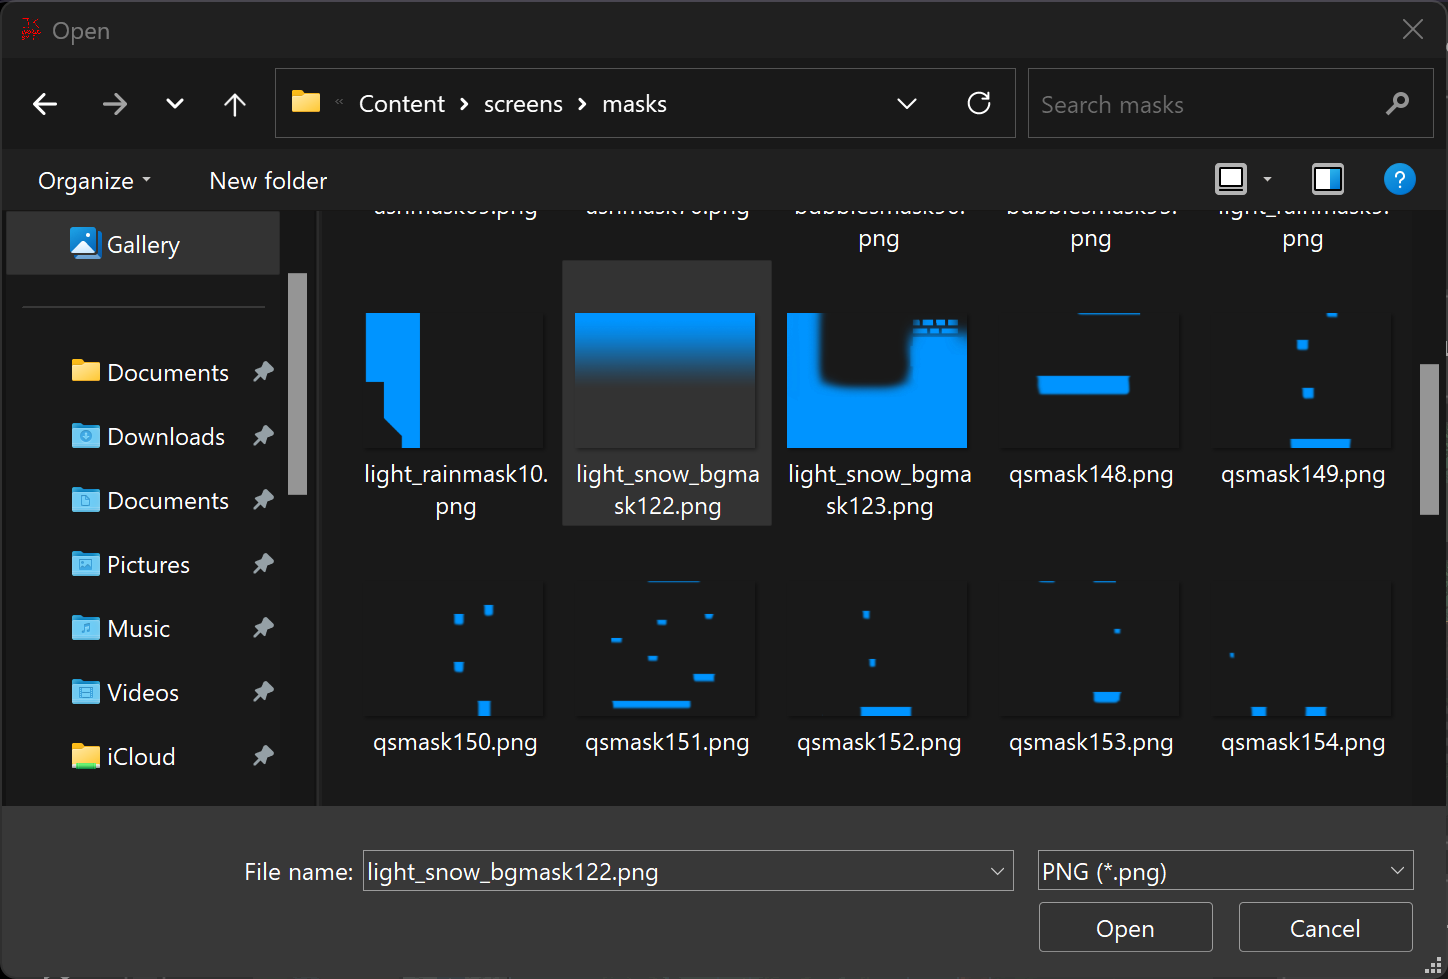
After clicking Open, you should be able to see your new mask inside Worldsmith!
Replacing or removing a weather mask
- Using the Go to screen… button or the up-down arrows, move to the screen you have the weather mask you want to change/get rid of.
From the right side of the page, expand the Weather and mask tab.
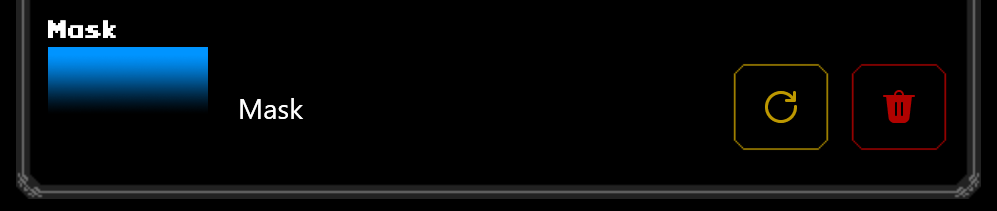
From here, you can click Replace (the yellow button) to replace an existing weather mask with another one, or click Delete (the red button) to delete the mask.
Foreground
The foreground work one layer above the masks and particles.
The foreground is used for details that are in front of the player, such as vines or grass.
Adding a foreground
- Using the Go to screen… button or the up-down arrows, move to the screen you want to add a foreground.
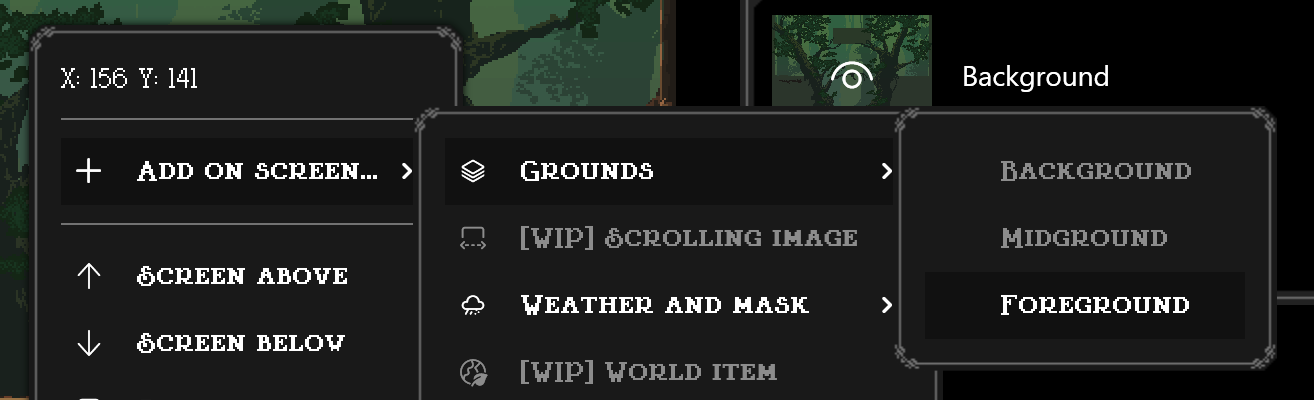
Right-click on the preview on the left-side of the page, a context menu like the following should appear.
Navigate into Add on screen…, then Grounds, then click on Foreground.
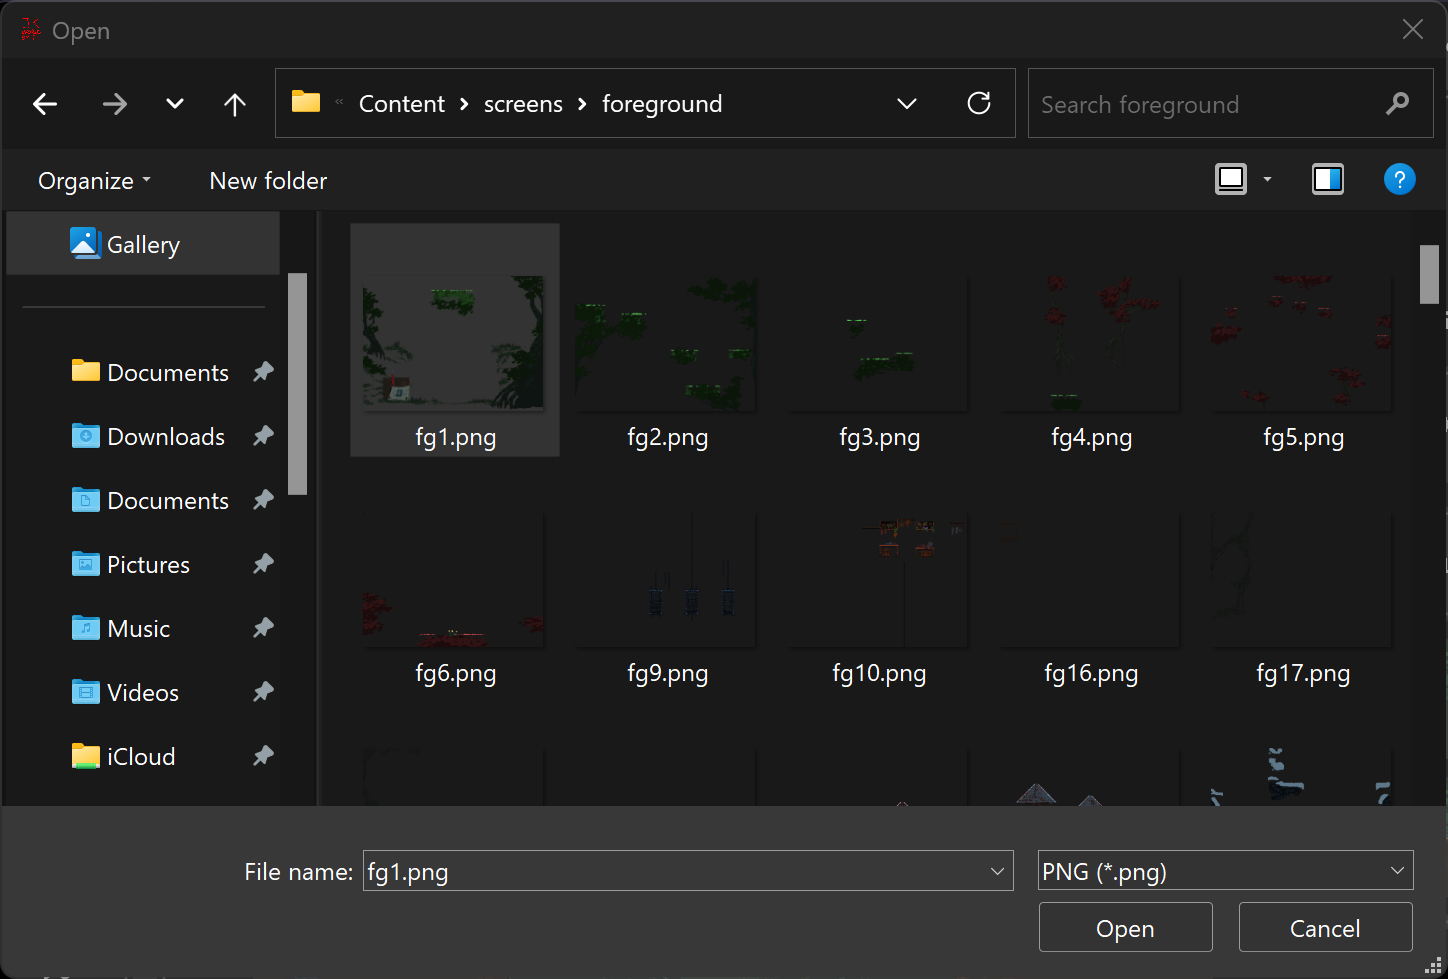
Select your foreground image and click Open.
After clicking Open, you should be able to see your new foreground inside Worldsmith!
Your foreground might be disabled in the preview by default. To show it, from the right side of the page, expand the Grounds tab and click on the Eye icon to show/hide your foreground.
Replacing or removing a foreground
- Using the Go to screen… button or the up-down arrows, move to the screen you have the foreground you want to change/get rid of.
From the right side of the page, expand the Grounds tab.

From here, you can click Replace (the yellow button) to replace an existing foreground with another one, or click Delete (the red button) to delete the foreground.
Screens folder recap
Let’s recap the main details for the packed files you will need.
| Title | Resolution | File name | Folder | Needs XML? |
|---|---|---|---|---|
| Background | 480x360 pixels | bgSCREEN(e.g. bg65) | screens/background/ | ❌ |
| Scrolling image | any | any | screens/scrolling/textures/ | ✔️ |
| Midground | 480x360 pixels | SCREEN(e.g. 65) | screeens/midground/ | ❌ |
| Mask | 480x360 pixels | MASK_NAMEmaskSCREEN(e.g. ashmask65) | screens/masks/ | ❌ |
| Foreground | 480x360 pixels | fgSCREEN(e.g. fg65) | screens/foreground/ | ❌ |
Next up
Go to GUI to learn where to put the screens in the GUI folder.