Publishing
final steps to get your item on the Workshop.
Table of contents
Each item you upload is available* usually in under a minute (longer for levels).
Three important disclaimers
Steam’s EULA Agreement
Make sure you have accepted Steam’s EULA agreement, if you haven’t accepted it, your item won’t be available to be seen by anyone but you and the Workshop administrators.
Read Nexile’s guidelines
Nexile is unlikely to endorse levels that do not follow Nexile guidelines.
Playtest your level
Make sure you have read the Testing section of Level: First steps.
Publishing your item
Before continuing make sure you’ve checked the disclaimers above, since they are crucial to publishing your item.
If your item has already been published, updating your item follows the same steps.
Open your project on Worldsmith, and navigate to the Item details page.
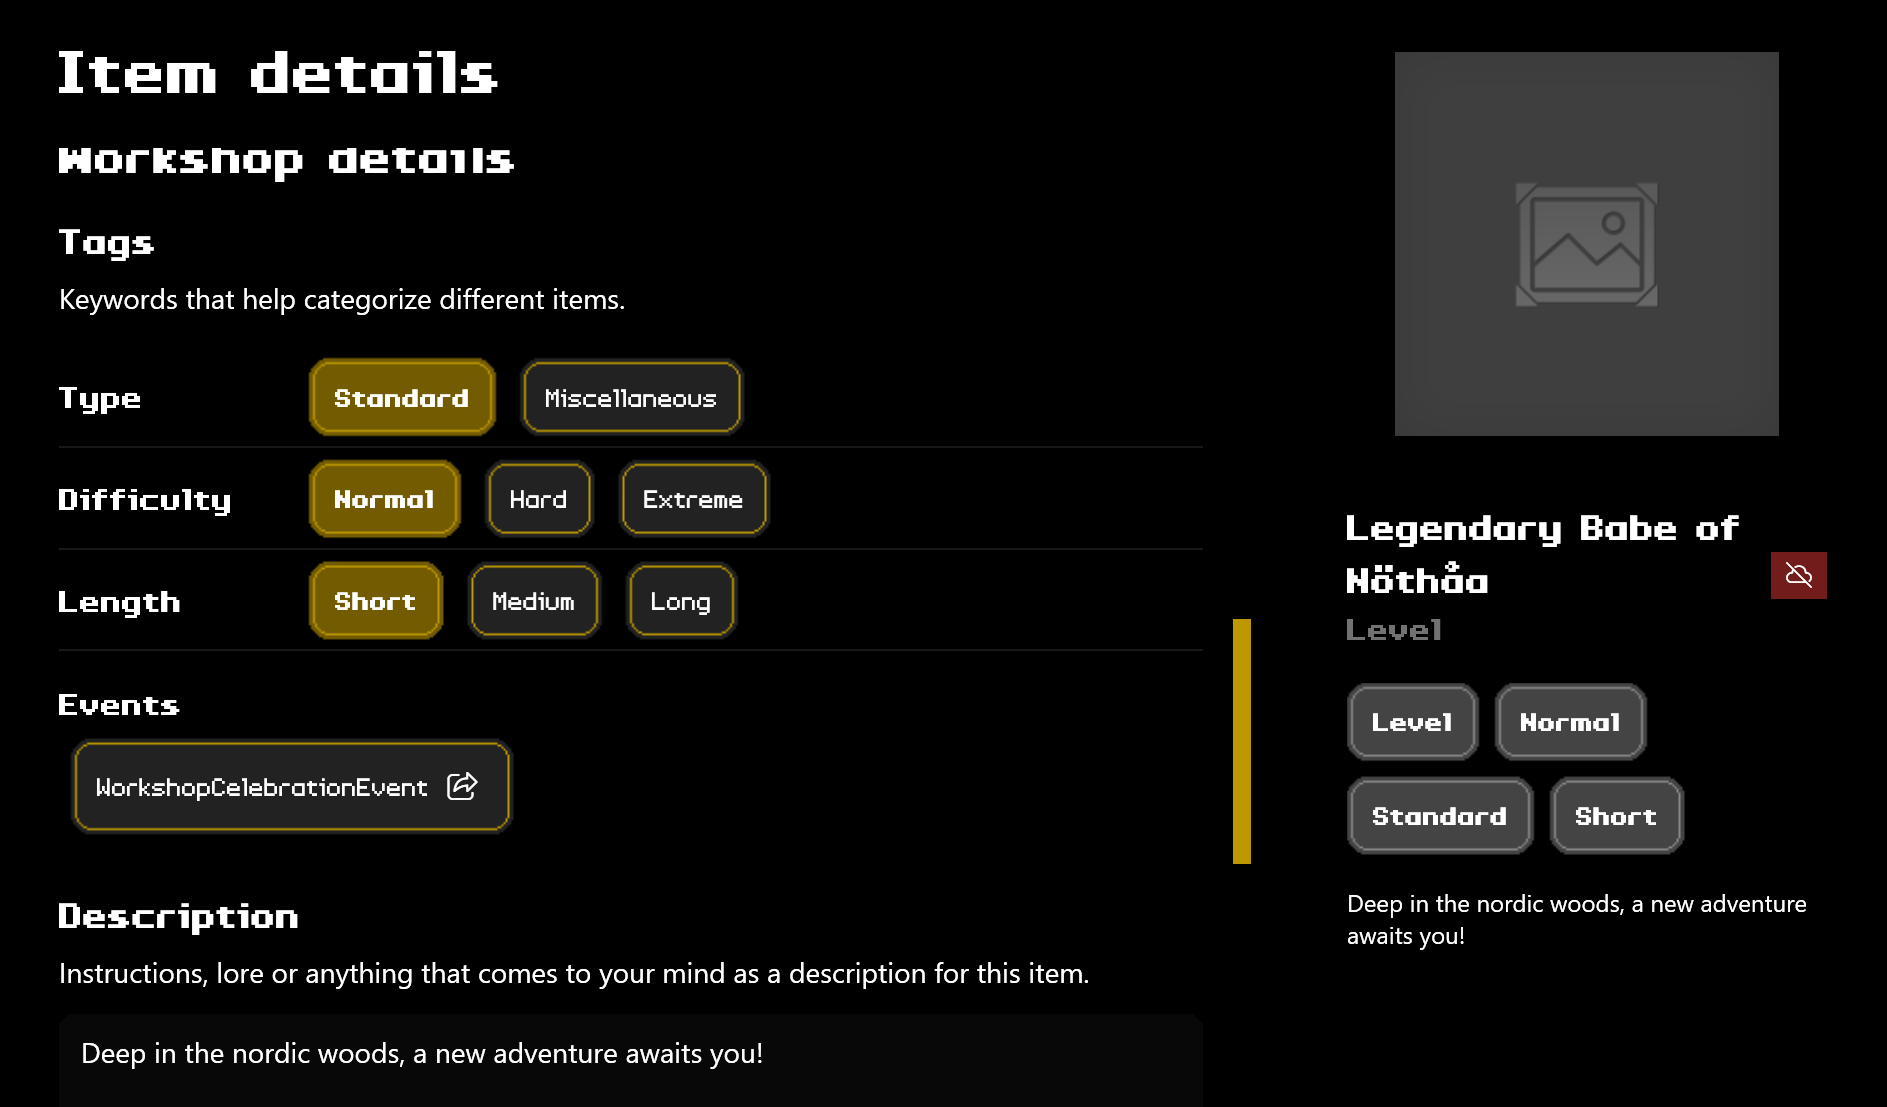
Scroll down until you find the Workshop details section.
(Optional but welcome) Customize your item selecting the appropriate tags (hover a tag for more details), a interesting description, visibility and your first changelog.
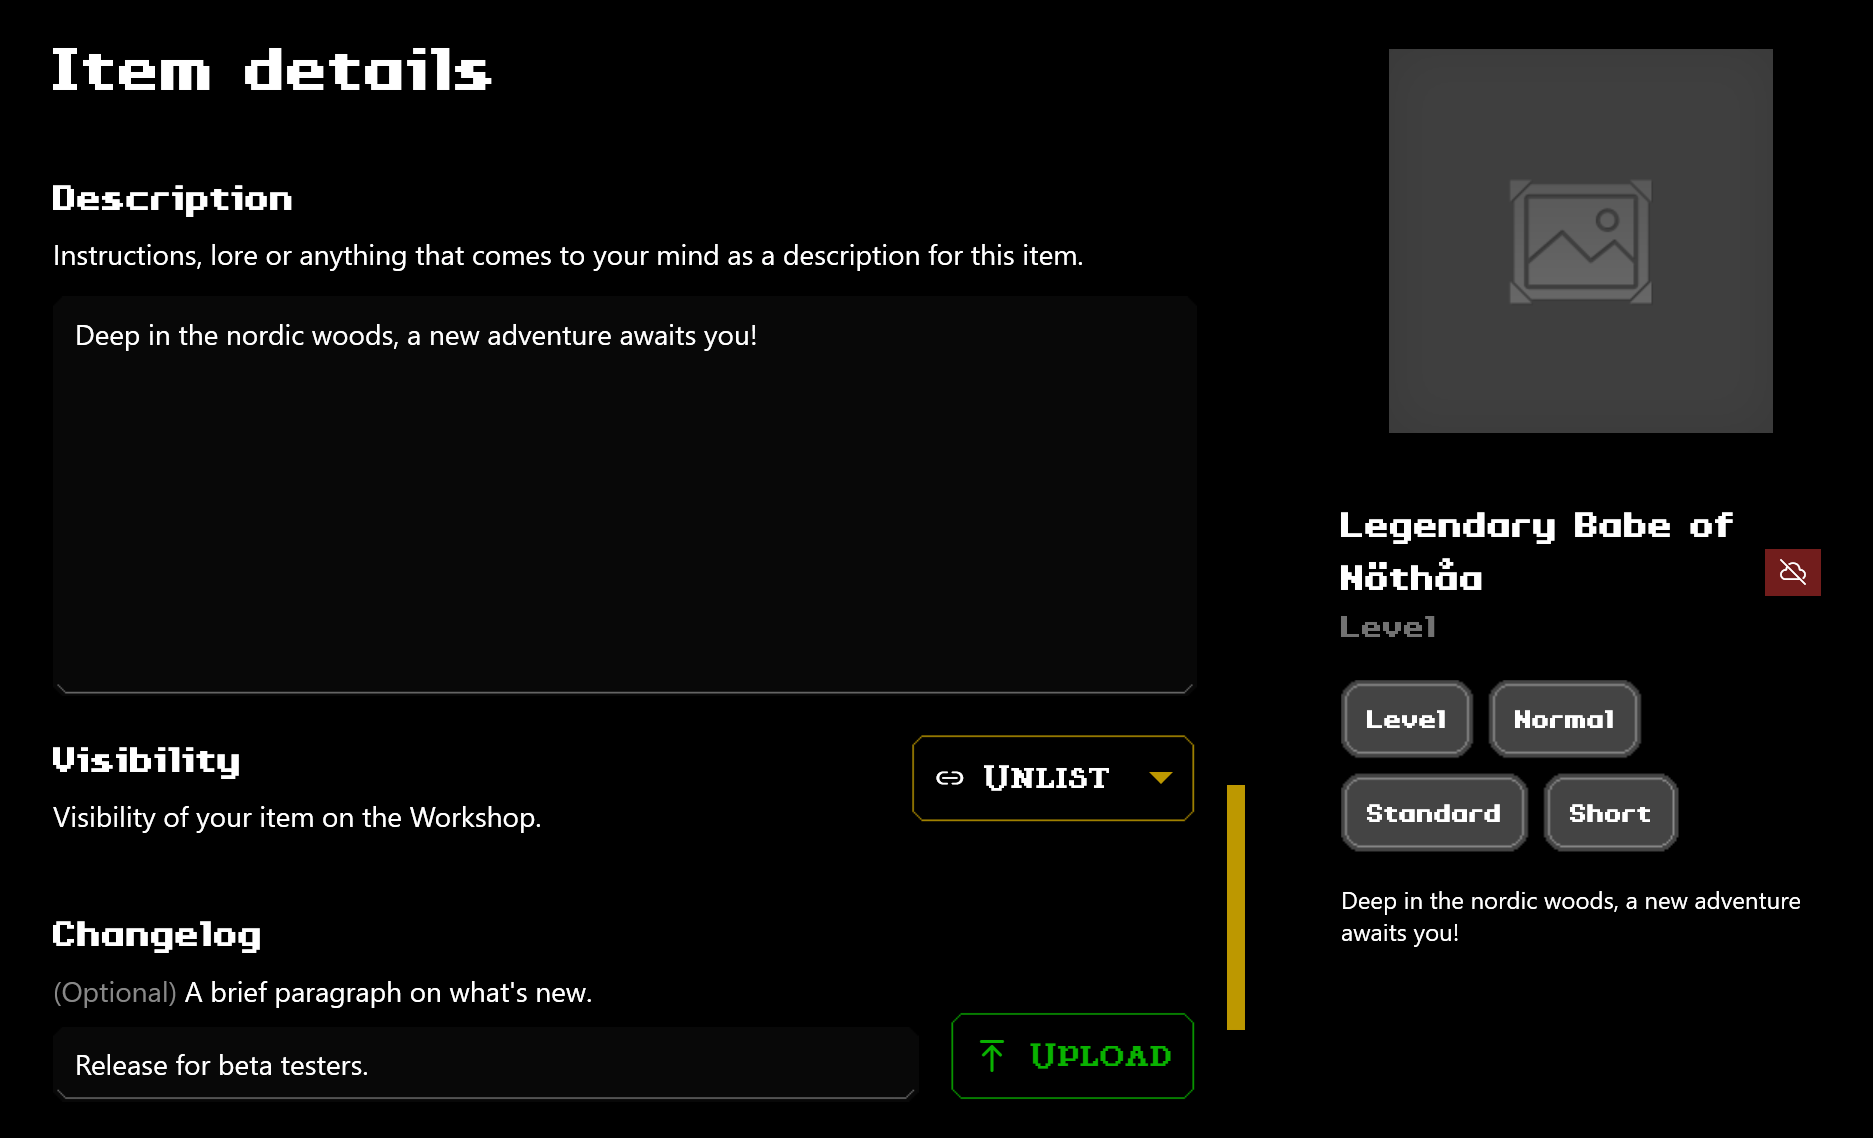
- Click on Upload.
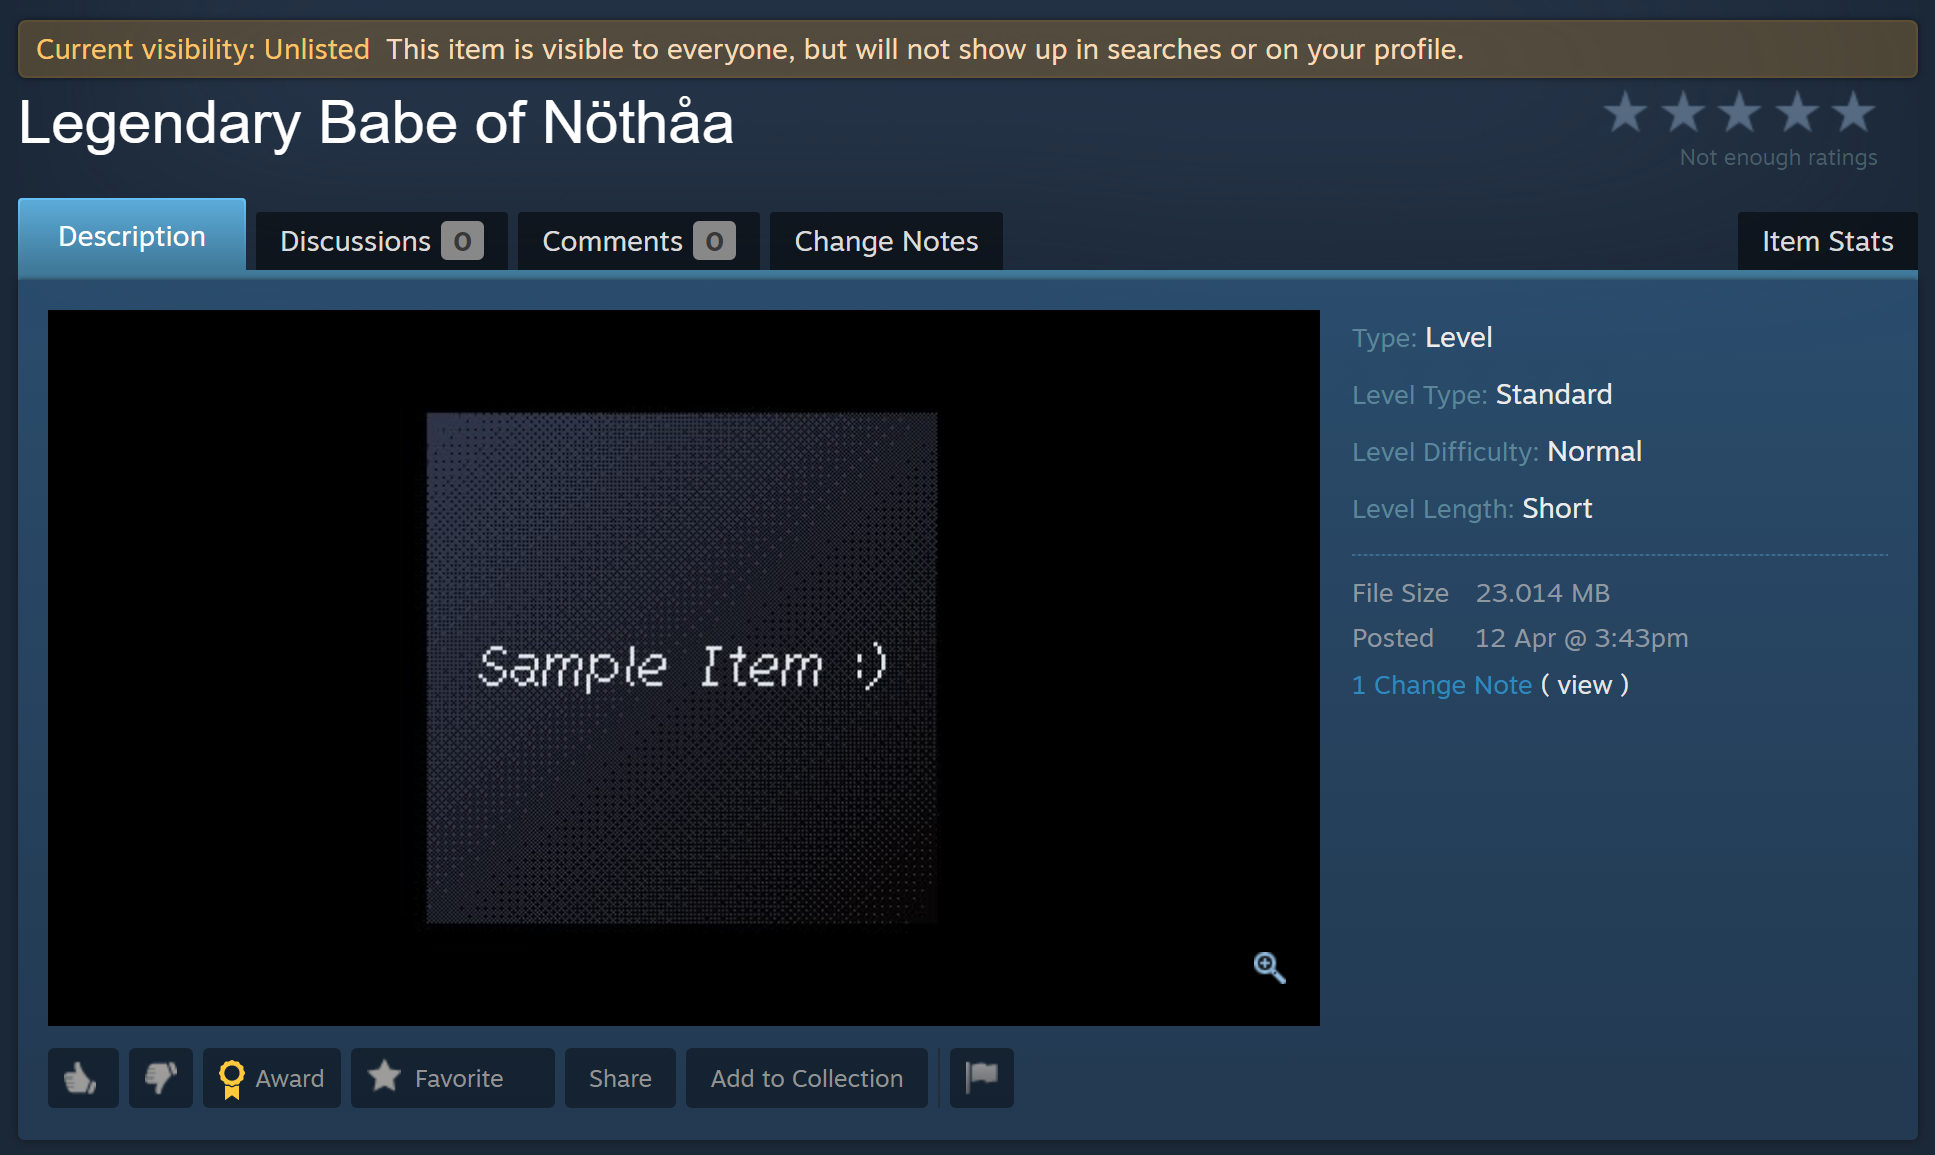
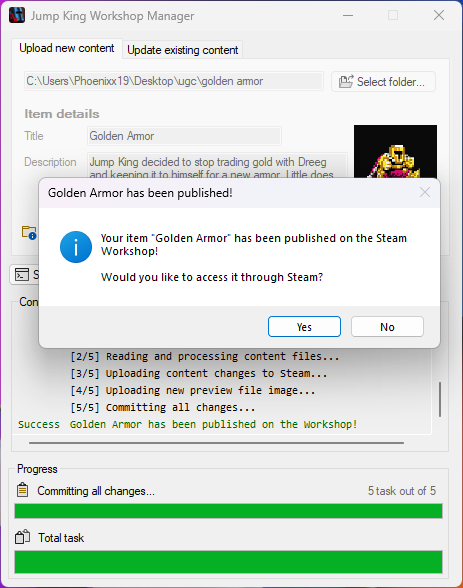
A prompt will show on screen showing you the progress for your upload. Once done uploading, Worldsmith will tell you it has uploaded your item like so:
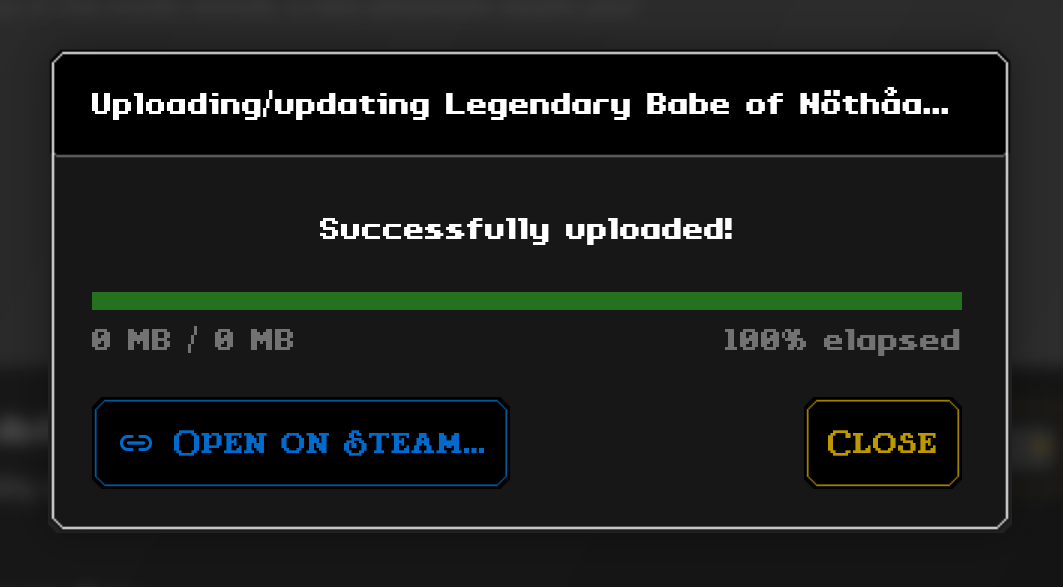
- If Worldsmith has shown the pop-up like the example above, you have successfully uploaded your item. From here you can either close the pop-up by clicking Close or check your newly created item’s Steam Workshop page by clicking Open on Steam….
Add a thumbnail to your item
The thumbnail is what most people see first for your item, having a blank default thumbnail for your item won’t make it stand out.
For the Steam limitations, we recommend you to follow the following details:
- image type: png
- resolution: 256x256 pixels
- recommended file size: below 34 kB (kilobytes)
- recommended bit depth: 8 bit
After uploading your item, hover on the image you can find on the right side of the Item details page.
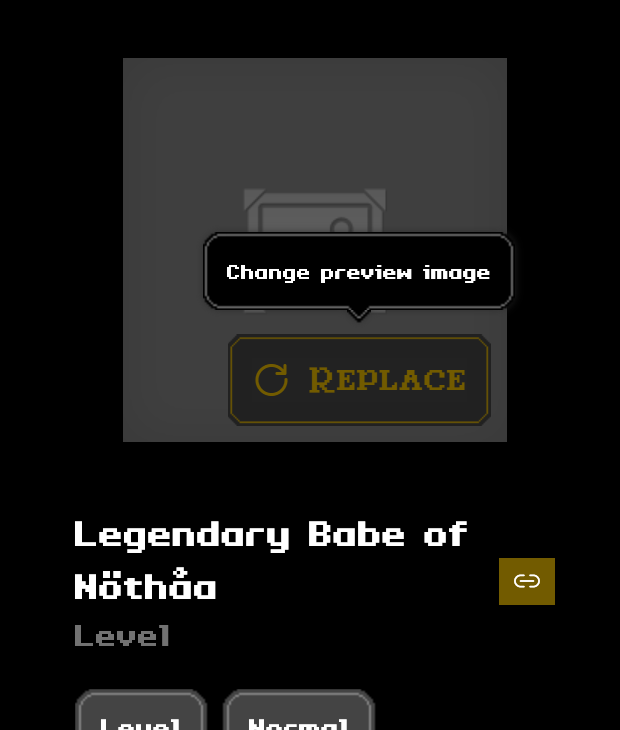
Click on Replace.
Find your file through the pop-up, select it and click Open.
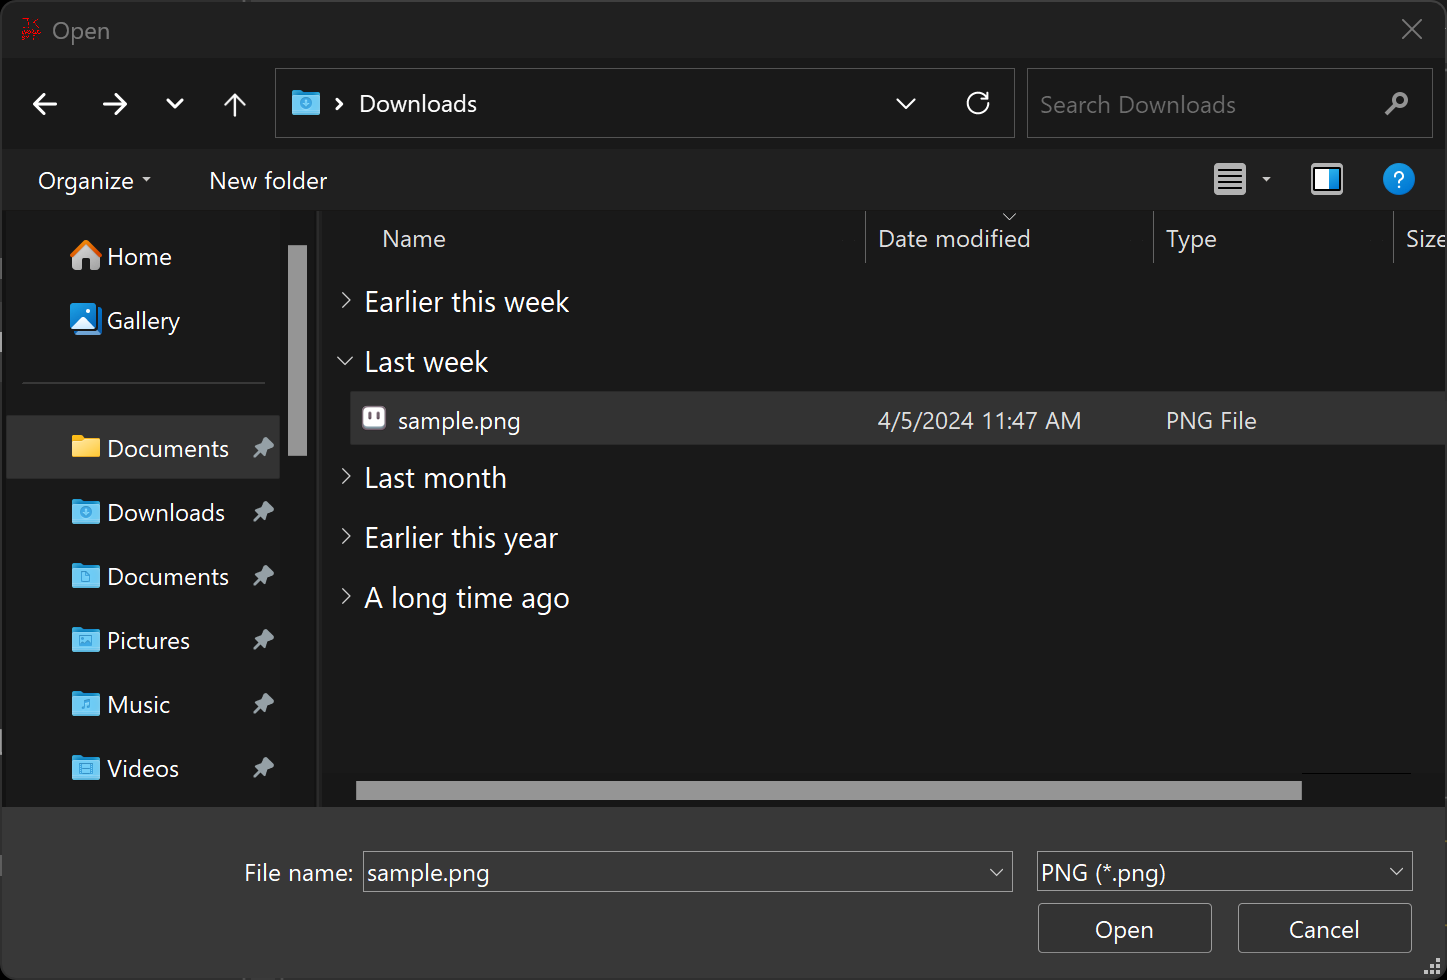
You’ve successfully replaced your item’s Workshop thumbnail.
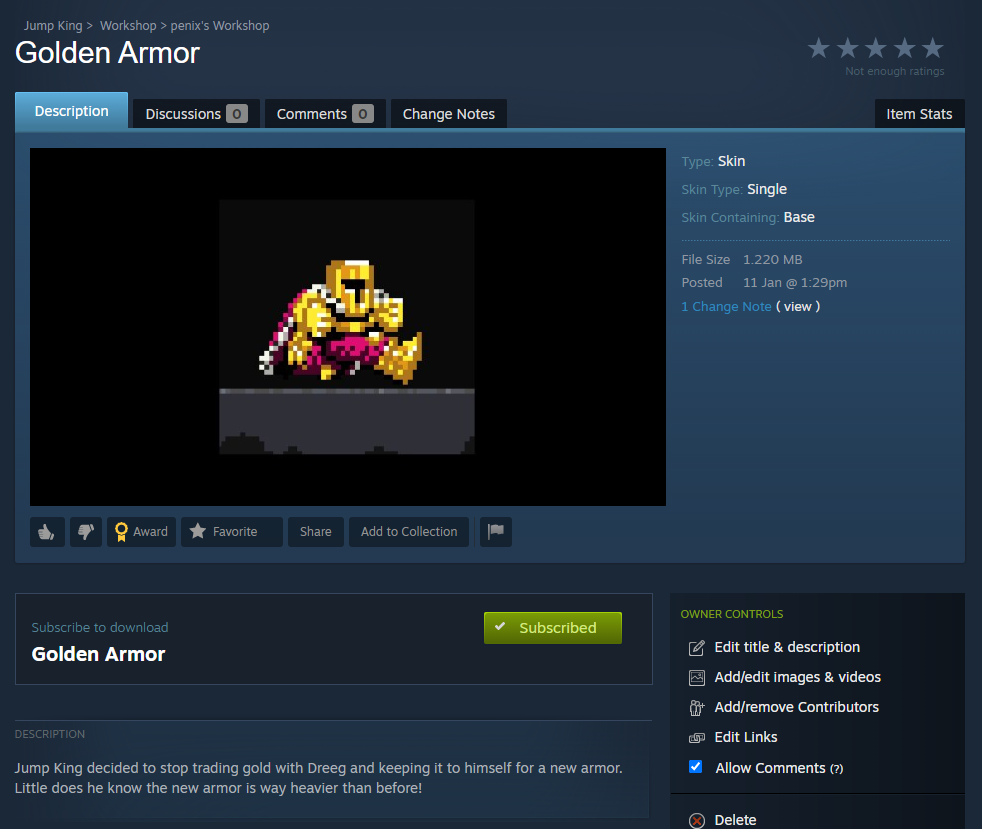
Thumbnail is just the start! From your item’s Workshop page, you can add plenty of additional images, videos, links and other stuff!
Steps (using Workshop Manager)
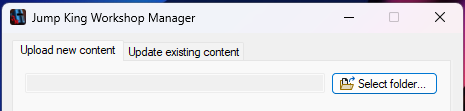
Open
Jump King Workshop Managerfrom Steam or click here.
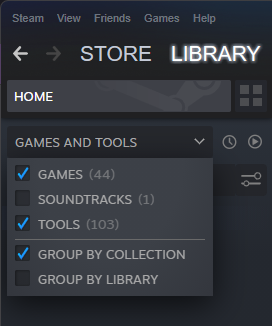
If you can't find it, make sure you have tools enabled from the dropdown in your Steam library. Expand for image reference.
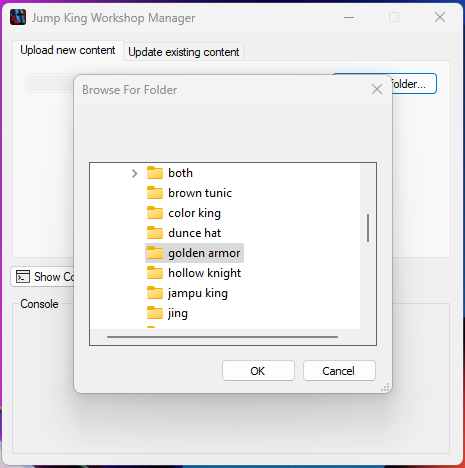
By default, the tool should prompt you to agree to the EULA agreement each start (if you didnt tick the eula already).(currently unavailable)On the Upload tab, click on Select folder….
- Once selected the right folder, click OK.
If you get any errors, follow the prompt instructions on your screen.
If it returns that the folder has been loaded, you’ll be able to see what type of item you are about to upload by the label below the description.
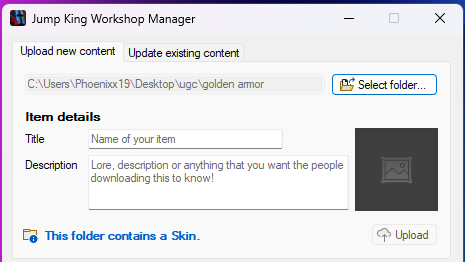
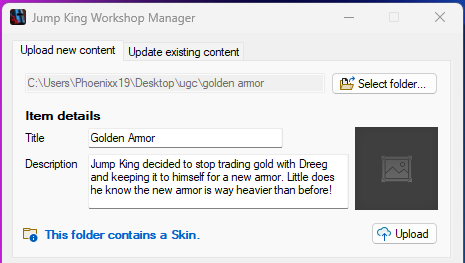
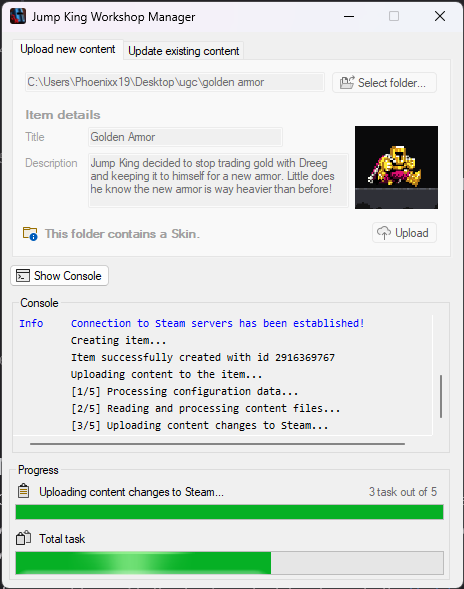
Add a title and a description for your item, this will be used for your item, this can be later modified through Steam.
Optional — Add a thumbnail to be more recognizable!
To add an image, click on the thumbnail blank image on the right, it will open up the file explorer where you will need to select your image.
For the Steam limitations, we recommend you to follow the following details:
- resolution: 256x256 pixels
- file size: below 34 kB (kilobytes)
- bit depth: 8 bit (not required but lowers the file size dramatically)
- image type: png (not requred but lowers the file size dramatically)
If your image follows the limitations above, it will change the thumbnail preview to the image you previously selected.
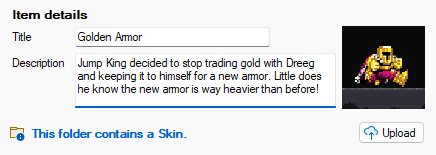
- Click Upload and let the tool upload the item for you.
Next up
Once the upload is completed, it will ask you if you to see it on the Steam Workshop’s page, from there you can further modify its page by adding more images, improve your description or decide to remove your item.
Next up
If you want to modify the item’s content, head over to the Updating page.