All the changes you make on your level will be available only to you until you decide to upload your Workshop item. Every further modification needs an update to your Workshop item to be available to everyone that is subscribed to your item.
Change your level title
The level title is the text that gets shown in-game when paused, inside your Worldsmith project, in your item’s workshop page and in the Workshop overall (once released public).
To change your level’s title:
Open Worldsmith through Steam and open your level project from the recents or favorites list.
If you can’t find your project in your recents/favorites list and you know where it’s placed in your drive, click on Load an existing project and follow the instructions on screen.
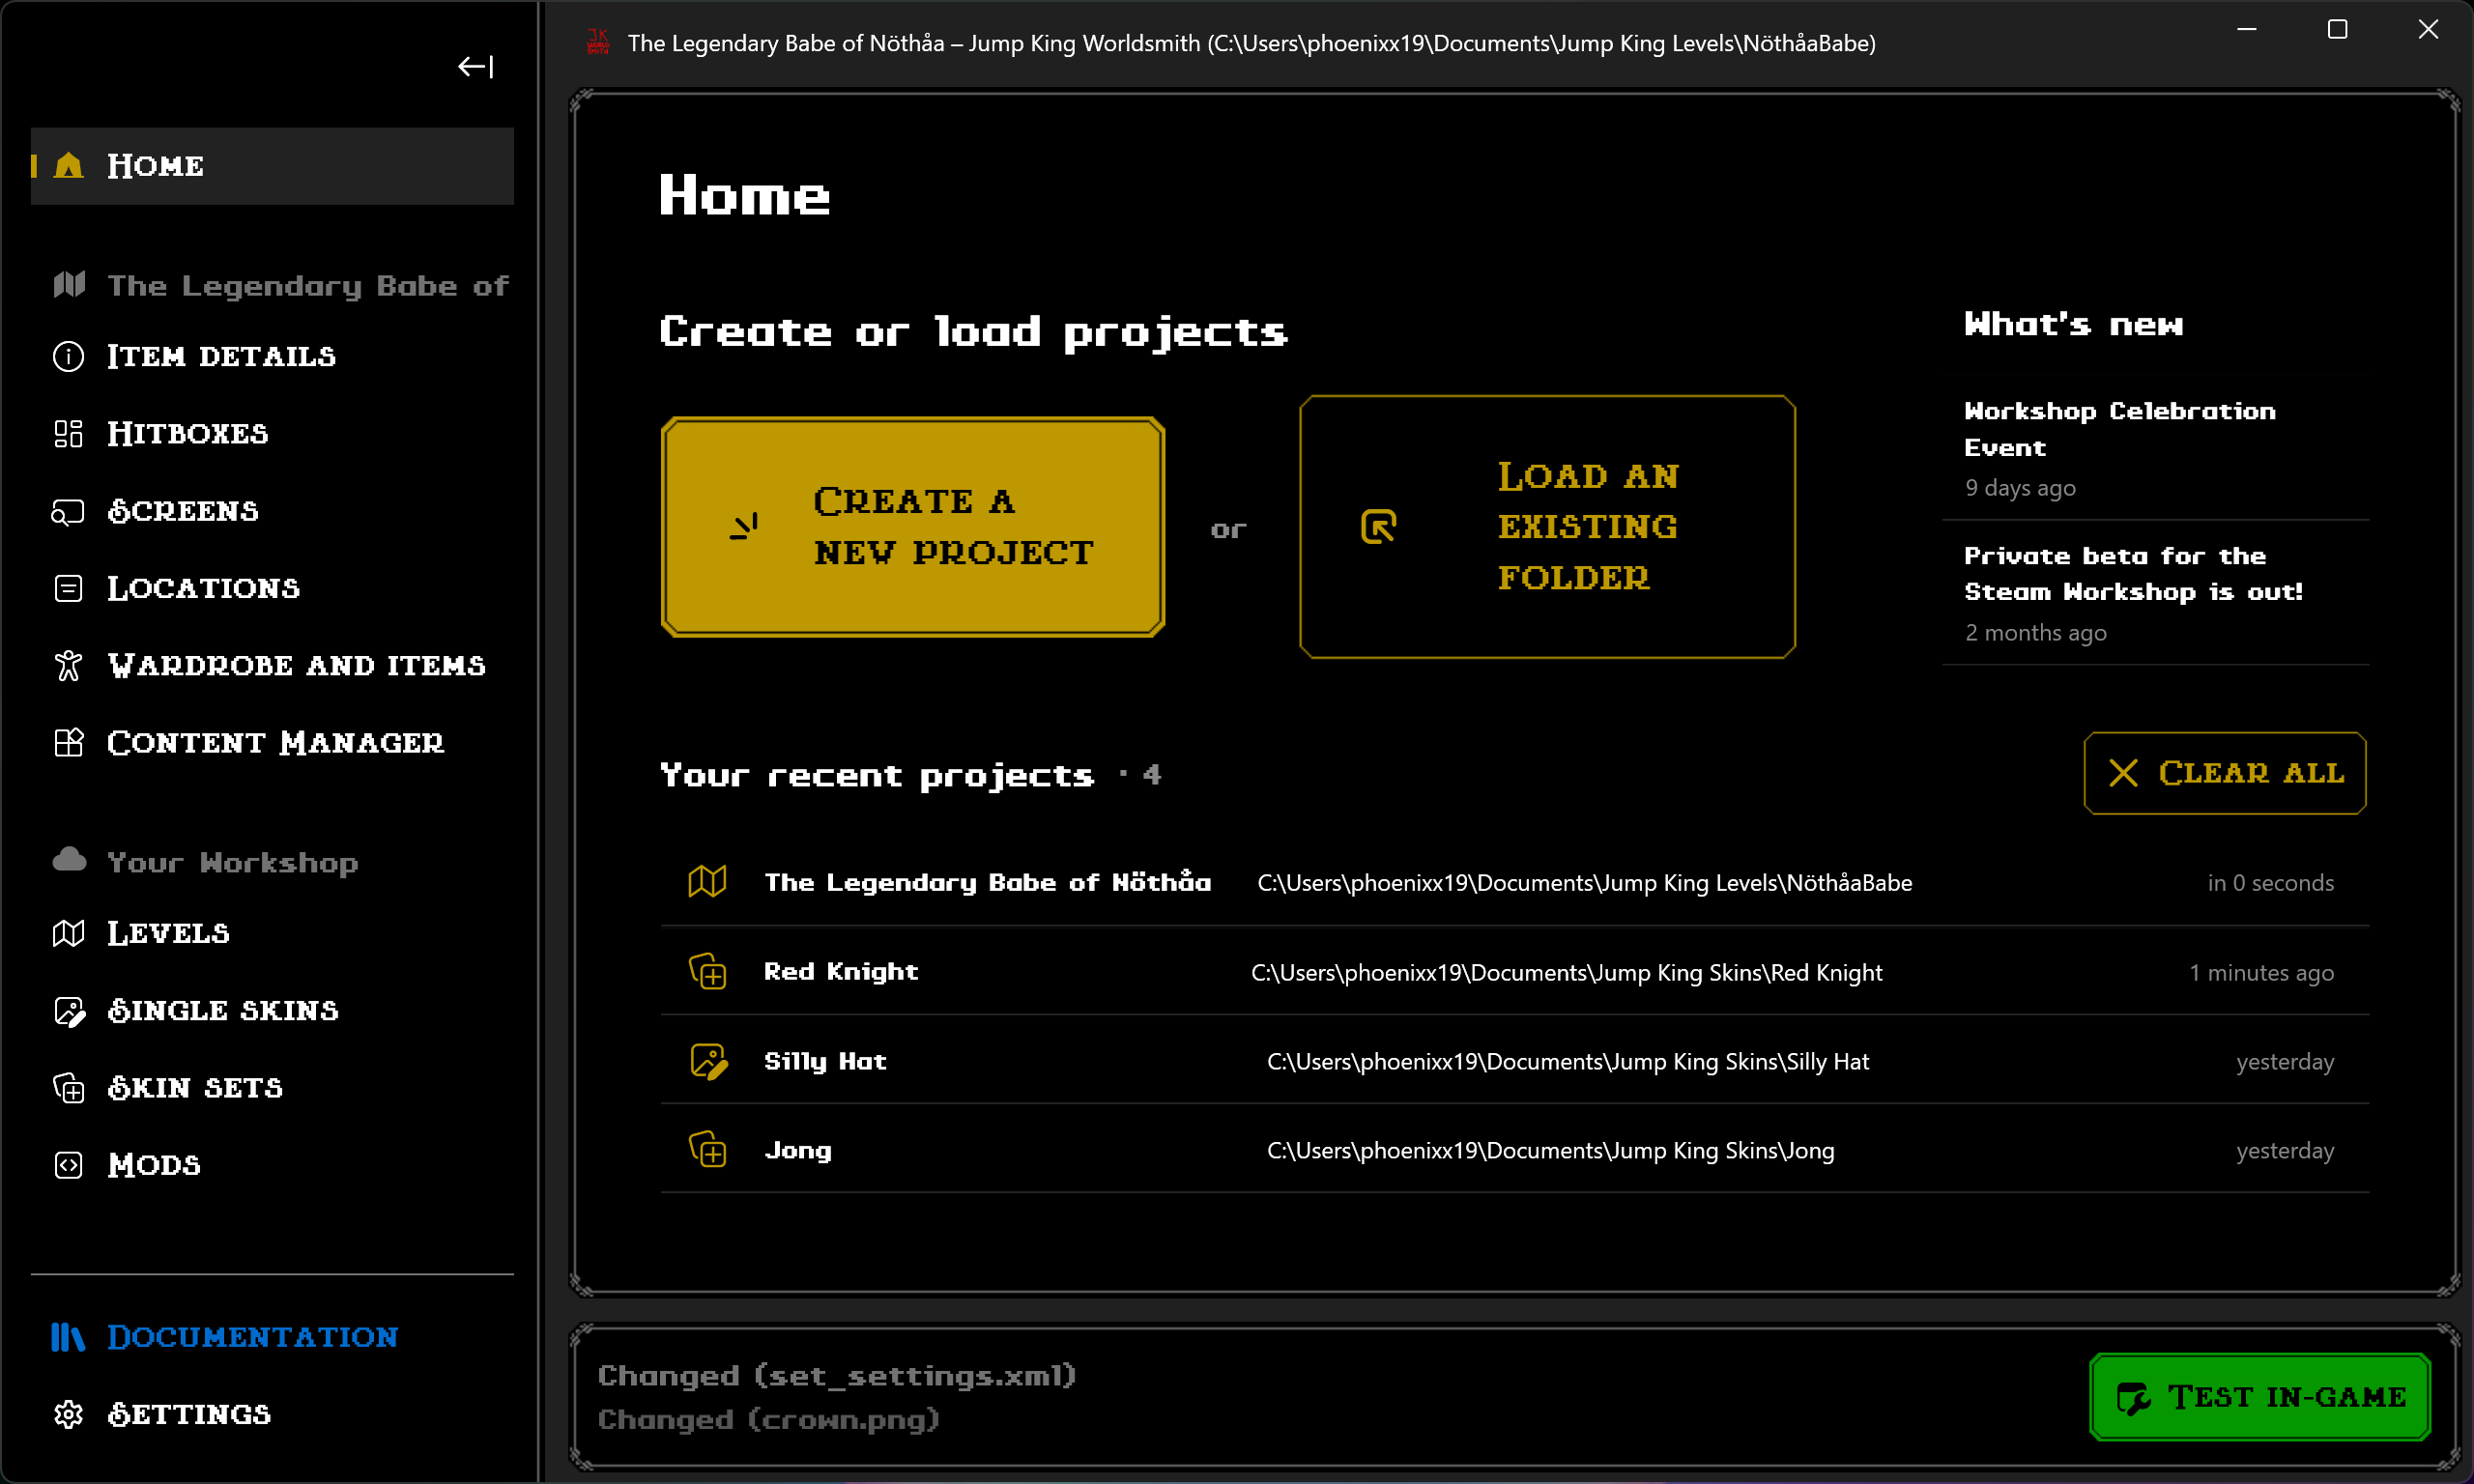
Once clicked, you’ll see the title of your level in the header of Worldsmith, this means your project has been opened in Worldsmith. Some pages will show up on the sidebar now like in the image below.
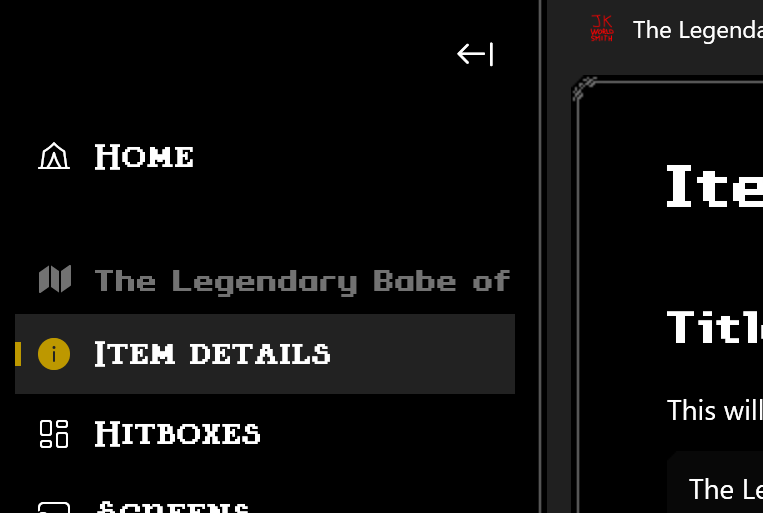
From the left sidebar, enlarge the sidebar with the expand button and click on Item details or click on the first item below the map icon (resembling a circled i).
Right below the header “Item details”, you should find another header “Title”; here using the input box you can change the name of your level.
The changes will take place after you click outside of the input box.
You’ve successfully changed the name of your level locally.
Changing the starting data. ending (extra and mandatory) images, end credits and babe screens is currently unstable or not working being still worked on. Consider looking out the Steps (without Worldsmith) to implement them.
Steps (without Worldsmith)
Why does Jump King need a configuration file?
In order for get the basic data about your map, Jump King (and in the past with JumpKingPlus) uses a configuration file.
This configuration file contains your level:
title (that will show up in the pause menu)
babe screen number (where the first babe will spawn)
second babe screen number (where the second babe will spawn)
third babe screen number (where the third babe will spawn)
starting position (changing your initial position and speed)
ending images (for each babe)
ending extra images (letting you choose what item can trigger the secondary ending image)
end credits (once you finish your level, after the cutscene)
Setting your level title
Search for “title” in your XML file. You should find something like this:
<title>YOUR_TITLE_HERE</title>
Replace YOUR_TITLE_HERE with your title name.
Done!
Setting a different babe screen number
Search for “ending_screen” in your XML file. You should find something like this:
If you want don’t want a custom position or a custom velocity, you can decide to remove the entire tag you don’t want but make sure you always have the X and Y value of the tag you left in since those are necessary.
For the position, replace your X and Y with the absolute value that you can find while testing the level. For the velocity, replace your X and Y at your will.
The velocity can be voided if the user is standing on a solid block by default.
Done!
To remove a starting data, select the wholeStartData tag and delete it.
Setting the ending images
Make sure you have a packed image (file that has been converted to XNB) with 480x360 pixels of resolution.
Move your image into the ending folder.
Search for “MainBabe” in your XML file. You should find something like this:
<MainBabe>YOUR_ENDING_IMAGE_HERE</MainBabe>
Replace YOUR_ENDING_IMAGE_HERE with your ending image name.
Done!
For the other babes, repeat the process replacing your search query with “SecondBabe” or “ThirdBabe”.
Setting the ending extra images
Make sure you have a packed image (file that has been converted to XNB) with 480x360 pixels of resolution.
Move your image into the ending folder.
Search for “MainItem” in your XML file. You should find something like this:
One instance of Credit equals one credit that’s being shown, while there isn’t a strict limit of this, having more than 5-6 Credit tags can be hard to follow.
Replace YOUR_FIRST_ENDING_TITLE_HERE with your first credit main title.
Replace all the YOUR_FIRST_ENDING_[...]_ITEM_HERE with whatever subtitles you want to add. You can add or remove the string tags that you dont need.
Having more than 5 string tags can cause some of them to overflow the screen making them invisible.
Done, you’ve set your first credit!
To add a new Credit simply add another Credit like the example above.
Localization
Inside the Ending Lines, it’s possible to use the default library for translations included in the game. LanguageJK includes all the possible text in Jump King based by your localization language. Check out all the possible combinations!
Next up
Once you understand the configuration file, go to hitboxes.