Merchant
extensions to normal NPCs. They can also barter items.
Table of contents
- How does a merchant work?
- Adding a new merchant
- Changing a merchant’ setting
- Changing a merchant’ speech
- Moving an merchant from a screen
- Removing a merchant completely
- Steps (without Worldsmith)
- Speech extensions
- Next up
How does a merchant work?
The merchant has three main values that gets used for the bargain:
- the selling item (the item is selling to you),
- the currency (the item used as currency),
- the price (the item quantity needed for the trade).
For example, the shroom guy in the Philosopher’s Forest wants you to get 9 Shrooms, this speech (sale lines) is usually presented right after the introduction.
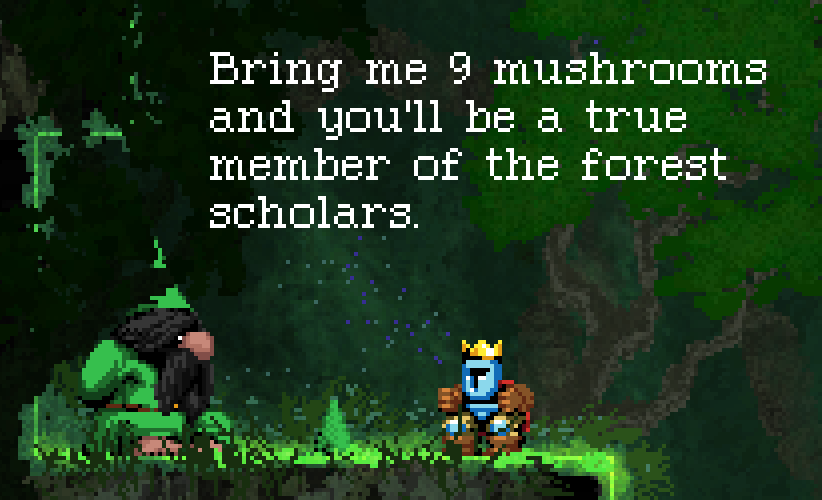
While you haven’t collected the wanted amount of shrooms, the merchant will trigger the not-enough-currency lines.
Once you got all the shrooms, the trading speech (selling line) will show up.

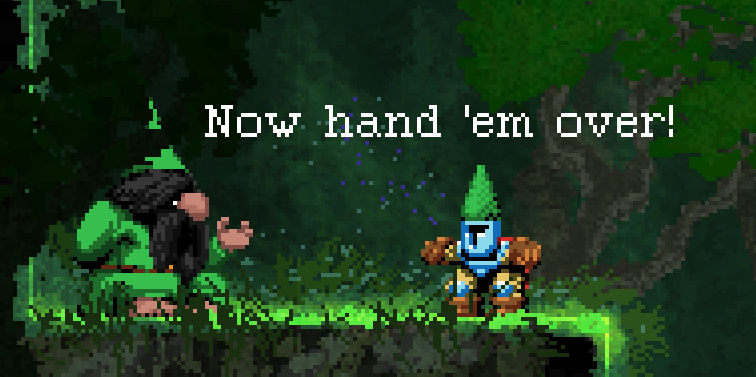
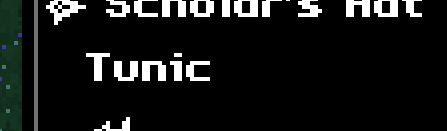
Once finished with the selling line, that’s finished you will get the sold lines and your item will be automatically worn on you (if the selling item is wearable).

Adding a new merchant
Navigate to the Content Manager page.
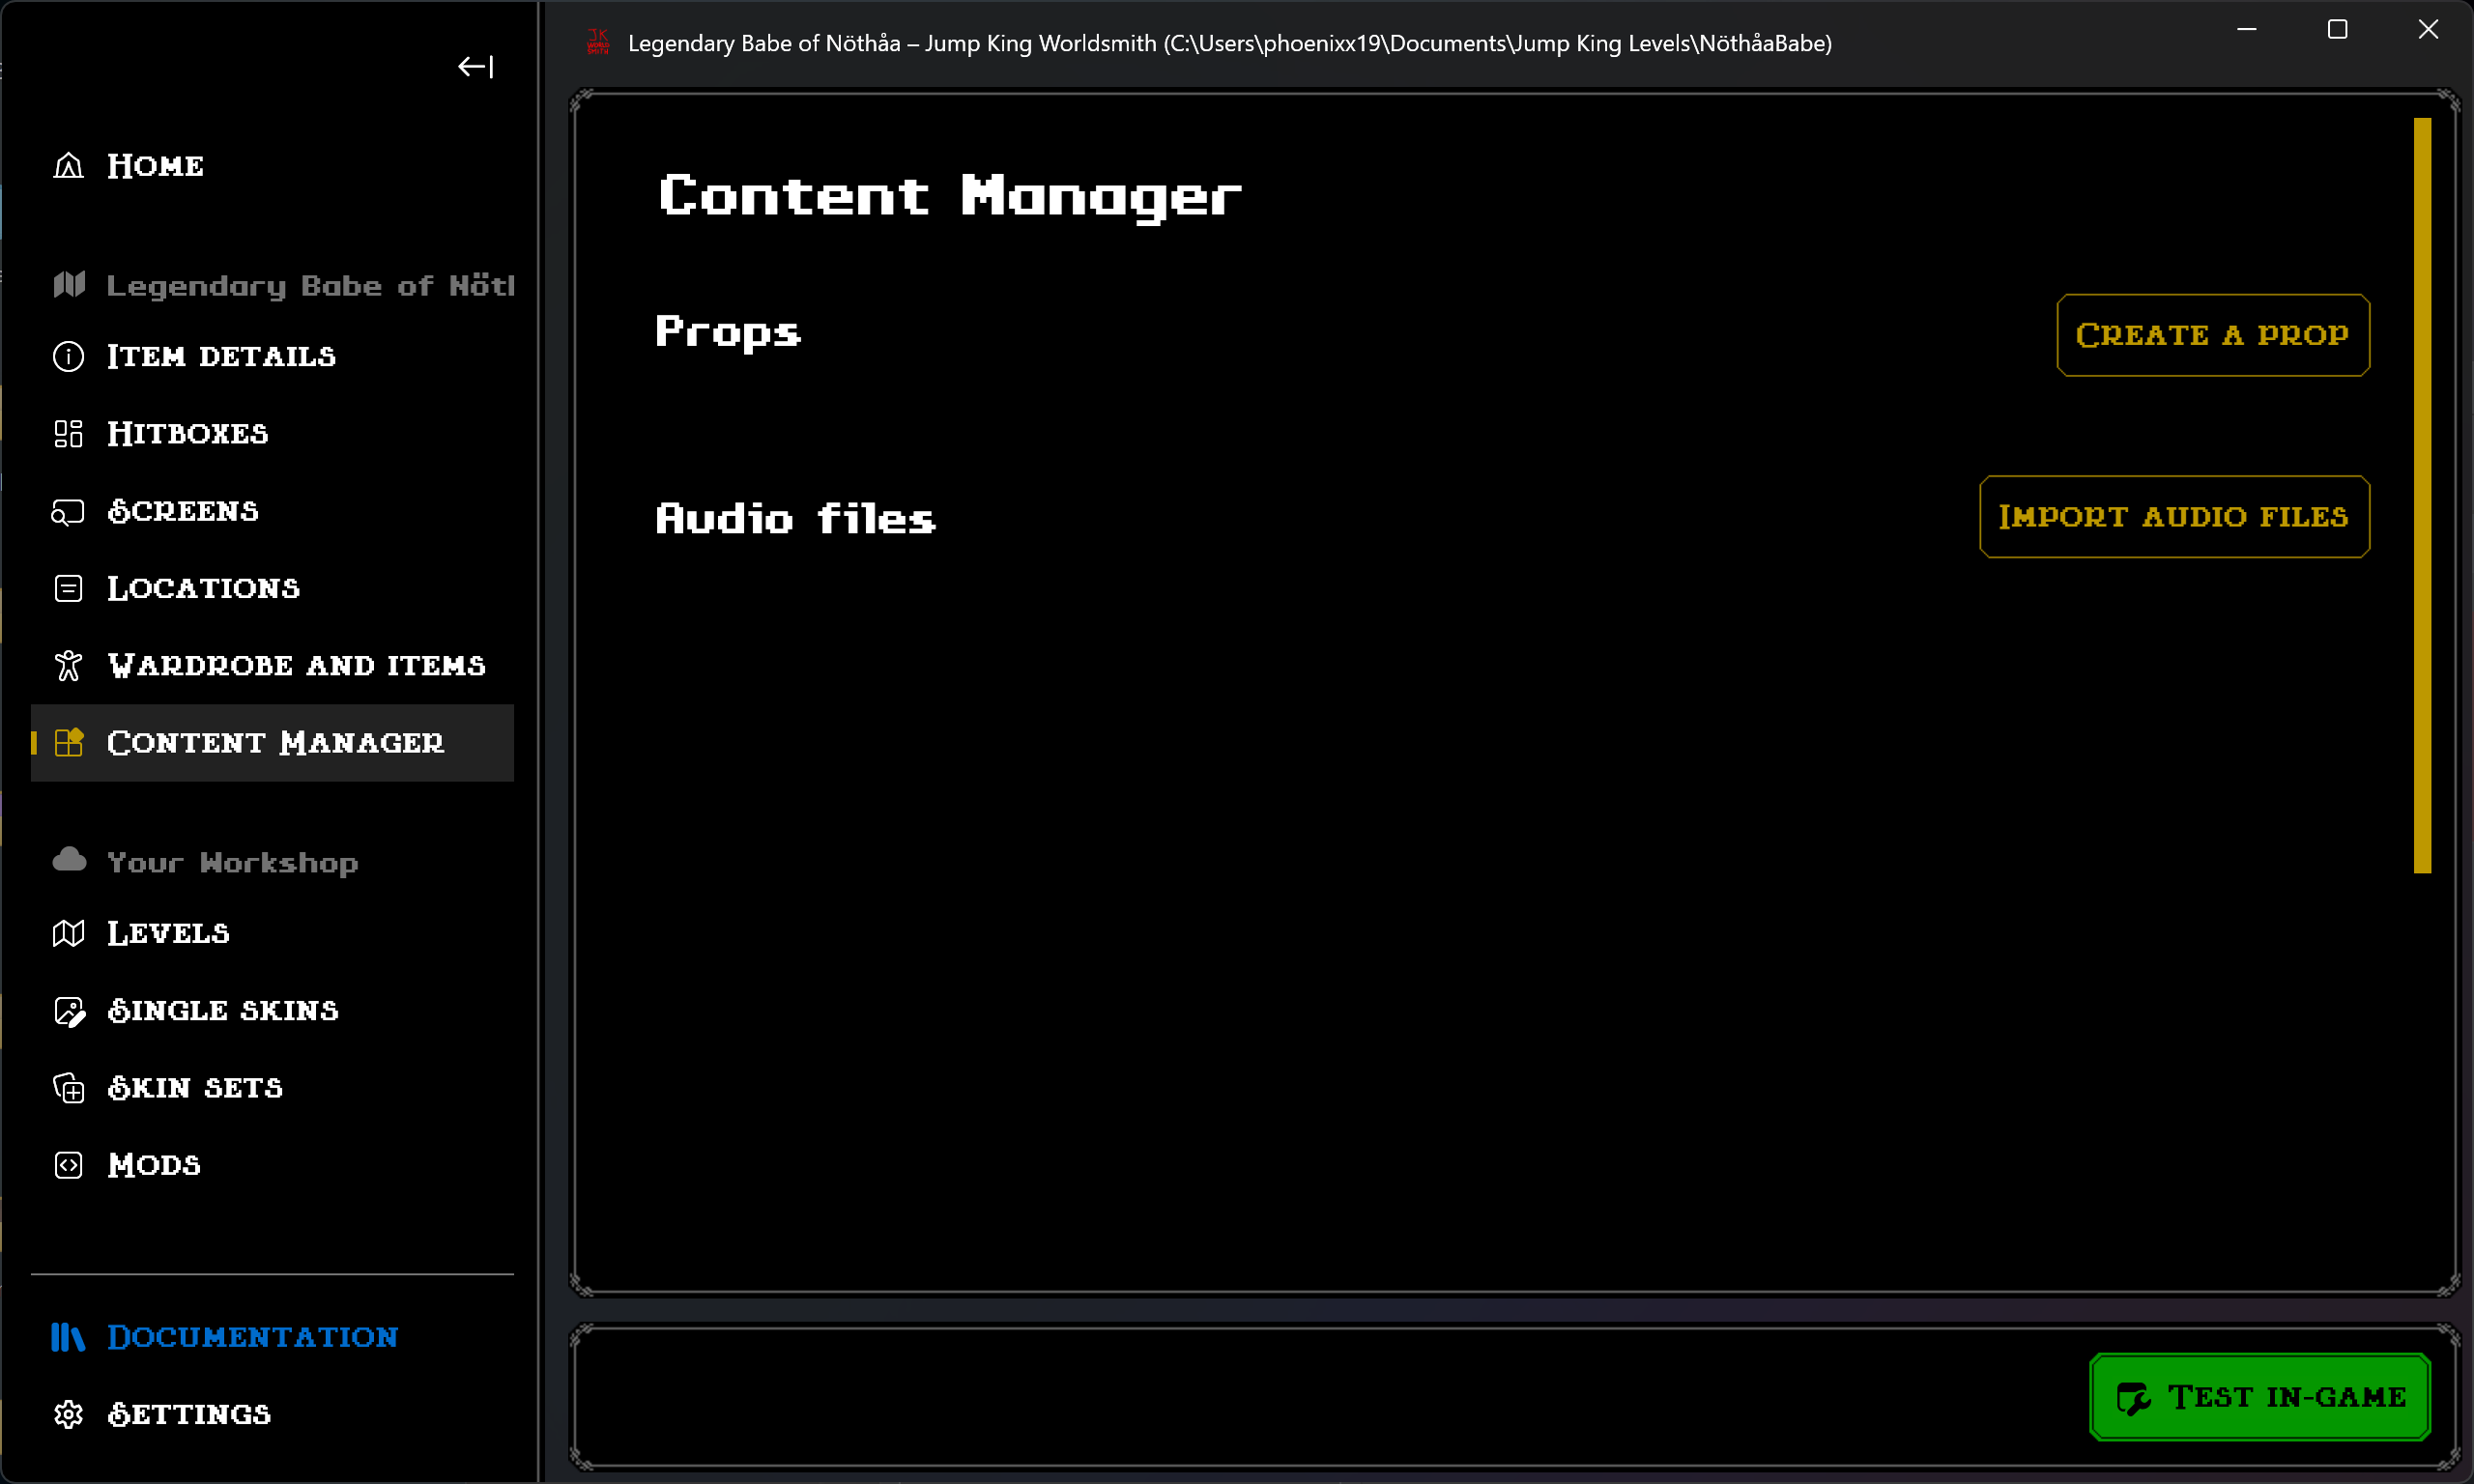
- Scroll until you find an header “NPCs”.
Click on the Create a NPC button found on the right side. A prompt will show up asking the necessary details for your merchant. The following image is how it should look like.
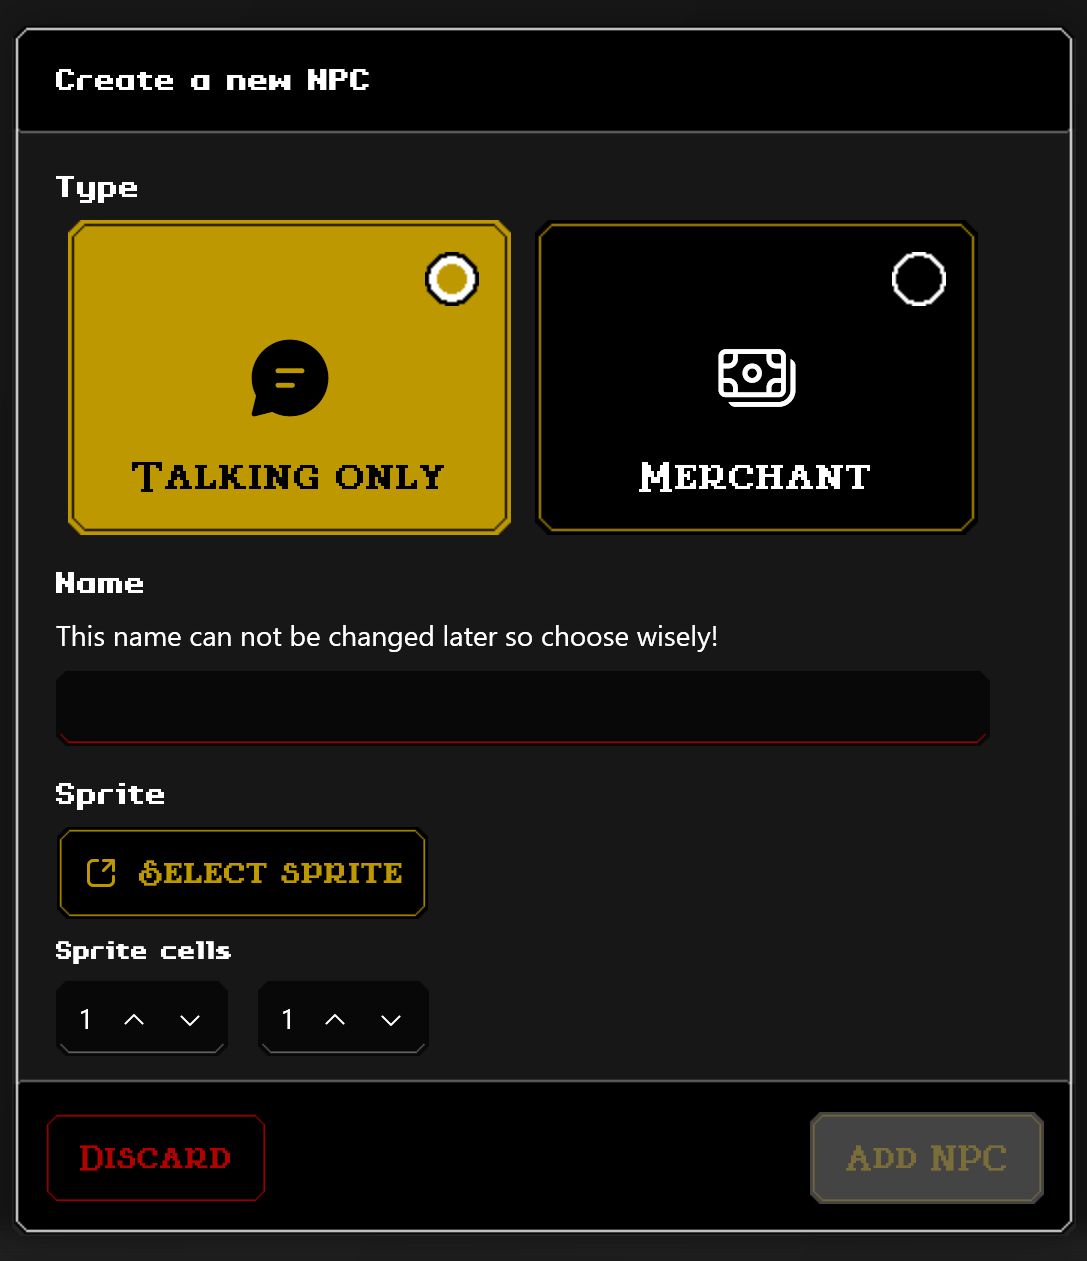
- Select the appropriate type for your merchant (click on merchant) and write a recognizable name for your merchant, you won’t be able to change it later!
- Click on Select sprite.
A new prompt will show up asking you to select a sprite for your merchant.
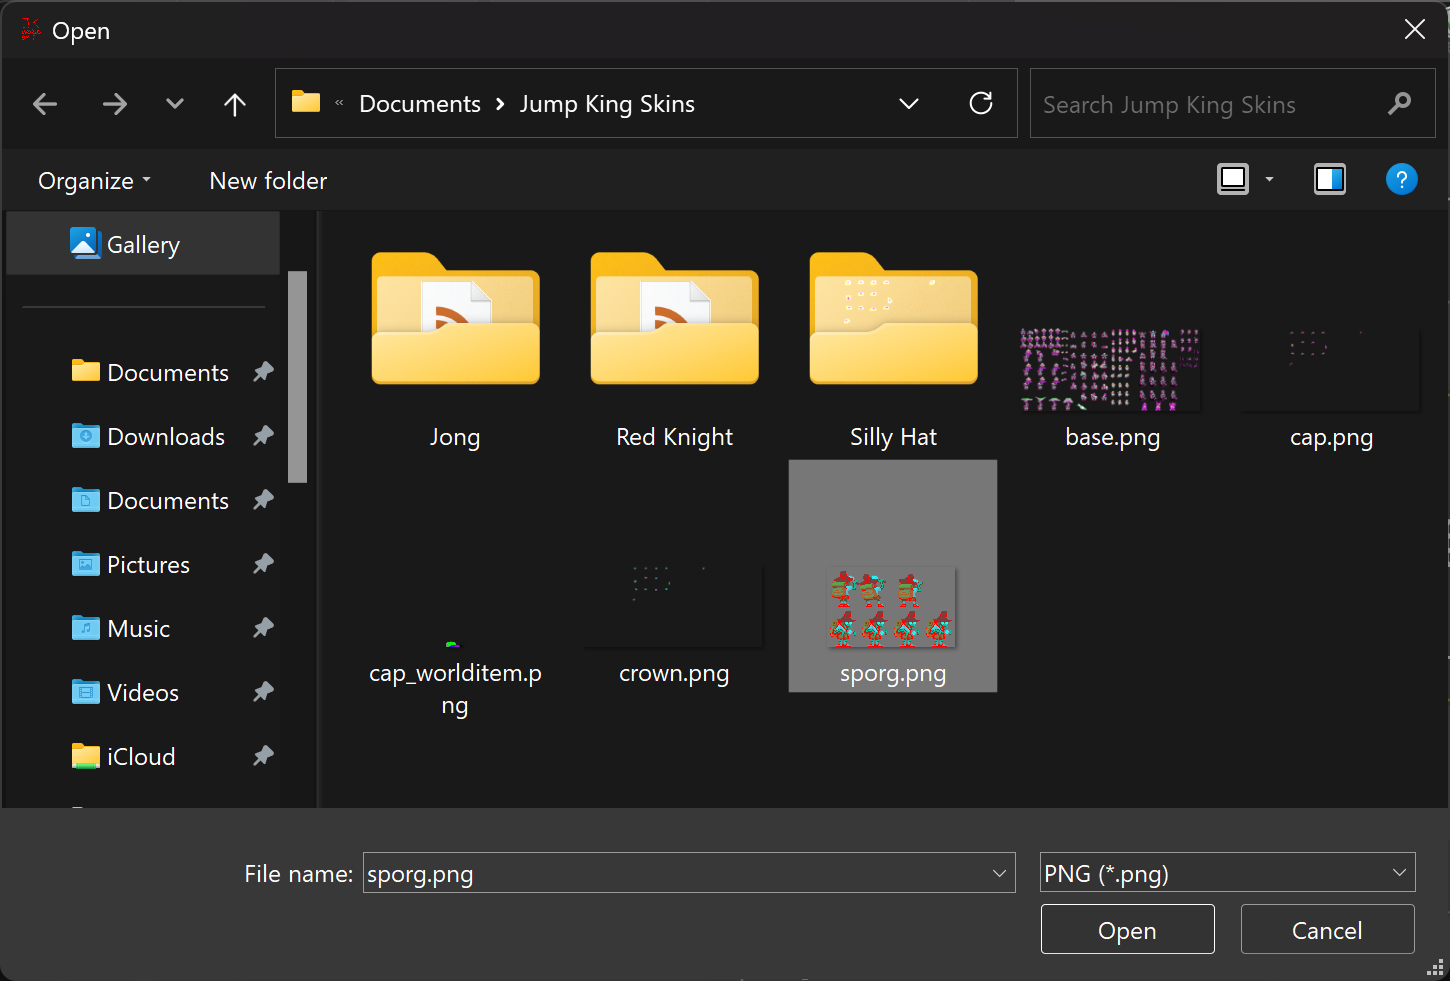
- After selecting your file, click Open.
Make sure the row and column count align with your sprite sheet.
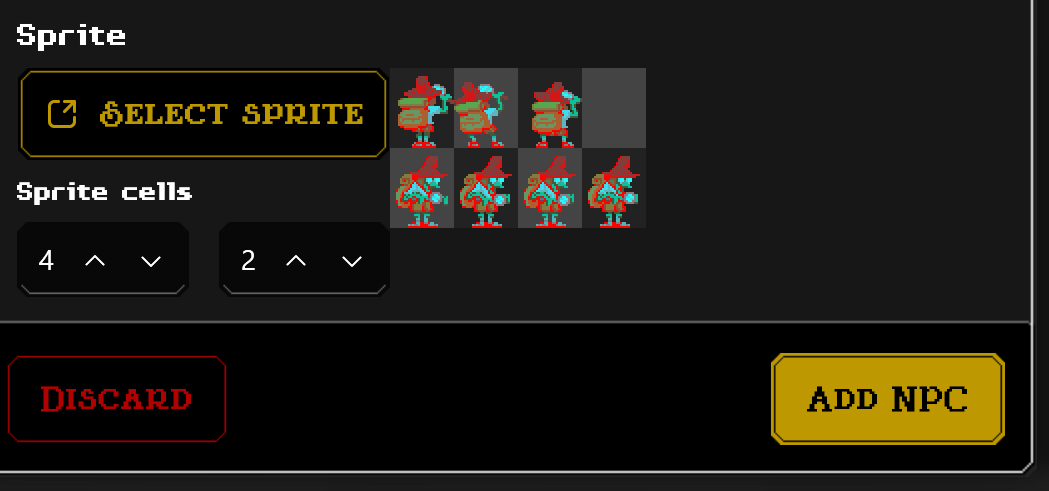
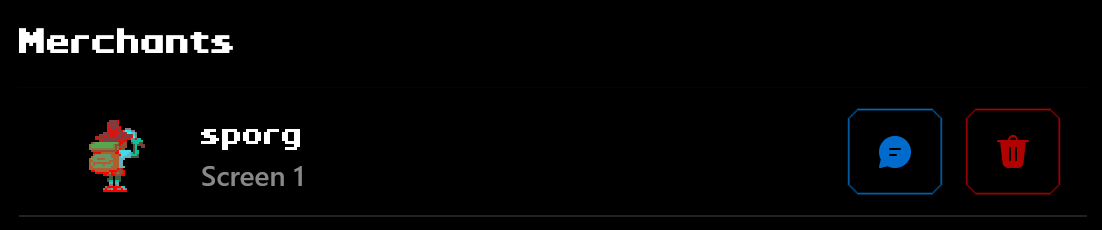
- Click Add NPC and you should see your NPC below “Merchants”.
Changing a merchant’ setting
- Navigate to the Content Manager page.
- Scroll until you find an header “NPCs”.
Click on the merchant you’d like to edit its settings.
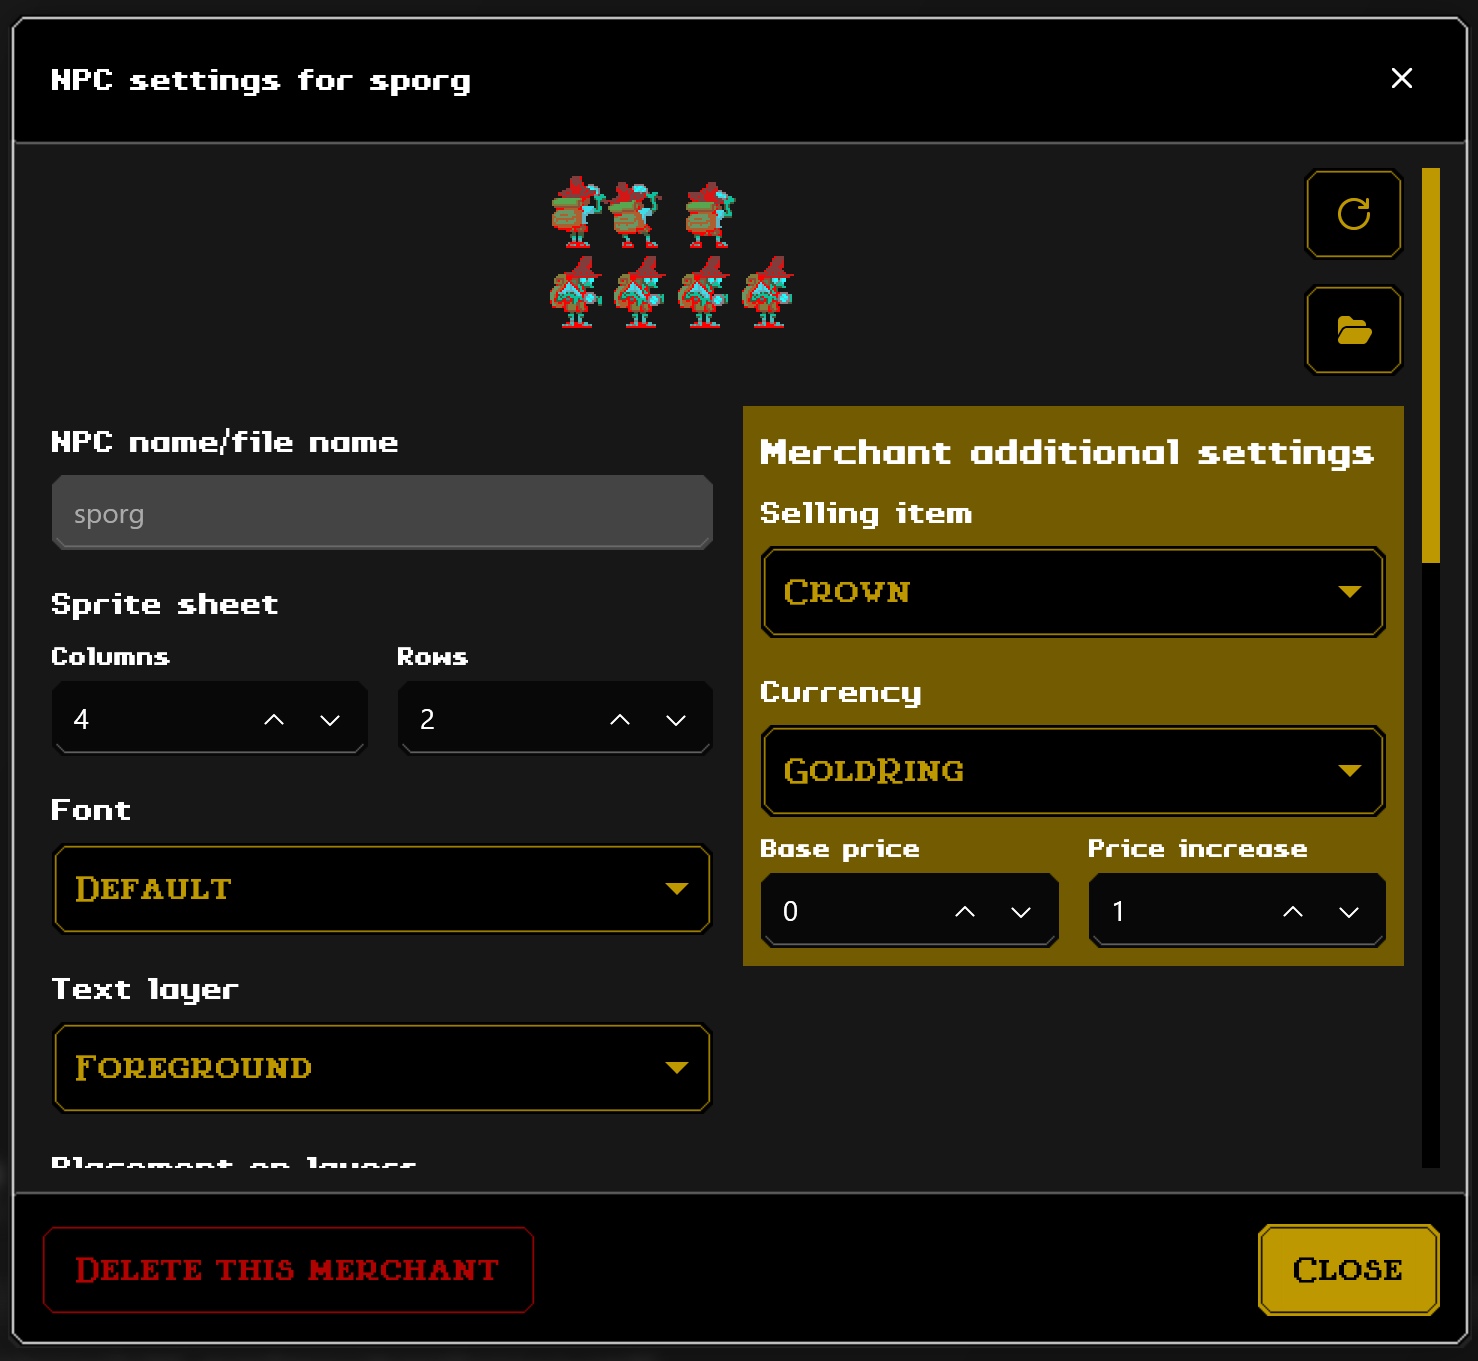
A prompt will show up with the merchant’ settings, from here you can modify as you will.
Changing a merchant’ speech
- Navigate to the Content Manager page.
- Scroll until you find an header “NPCs”.
On the NPC you are looking to modify, click on the blue button that contains a text bubble.

A prompt will show up with the merchant’ quotes, from here you can modify as you will.
Moving an merchant from a screen
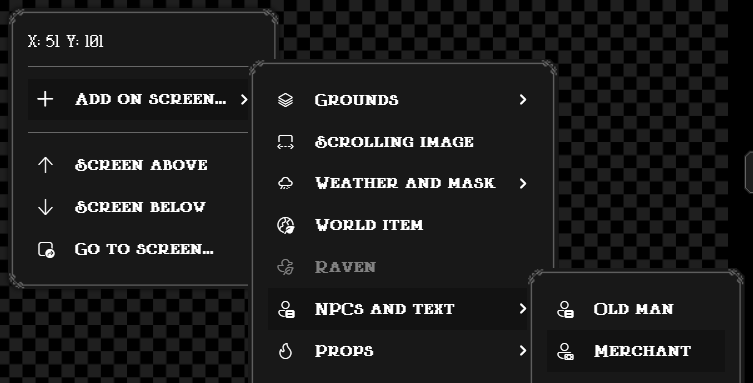
Optionally, if you are on the Screens page. You can decide to add (move) to a specific screen.
Right-click onto the canvas on the left side of your screen (where you have your level preview) and select Add on screen…, then NPCs and text, then Merchant.
Once clicked, a prompt will ask you to select the merchant that you want to move onto the current screen.
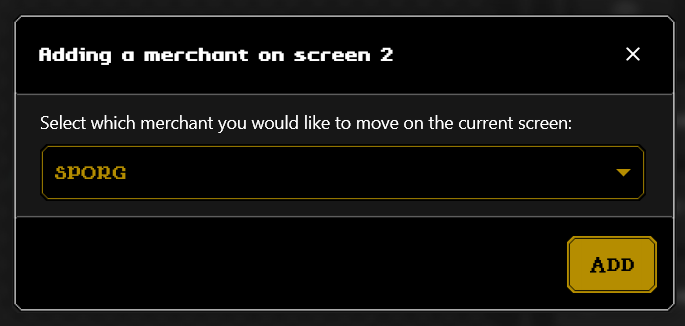
Once selected, click Add.
Your merchant should appear on your preview.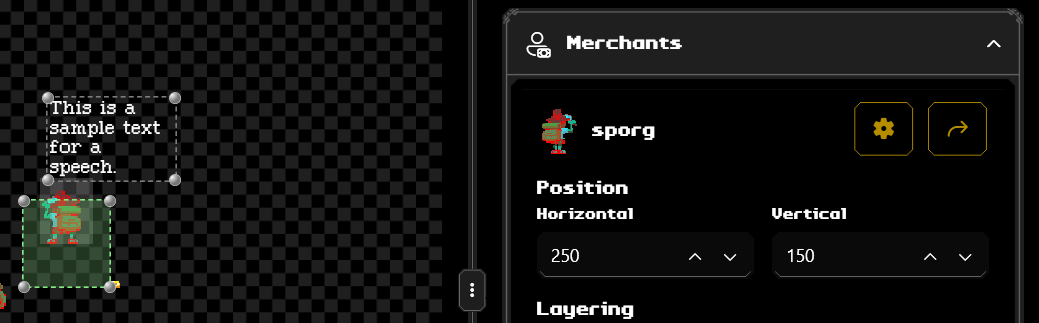
Removing a merchant completely
- Navigate to the Content Manager page.
- Scroll until you find an header “NPCs”.
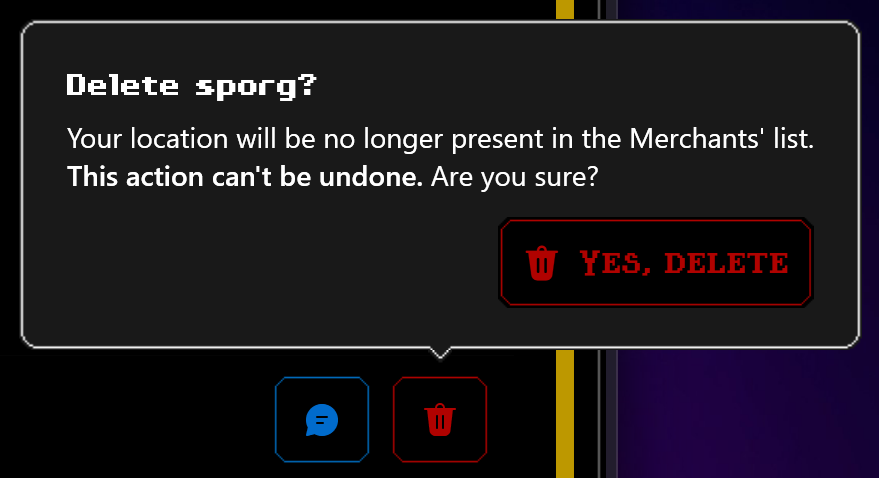
On the merchant you are looking to modify, click on the red button that contains a trash bin.
A prompt will show up asking for confirmation of your deletion. Click Yes, delete if you are completely sure.
After clicking it, your merchant will be removed completely. And you shouldn’t see it both in the Content Manager and Screens pages.
Speech extensions
If you want to display the price in-game through a speech, use [gold_count] as the value.