King folder
how to change the look for the player character.
By default, you must have a different base file.
Table of contents
But what is this base file?

The base file is a packed image file that contains every Jump King (jumping, falling, walking, dancing, you name it) and babe’s ending textures.
Base
Replacing the base
- Navigate to the Wardrobe page.
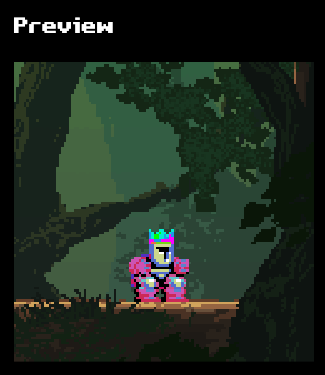
Expand the Preview spritesheet tab.
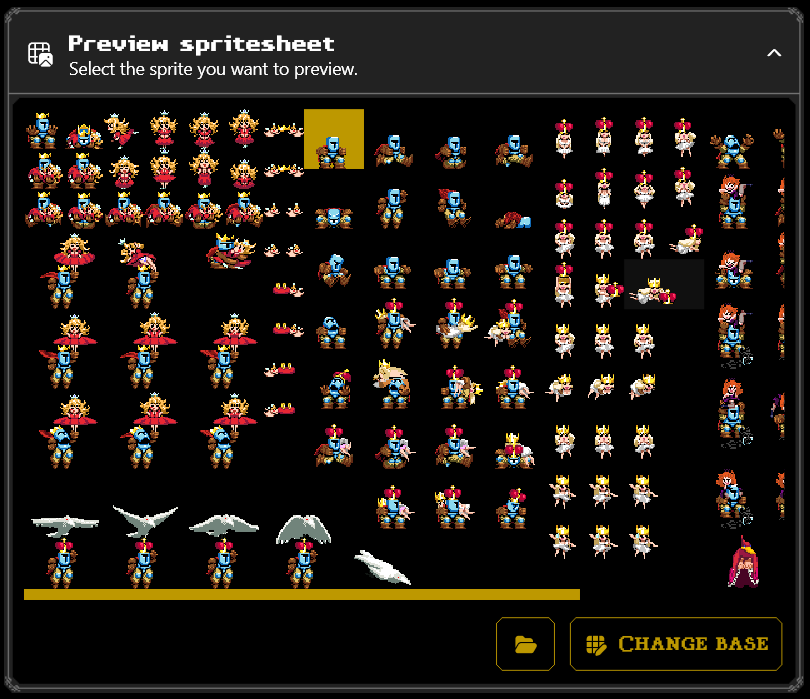
Click on the Change base button found in the bottom-right corner of the tab. A prompt will show up asking you to select a new base.
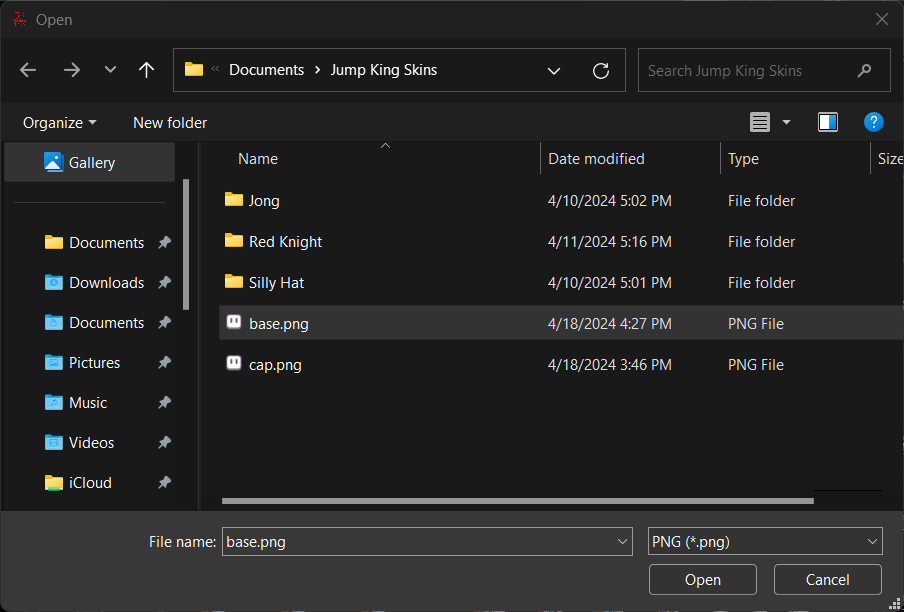
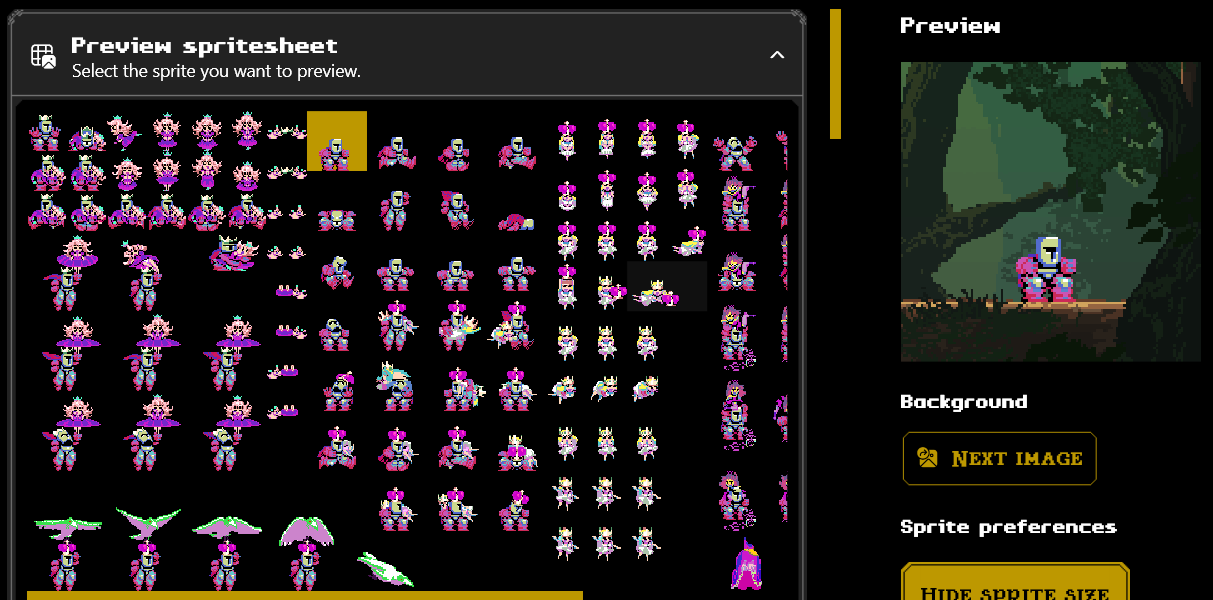
After clicking Open, your base should have updated.
If you’ve lost the original base or wanted to roll back to the original one: here’s the original base.
If you want to branch out from the classic look and go for a more customized experience, you also use the grid to create a new base and other textures too.
Items
Other than the base texture, you can also decide to customize all the other wearable items from the item’s list.
Making custom textures is the same process as making single skins without making the XML files; you need a image editor that supports at least three layers. In the first layer you will need to put the grid, in the second the base of your choice, and in the third your item texture.
Once you are satisfied with your item texture, you can decide to add it onto your level.
Replacing an item’s texture
- Navigate to the Wardrobe page.
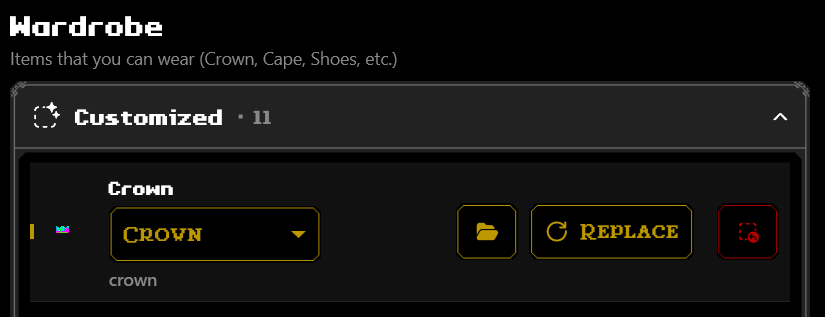
- Scroll until you find an header “Wardrobe”.
- Expand both the Customized and the Default tabs to find your item.
Once found, hover on its name/sprite to show up further settings:
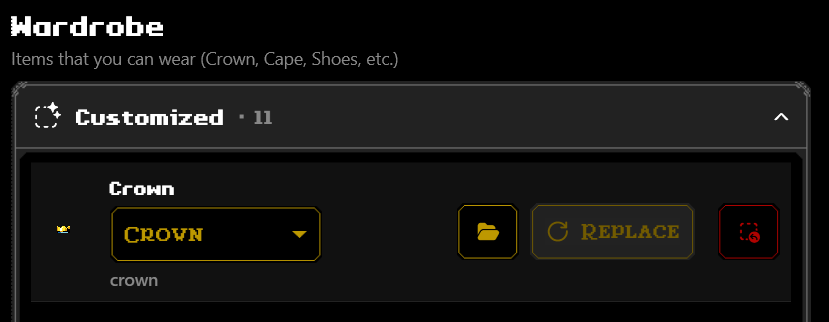
Click on Replace. A prompt will show up asking you to select the new worlditem’s texture.
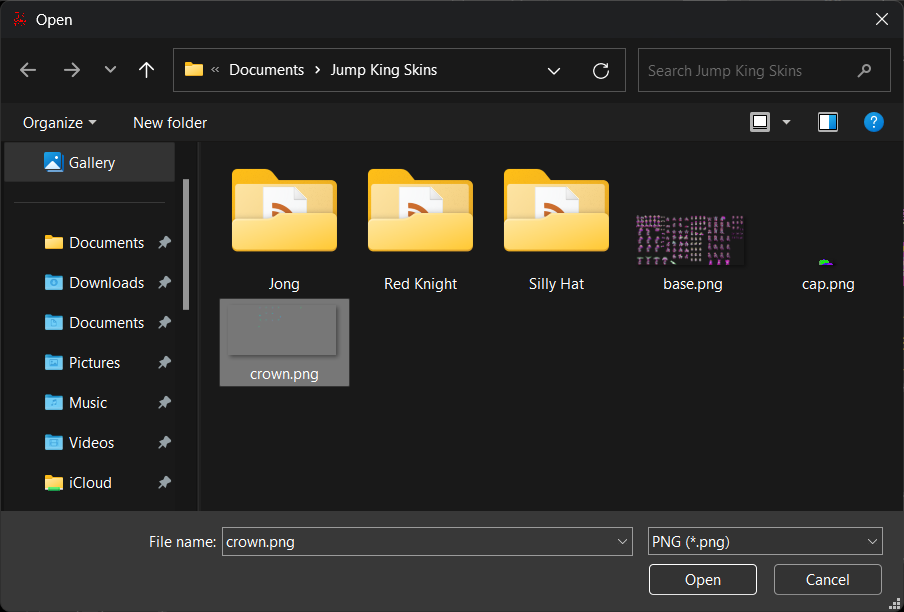
After clicking Open, your worlditem should have changed sprite!
Rolling back the original texture of an item
- Navigate to the Wardrobe page.
- Scroll until you find an header “Wardrobe”.
- Expand the Customized tab to find your item.
Once found, hover on its name/sprite to show up further settings:
- Click on the red button with the tooltip “Bring back the original look”.
- Your item should now look like the game’s default. (It should be now available in the Default tab instead)
Next up
Modifying Audio.