🚧 If you do not understand how the text works in the example below. Go back to File Types and read up on XML. 🏗
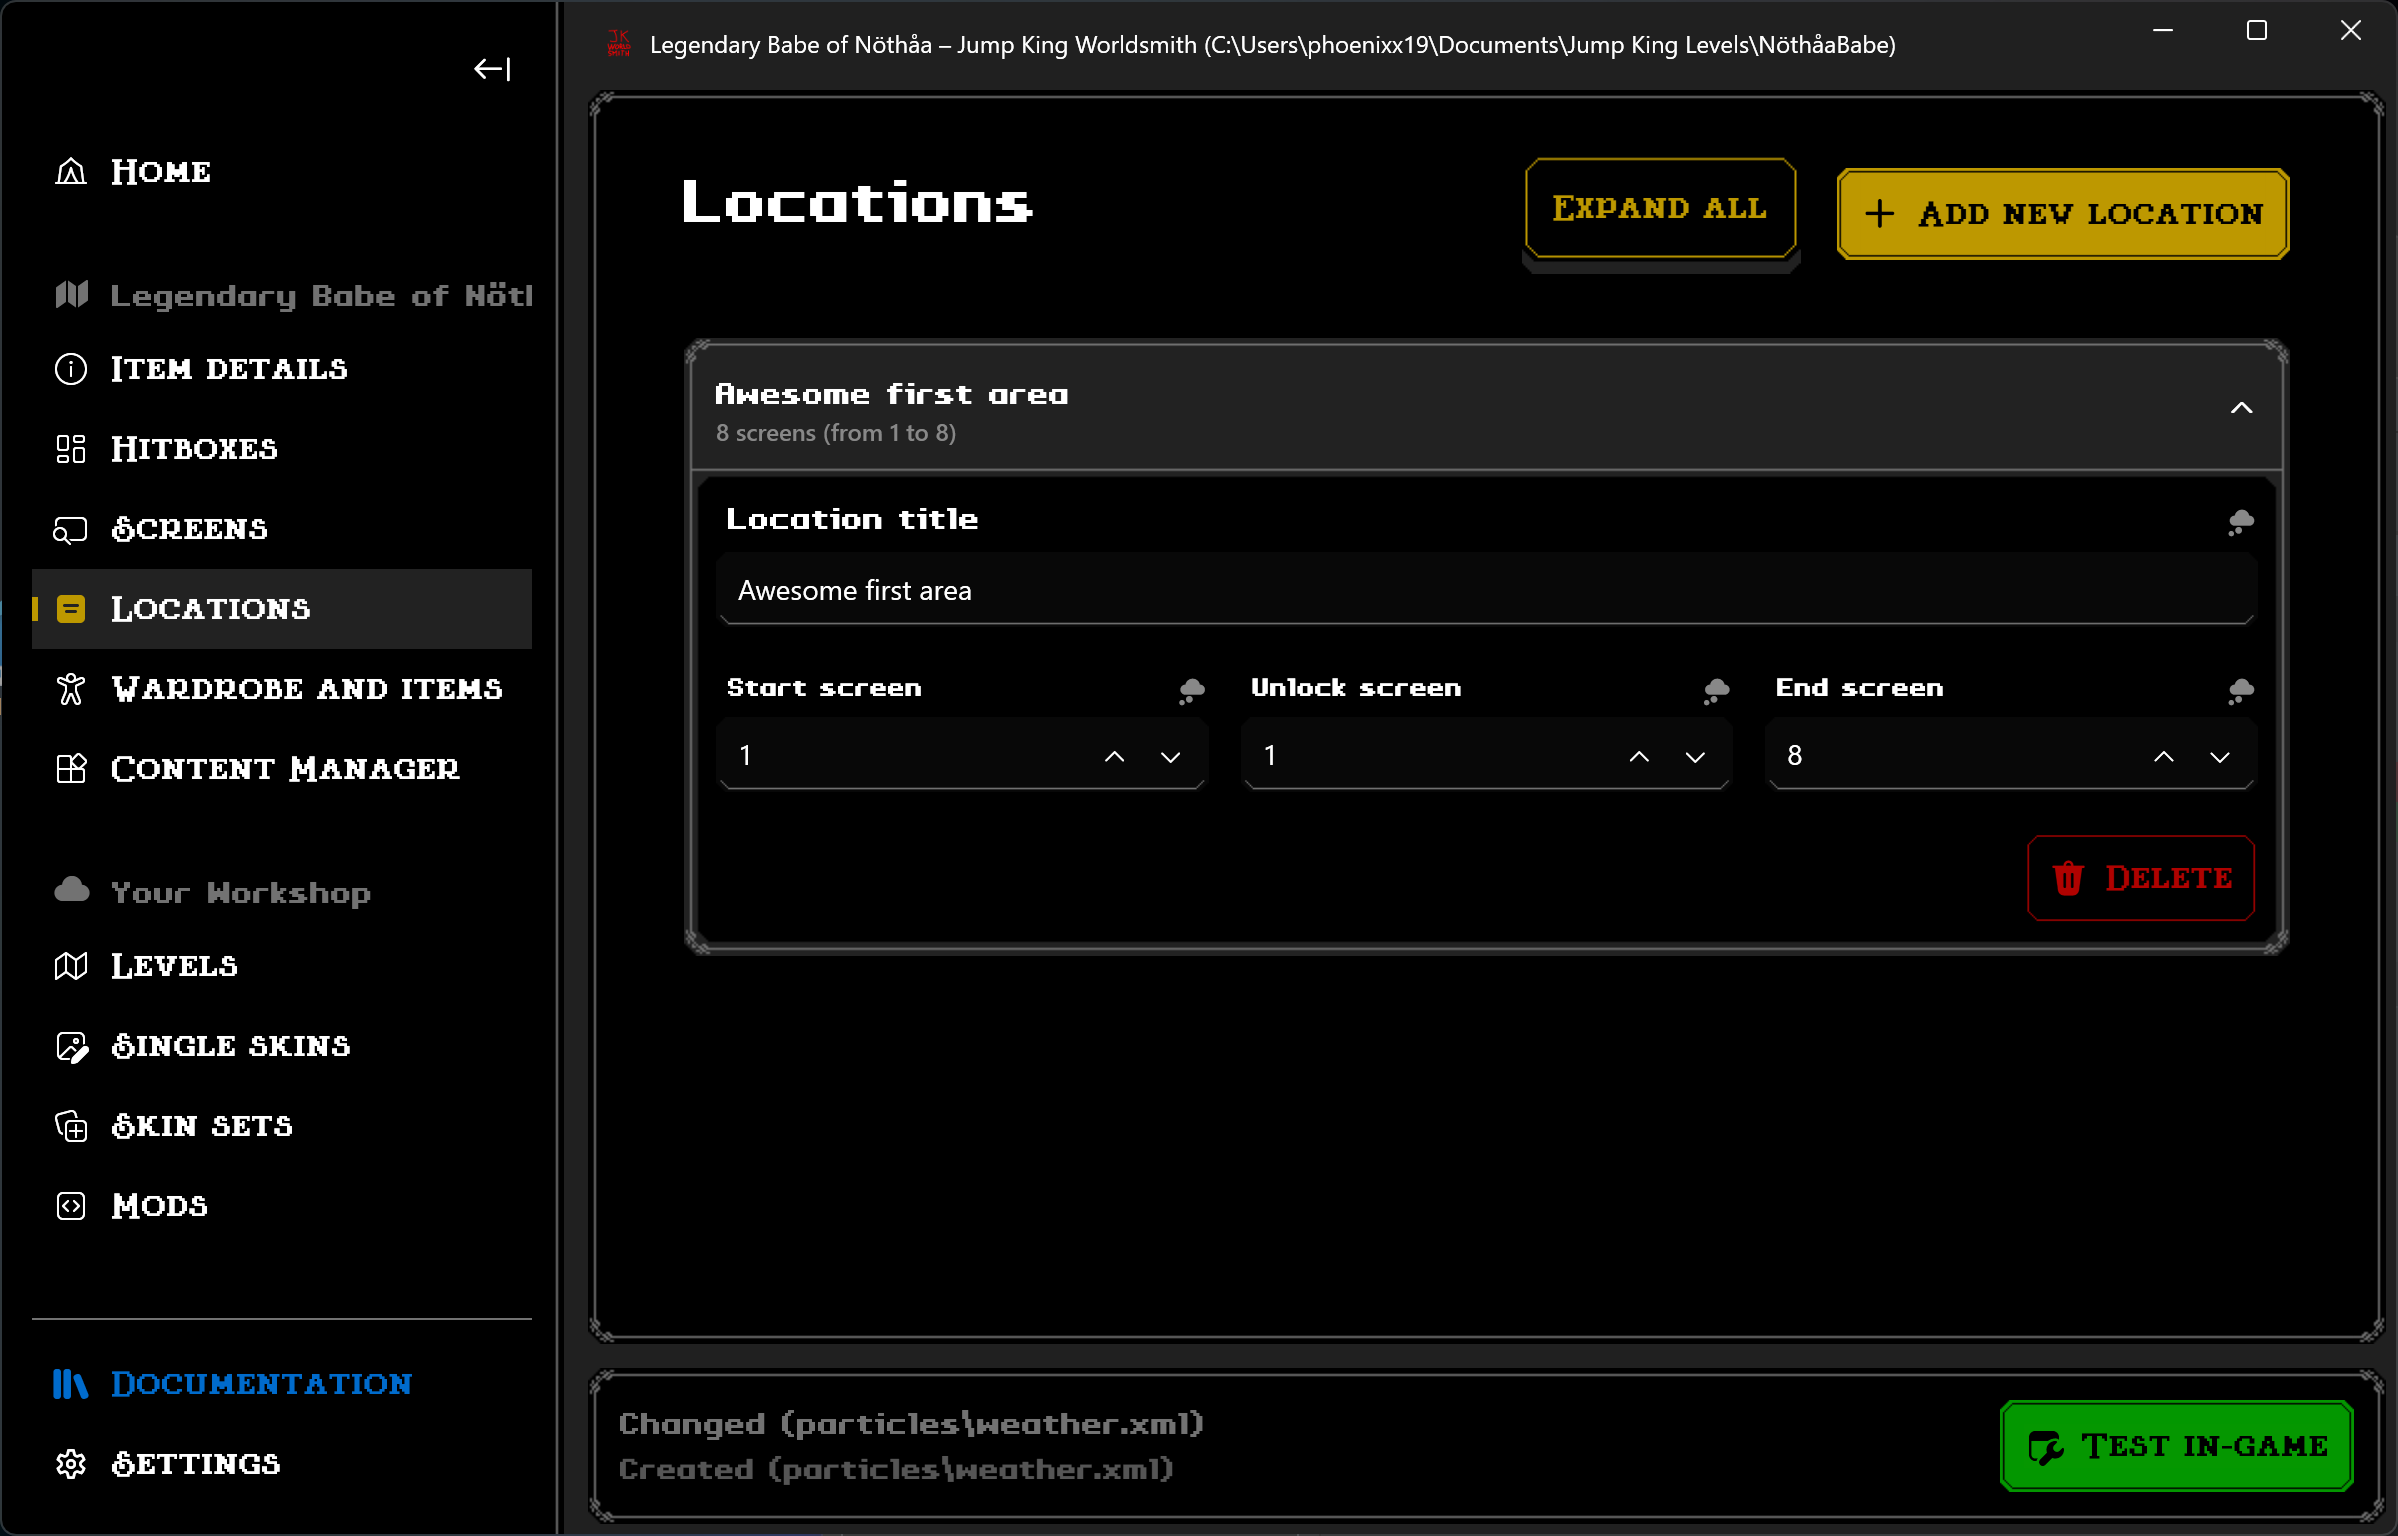
Locations
The locations (also known as areas) are a group of screens that usually represent a specific gameplay or style. Each location have a name, start, end, introduction trigger screen.
Adding a location
Navigate to the Locations page.
If you are in the Screens page, you can click on the location name above Screen 1 (or whatever screen are you on).
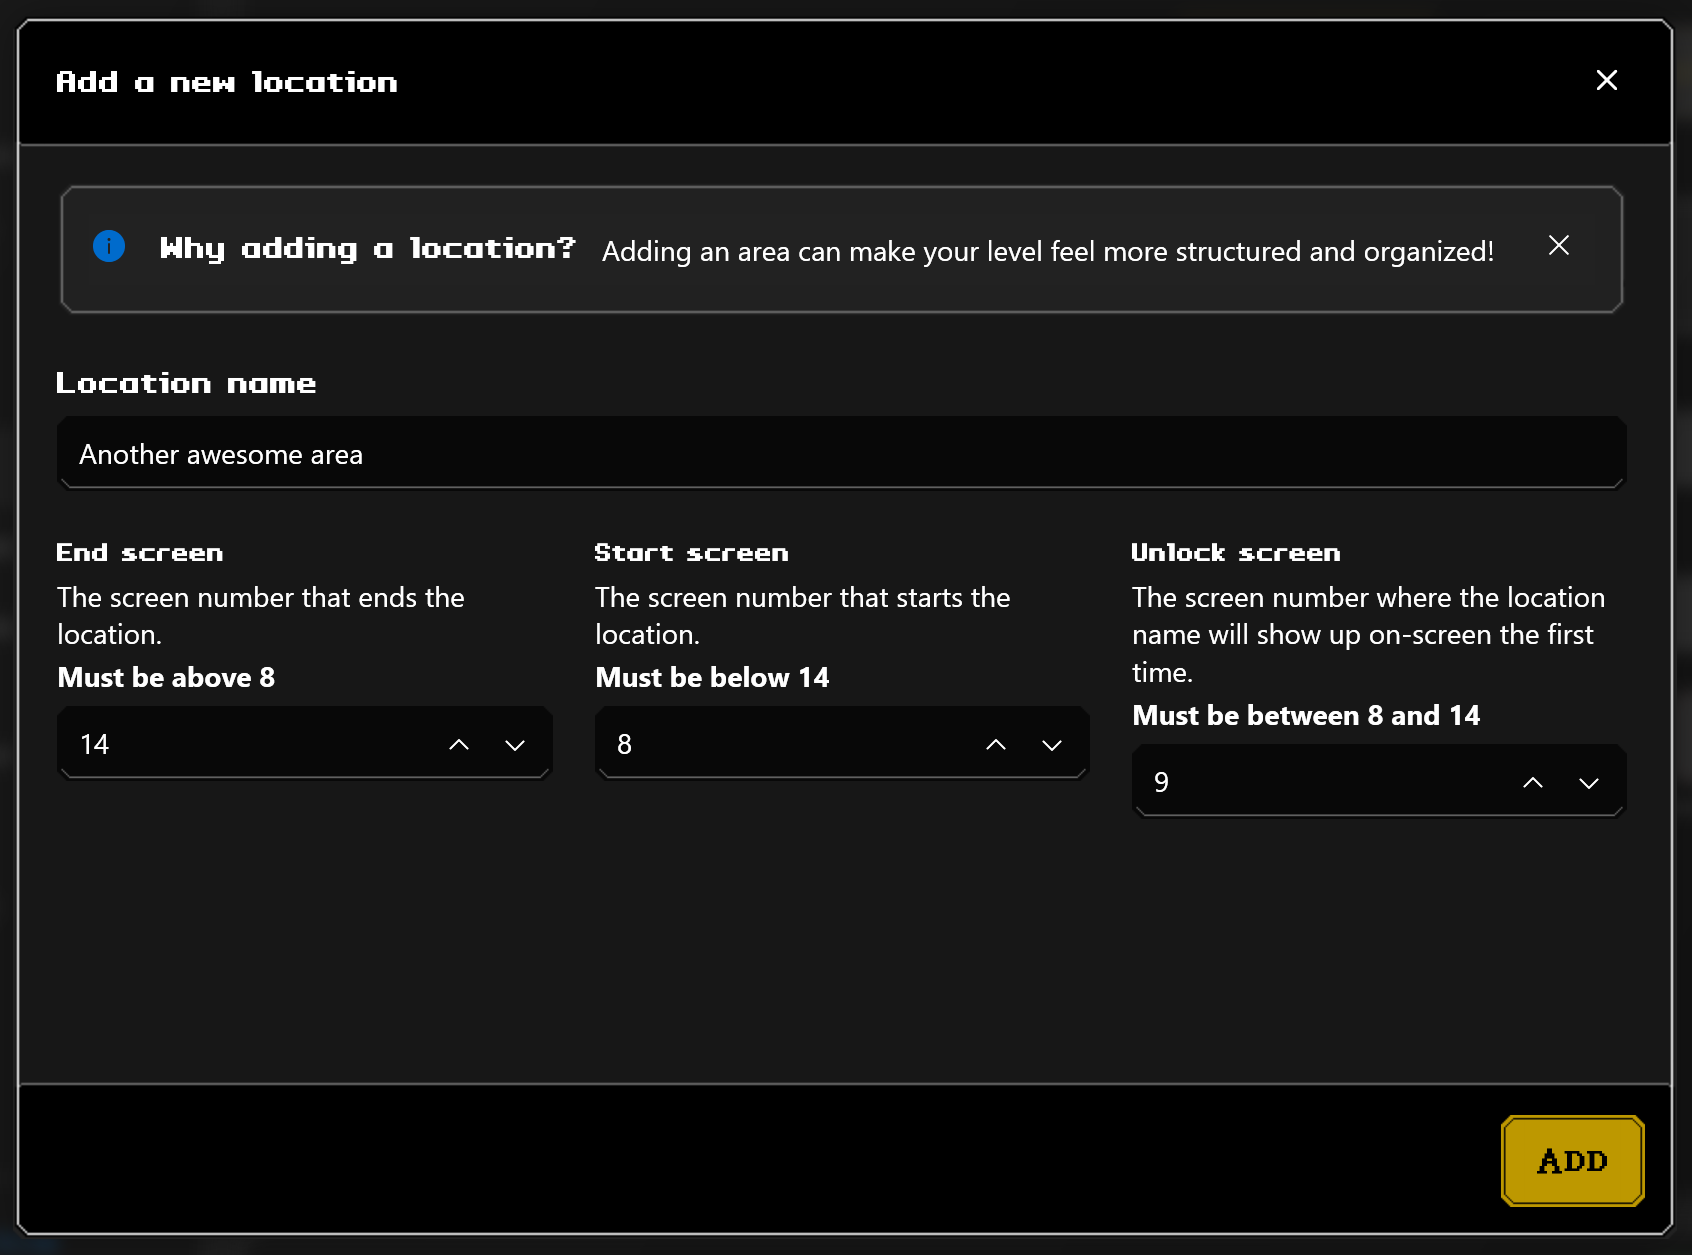
Click on the Add new location button on top-right side of the page.
A prompt will pop up asking you to write the location details (location name, start, unlock and end screen), here’s how it should look like when done:
Click Add to add it on the location list.
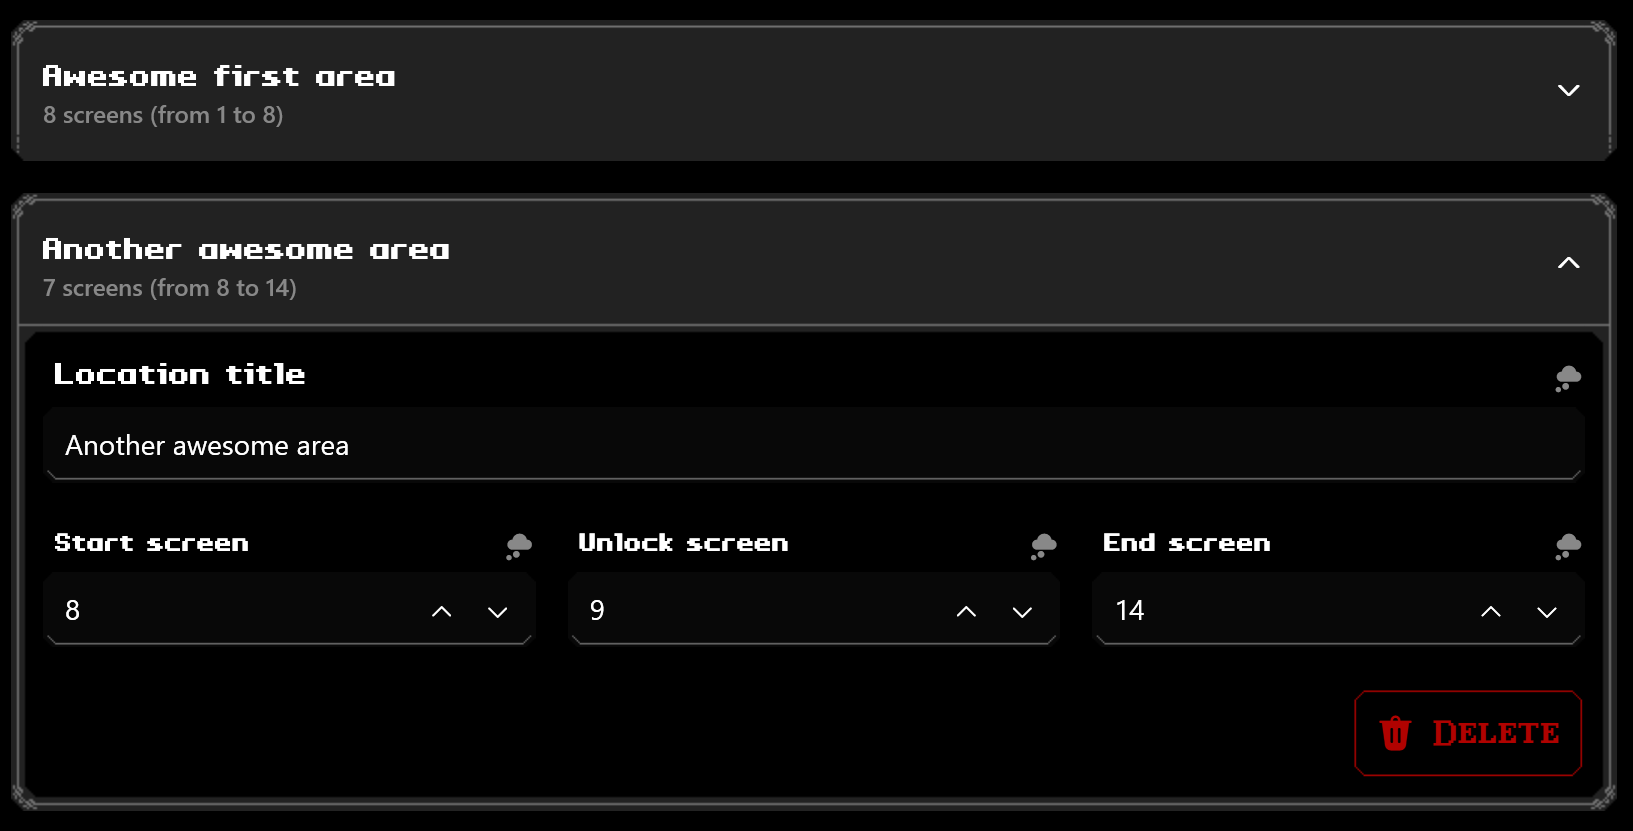
Once done, you should be seeing a new location in the page.
Changing or removing a location
From the Locations page, you can simply expand the location of your choice and edit them freely. Using the Delete button will get rid of your location area (all your details in the Screen page will be untouched, as this is just for the GUI).
Steps (without Worldsmith)
Adding a location
To add a location:
Write down the screen numbers that you want to be part on a location.
Nagivate to gui and open location_settings.xml.
If this is the first time, should see something like this:
Replace the start value with the first screen of your location.
Replace the unlock value with the screen that you want to trigger the location title to show up.
If you don’t want the location title to show up, simply put 0 as a value.
Replace the end value with the last screen of your location.
Replace YOUR_LOCATION_NAME with the name of your new location.
Since this is supposed to be a linear location grouping method, if you trigger a later present location, the middle locations won’t be triggered.
Make sure your location always ends before starting another one! This can cause problems later on if ignored.
Removing a location
To remove a location:
Find what is the name of the location you are looking to remove.
Nagivate to gui and open location_settings.xml.
Remove the entire Location tag where the name equals to the location you want to remove.
Earthquake effect
This allows you to replicate the earthquake effect used by Jump King in correspondence of the towers. This is effect consists of moving the screen left and right by one pixel.
Adding the earthquake effect
Navigate in the Screens page.
Using the Go to screen… button or the up-down arrows, move to the screen you want to add the effect.
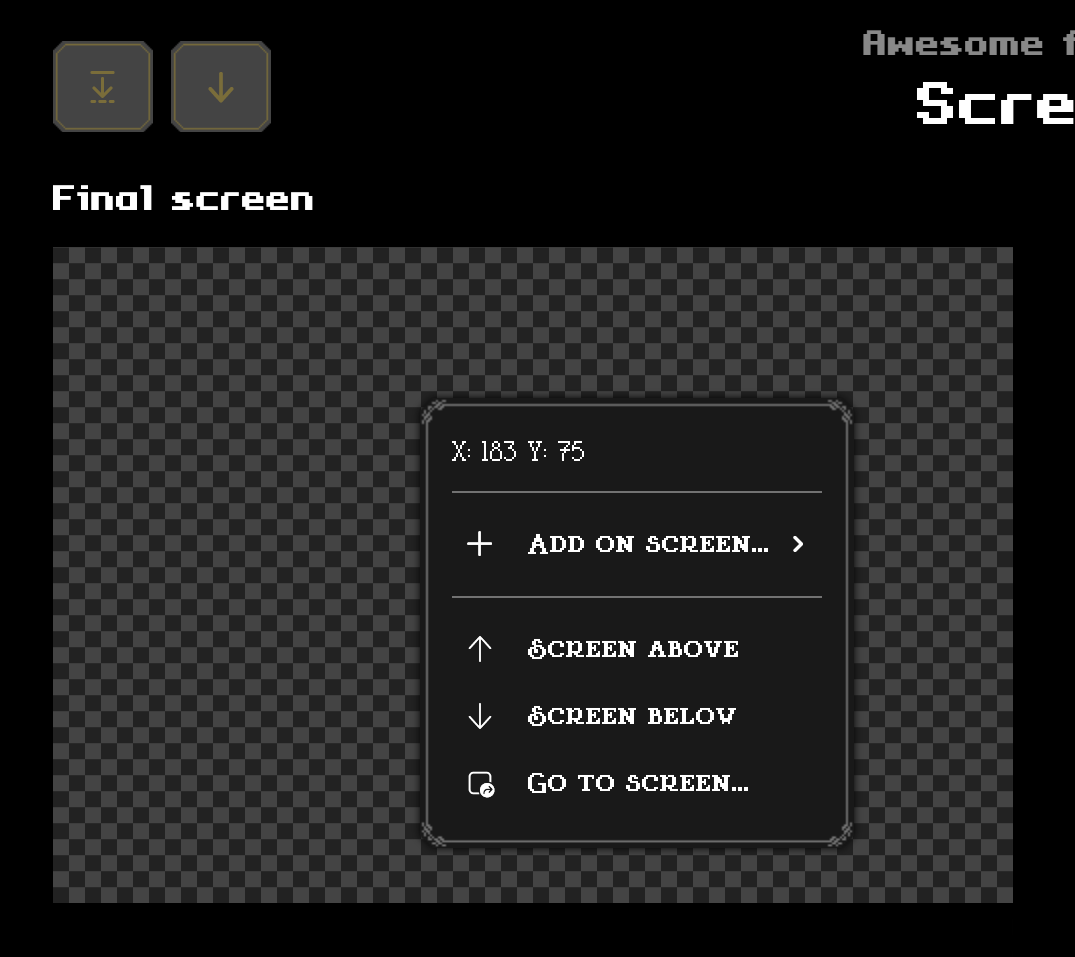
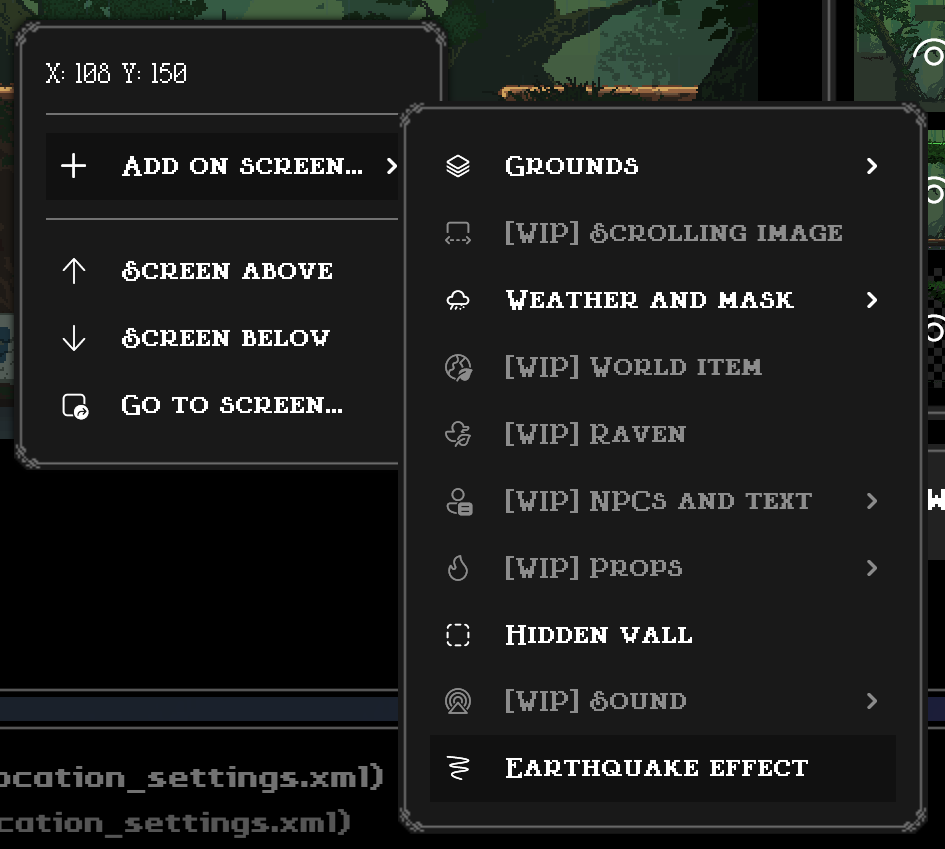
Right-click on the preview on the left-side of the page, a context menu like the following should appear.
Navigate into Add on screen… and click Earthquake effect.
Once clicked, the effect will be added on your screen.
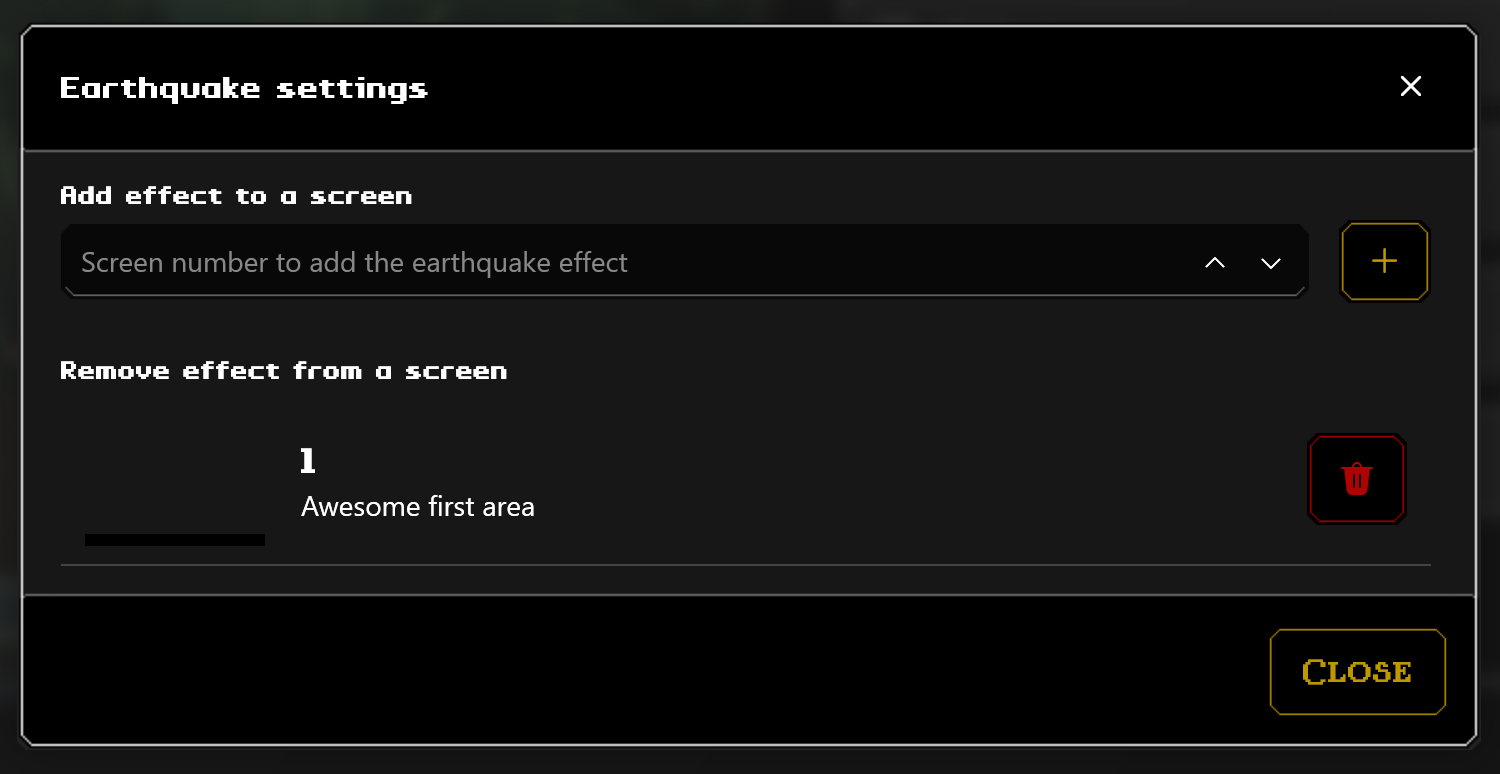
Mass adding/removing the earthquake effect
Using the Go to screen… button or the up-down arrows, move to the screen you have the earthquake effect you want to get rid of.
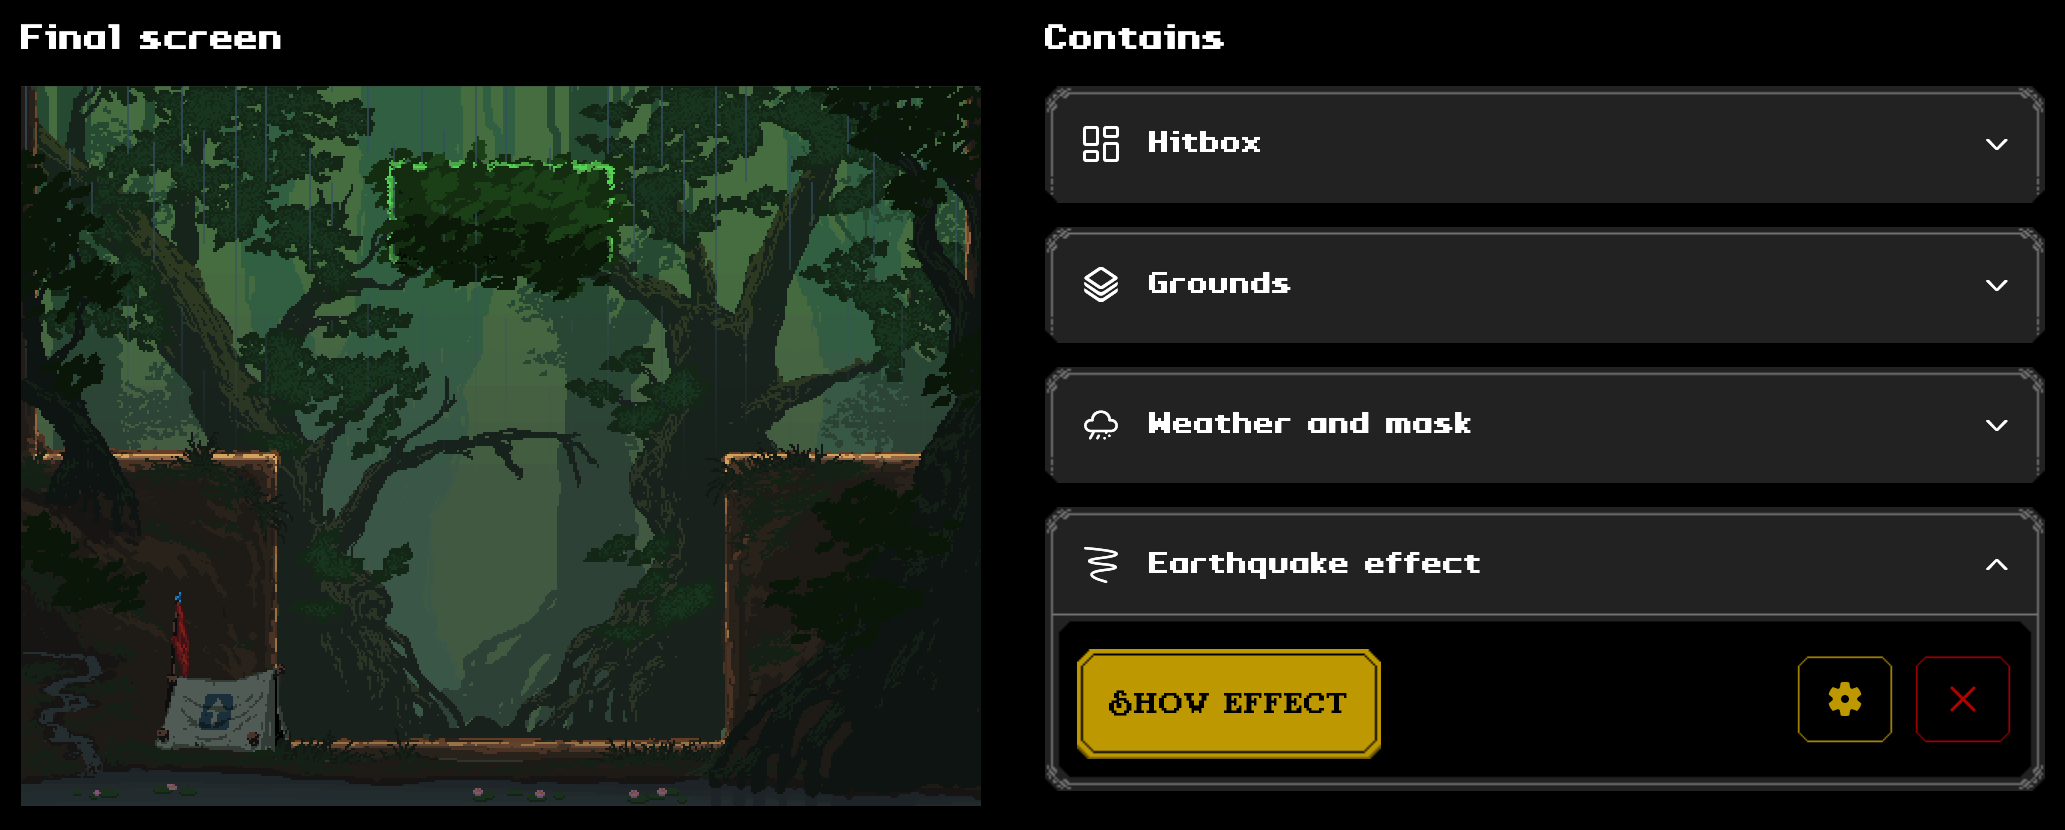
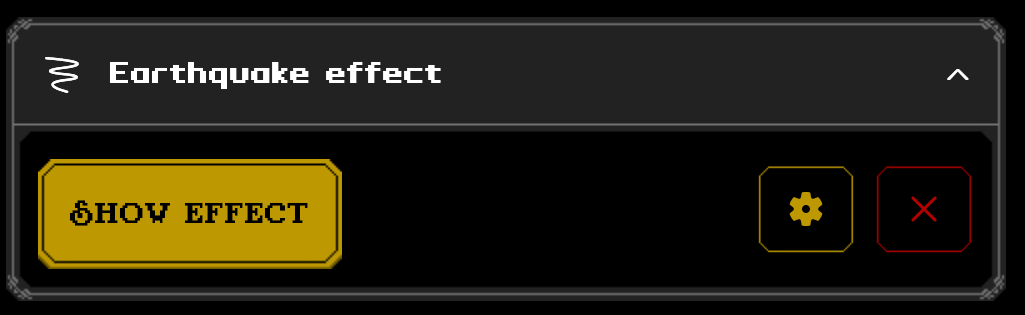
From the right side of the page, expand the Earthquake effect tab.
Clicking on Show/Hide effect will toggle the earthquake preview shake. Clicking on the yellow button with a cog will open the earthquake setting where you can add or remove multiple screens at will. clicking on the red button with an X will remove the earthquake effect from the current screen.
Steps (without Worldsmith)
Adding and removing the earthquake effect on a screen
To add the earthquake effect on a screen:
Write down the screen number(s) where you want to have the earthquake effect.
Nagivate to gui and open earthquake_settings.xml.
By default there’s only one screen set to 0, so it will never trigger. Like the following example: