Updating
how to update the content of your items in the Workshop.
Table of contents
Updating your item
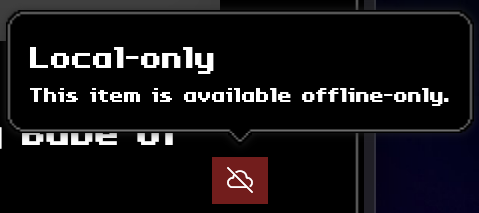
You won’t have to follow this if your item has not been published yet, you can quickly checking this in the right side of the Item details page, hovering the icon next to your item’s title. If your tooltip looks like the following example, you can skip this.
To bring your changes on the Workshop as well, you will need to scroll down until you find the Changelog subsection under Workshop details (you can find it before the “Danger zone” section) inside the Item details page.
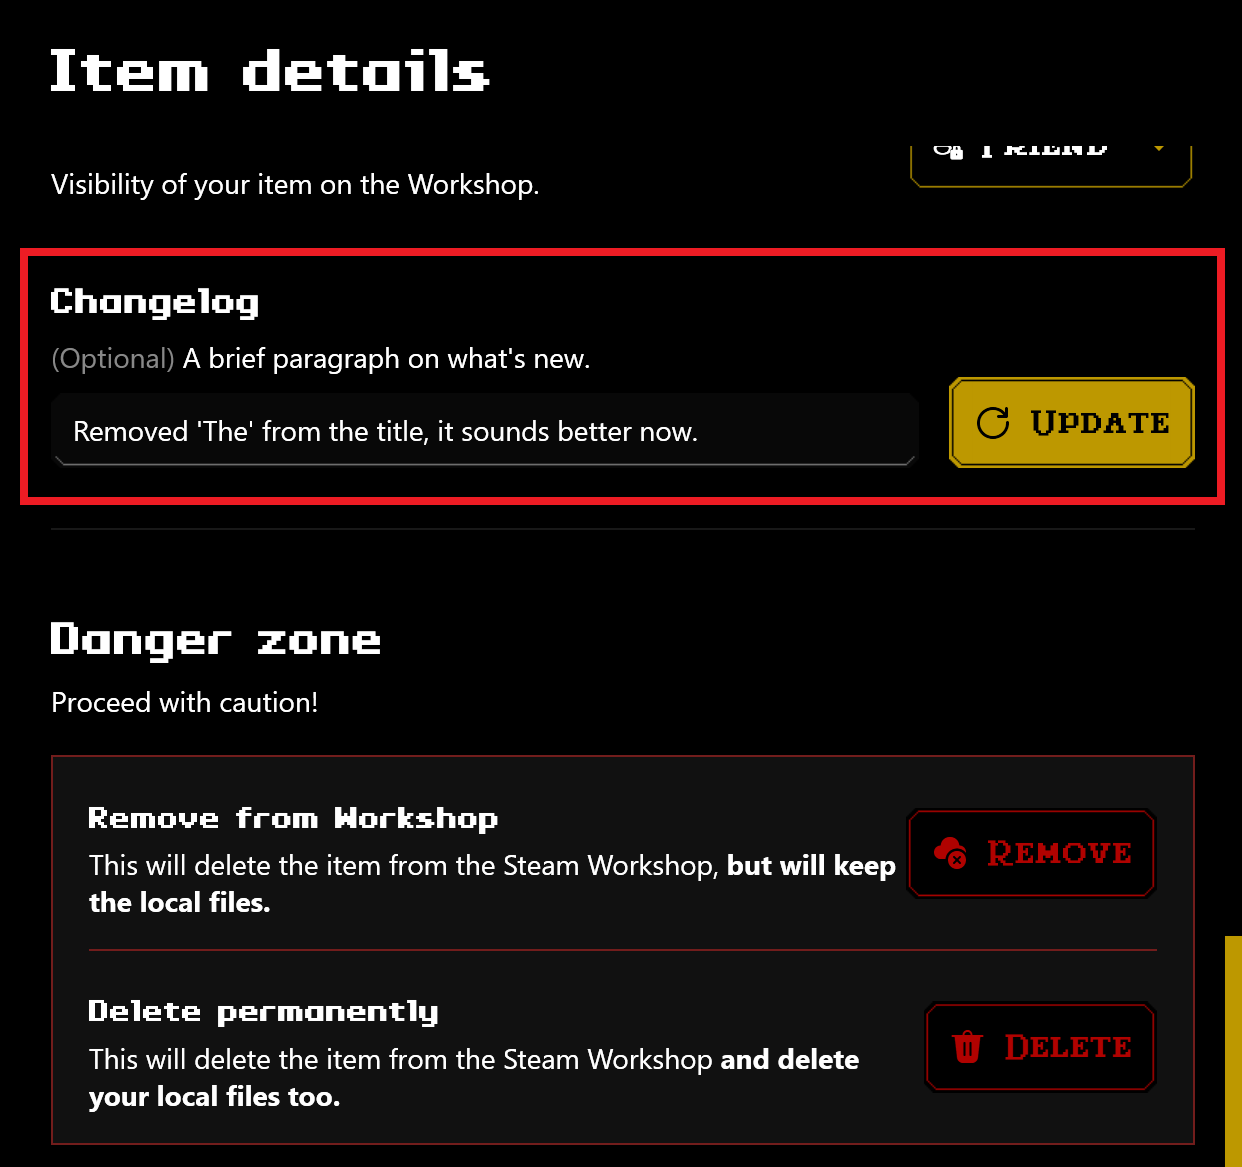
- (Optional) Write what you’ve changed.
- Click Update.
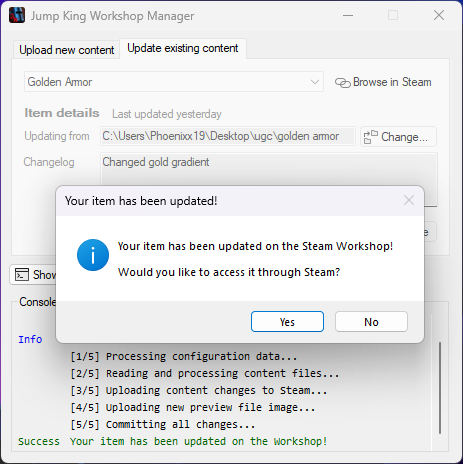
A prompt will show on screen showing you the progress for your update. Once done updating, Worldsmith will tell you it has updated your item like so:
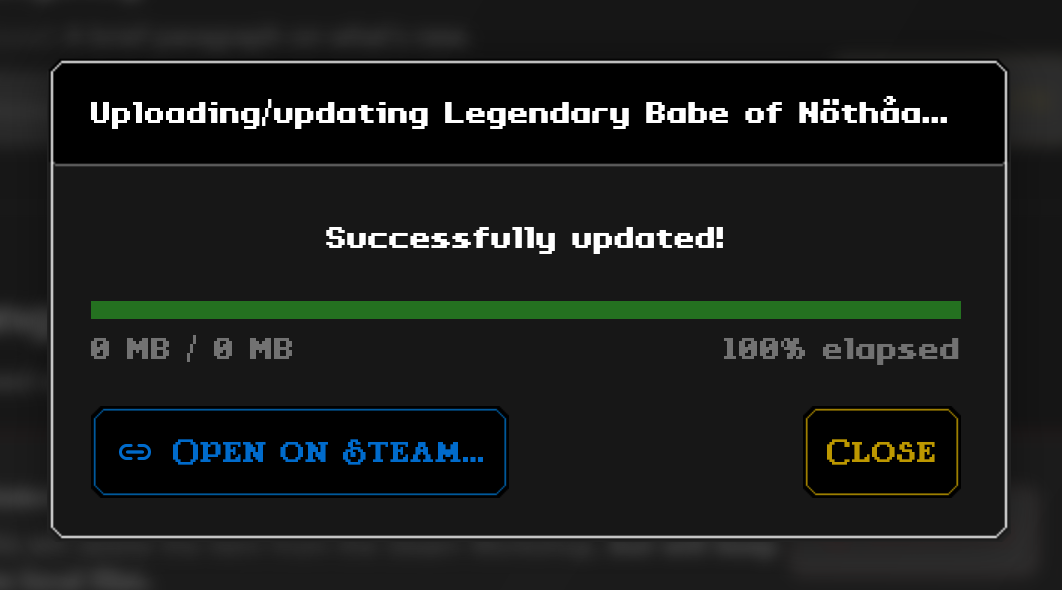
- If Worldsmith has shown the pop-up like the example above, you have successfully updated your item. From here you can either close the pop-up by clicking Close or check your changes yourself by going on your item’s Steam Workshop page by clicking Open on Steam….
Steps (using Workshop Manager)
Open
Jump King Workshop Managerfrom Steam or click here.
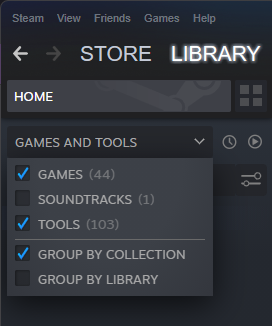
If you can't find it, make sure you have tools enabled from the dropdown in your Steam library. Expand for image reference.
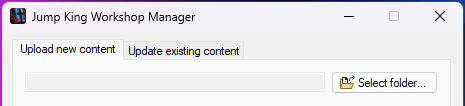
Once opened, click on Update existing content.
From the blank dropdown, select the item you want to update.
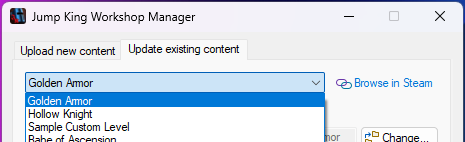
If you can't open the dropdown, expand this.
Make sure:
- You are in the right Steam account.
- You have uploaded at least an item and are subscribed to it (therefore finished downloading).
If you don't see your item from the dropdown, expand this.
If you have just uploaded it, consider restarting the tool once the item has been downloaded from Steam. Otherwise make sure you are subscribed your item and it is downloaded.
Once selected, you will see the item details menu as following.
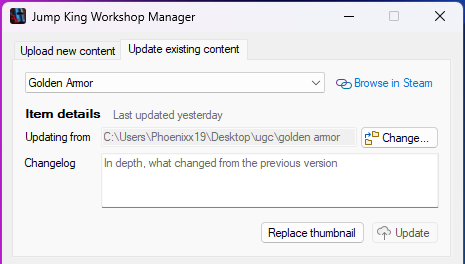
Make sure the “Updating from” folder of your item is correct in directory.
This folder will be what you will update so make sure your item’s content is right.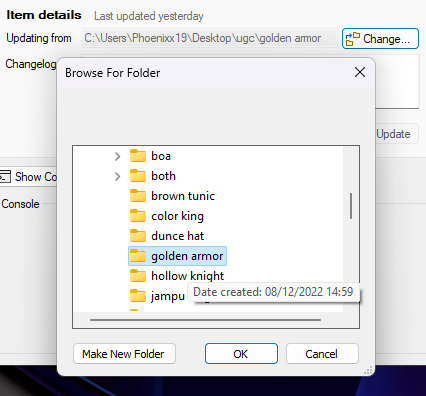
Optional — Add a new thumbnail or replace the existing one
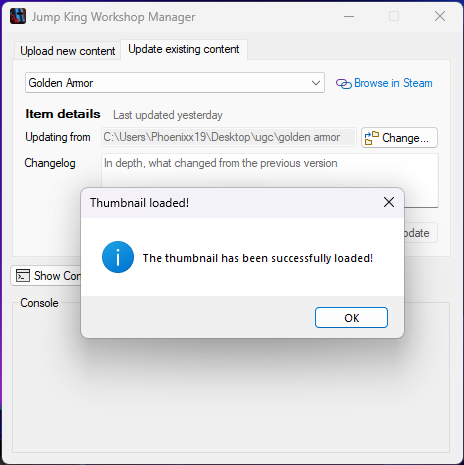
To add or replace the thumbnail, click on the “Replace thumbnail” button and select the image you want to use.
For the Steam limitations, we recommend you to follow the following details:
- resolution: 256x256 pixels
- file size: below 34 kB (kilobytes)
- bit depth: 8 bit (not required but lowers the file size dramatically)
- image type: png (not requred but lowers the file size dramatically)
If the image follows the limitations above, it will prompt you a message telling you it has changed the thumbnail to the image selected. (Don’t forget to click Update to change it!)
Add a changelog to let other players know what you’ve changed in this version.
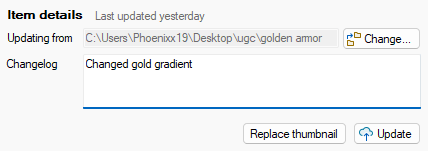
Click Update and let the tool update the item for you.
Reverting changes
Reverting changes only works on Steam, your project will be unchanged, therefore if you want to continue editing on a rolled back project, you will need to find the changes and undo them yourself!
For tech-savvies
Consider using Git (or other version control systems) for each update to ease what’s changed.
So you can easily rollback on your project too!
Sometimes it can happen you’ve made an unwanted change.
By clicking on the “Change Notes” tab on your item’s Workshop page you can check when you have updated your item and by clicking Revert to this version (based on the date of the change) you can update your item to the chosen specific version.
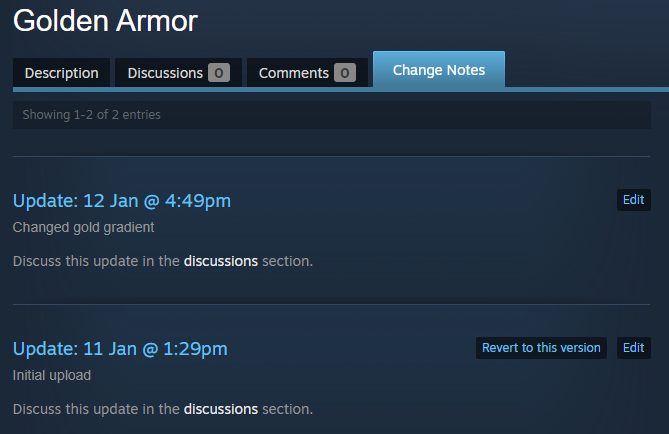
This only works if you change the contents of the item, if you change the thumbnail, you won’t see any change note.
It’s recommended to always write what has been changed every update. This way, you can immediately identify each edit and revert back if you need to.