Audio folder
all the sound related content
Table of contents
Copyrighted music pieces
If a copyright holder of a song/asset asks us to remove the copyrighted material due to not having a proper license for usage, your item will be removed from the Workshop for copyright infringement. Only by replacing the copyrighted material or by acquiring the proper license/permission for its usage, the item can be reuploaded on the Workshop. If the user is found reuplading copyrighted content, it is subject to a Workshop ban.
File size
Music and ambience sounds tend to be the most heavy files in Jump King. Make sure you compress your music/audio enough so the level once compressed doesn’t have file size that’s too large! It’s recommended that you try to keep the final mods folder below 1GB. The average map size is around 750-800 MB.
Audio pieces (Ambience/Music)
Difference between ambience and music
All ambience can be all background sounds (bonfire, birds, rain or wind sounds).
Music is a soundtrack on a different layer.
Adding an audio piece (with Worldsmith)
Navigate to the Content Manager page.
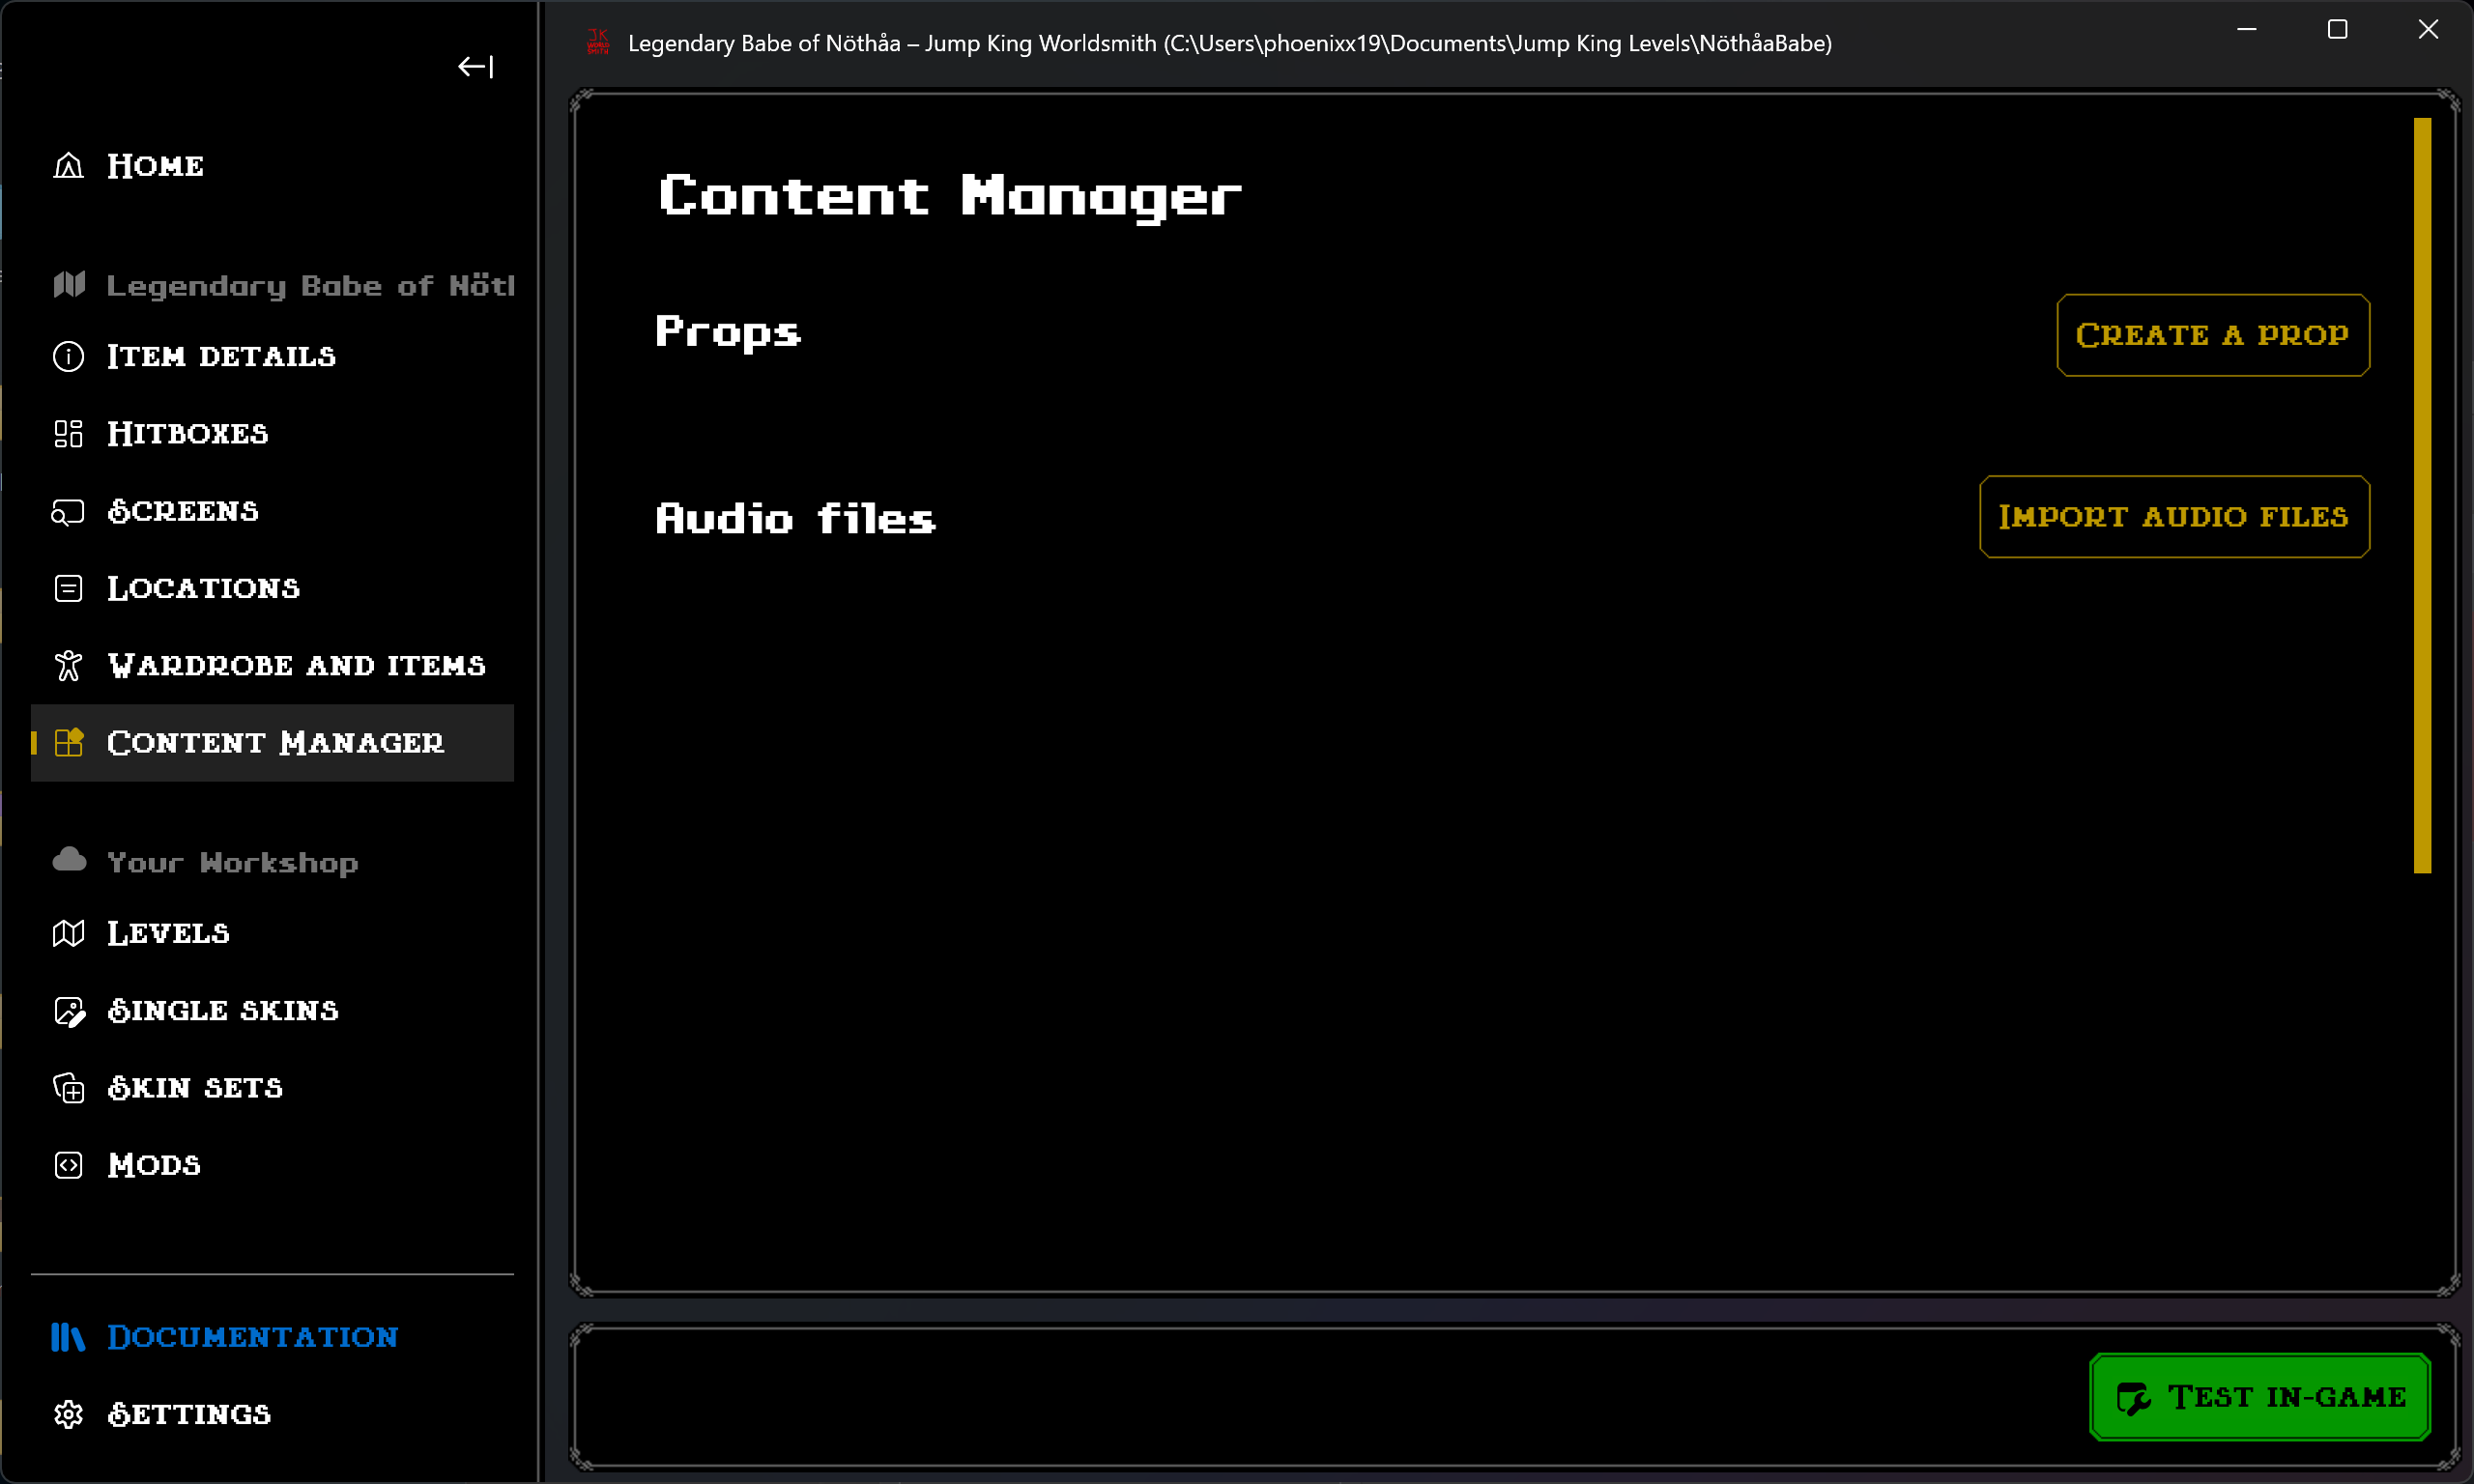
- Scroll until you find an header “Audio files”.
Click on the Import audio files button found on the right side. A prompt will show up asking the necessary information for your audio file. The following image is how it should look like.
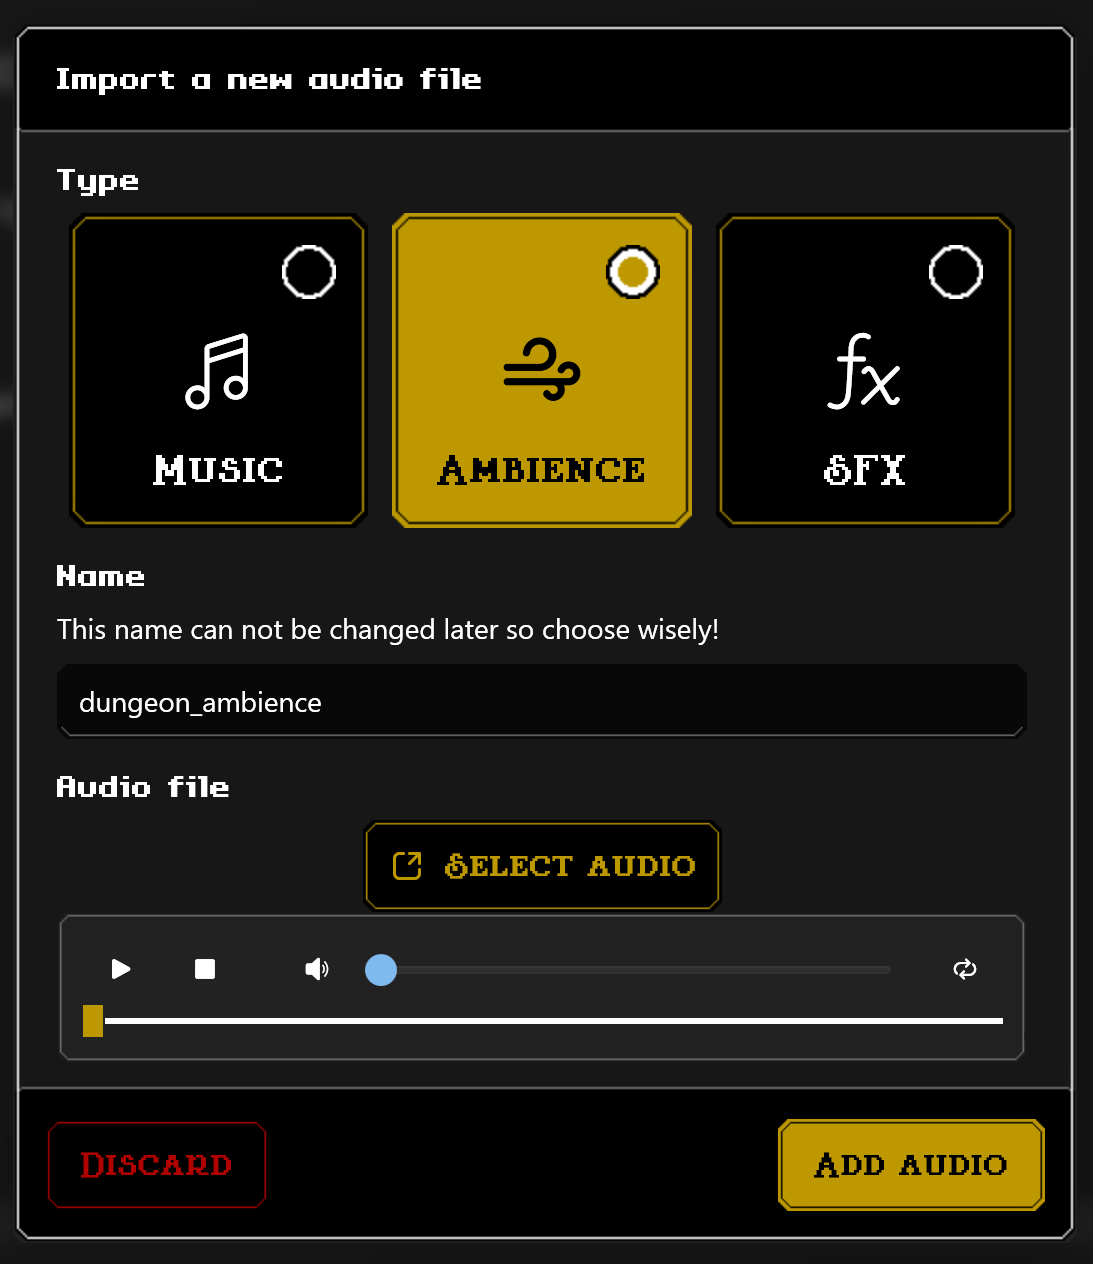
- Select the appropriate type for your audio file and write a name of your audio file that you can identify later.
- Click on Select audio.
A new prompt will show up asking to you select an audio file.

- After selecting your file, click Open.
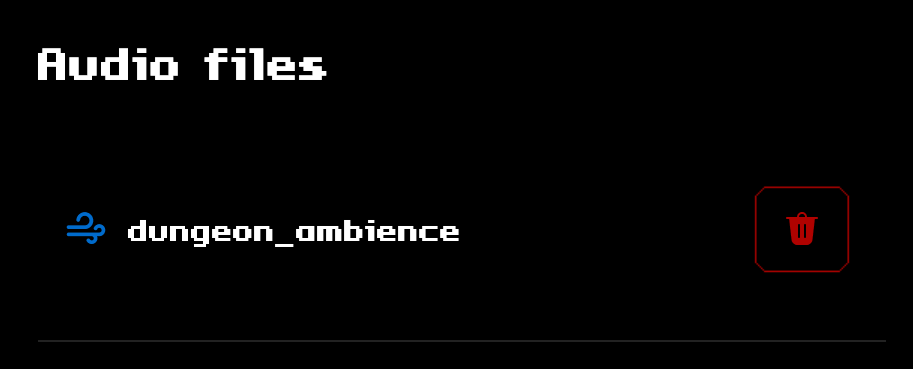
After clicking Add audio, you should see your audio piece below “Audio files”.
Replacing or removing an audio piece
Replacing and removing an audio piece have not been yet implemented inside Worldsmith. If you’d like to replace or remove them, consider looking out the Steps (without Worldsmith).
Adding an audio piece on a screen
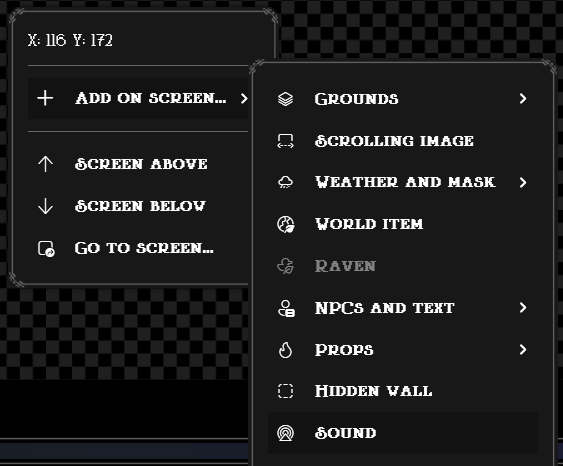
- Navigate to the Screens page.
Right-click onto the canvas on the left side of your screen (where you have your level preview) and select Add on screen…, then Sound.
Once clicked, a prompt will ask you to select an audio piece. After choosing an audio piece, you can decide to higher or lower the volume of the piece.
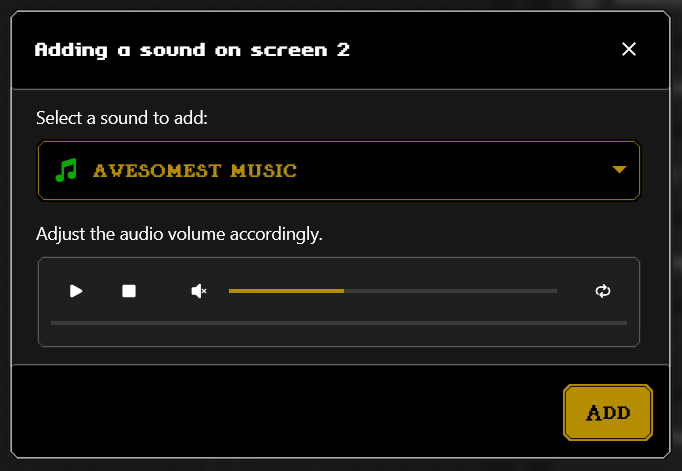
Once done tinkering with the audio settings, click Add.
Your audio piece should appear on the right sidebar like so.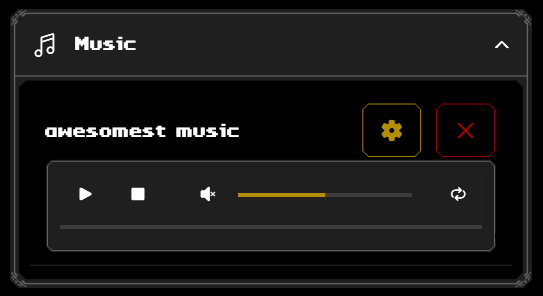
Steps (without Worldsmith)
To differentiate music from ambience, Jump King uses a special tag called AmbienceInfo that you will need to create. You can still add ambience pieces in the AmbienceInfo tag if you want to use the restart, fade-in or fade-out option but it will need to have its own type value to differentiate.
Adding music or ambience
- Convert your audio file into a packed XNB file making sure it isn’t too big (usually a song shouldn’t go over 45-50 MB).
Place your packed file in
audio/background.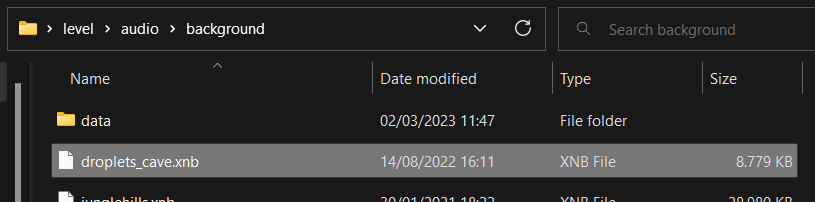
Navigate into the
datafolder and open thevalues.xmlfile.
- If you are adding a generic ambience (doesn’t need fade-in/out), you can skip to the next steps.
- Copy the following snippet:
<AmbienceInfo> <name>YOUR_AUDIO_FILENAME</name> <type>Music</type> </AmbienceInfo> - In a new line after the opening tag of
special_info, paste the snippet. Replace
YOUR_AUDIO_FILENAMEwith the filename of the audio file.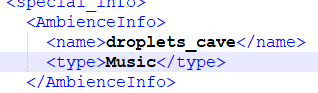
Being a song, you should leave the
typeas Music, otherwise use Ambience. API Reference.If you want the audio to stop and play from the start again once returned to the screens where it is added, add the following snippet below your
typetag:<restart>true</restart>If you want to have fade in and/or fade out effect add the following snippet(s) below your
typetag and replaceYOUR_FADE_OUT_SECONDSandYOUR_FADE_IN_SECONDSwith your customized values (4 seconds is usually recommended).<fade_out_length>YOUR_FADE_OUT_SECONDS</fade_out_length> <fade_in_length>YOUR_FADE_IN_SECONDS</fade_in_length>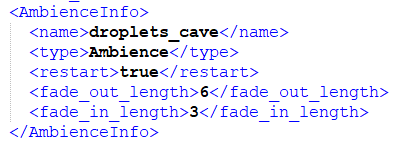
After having added references to your sound files in the Jump King properties you can now add it to the first screen (or any screen).
- Copy the following snippet:
<AmbienceSave> <ambience> <Ambience> <name>YOUR_MUSIC_FILENAME</name> <volume>0.85</volume> </Ambience> </ambience> <screens>1</screens> </AmbienceSave> - Find the
sectionstag and paste the snippet right after it’s opening tag on a new line. - Replace
YOUR_MUSIC_FILENAMEwith the filename of your packed music file. - Change the value of the volume, if the music in-game it’s too quiet or loud.
The minimum value for the volume is 0 and the maximum value is 1, but all the values in between works. The game is known to crash if the volume is higher than 1.
- Change the
screensvalue to how many screens you want to have the audio settings above.The
<screens>tag doesnt work with the name logic of the screen number. This is precisely made to avoid mixmatches. From the first<AmbienceSave>it keeps the<screens>number counting. So if you have two AmbienceSaves where the first one has screens with a value of 5 and the second has a value of 2, you would have done already 7 screens of music.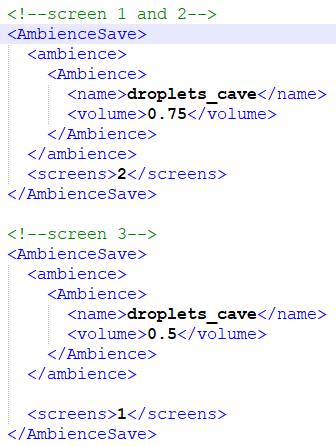
- You can add as many
Ambiencetags as you wish in aAmbienceSave, below a line ofambiencetag of your wantedAmbienceSaveadd the following snippet:<Ambience> <name>YOUR_MUSIC_FILENAME</name> <volume>0.85</volume> </Ambience>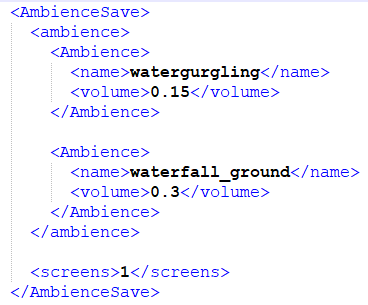
Replacing music or ambience
To replace your musical piece’s audio (if it has the same name), you need to replace the packed audio file found in audio/background.
If your file has a different name, you will need to:
- Move your new audio packed XNB file in
audio/background. - Delete the old audio file.
- Navigate to
dataand openvalues.xml. - Replace all the references to the old filename with your new filename.
Removing music or ambience
- Navigate to
audio/background/dataand openvalues.xml. - Remove the
AmbienceInfoand allAmbiences that contains the name that equals to the audio you want to remove. - And finally, remove the file in
audio/background.
Event music
The event music is music that can be triggered and get triggered once, such as the sound on the last babe screen, the gargoyles in Ghost of the Babe, or the lightning sound in New Babe Plus.
Adding/replacing/removing an event music
Adding, replacing and removing an event music have not been yet implemented inside Worldsmith. If you’d like to add, replace or remove them, consider looking out the Steps (without Worldsmith).
Ending music
The ending music is the audio played once the the player has beaten the game (reached the Babe). Depending on it’s name, you can change the different babes ending music.
| Babe | Namefile |
|---|---|
| First babe | ending |
| Second babe | ending2 |
| Third babe | ending3 |
Adding/replacing/removing an ending music
Adding, replacing and removing an ending music have not been yet implemented inside Worldsmith. If you’d like to add, replace or remove them, consider looking out the Steps (without Worldsmith).
Next up
You have gone through all steps for level making. If you want suggestions from the community, read Tips & Tricks. For publishing a finished level, go to Publishing.