First steps with mods
Get your mod set up for editing.
Table of contents
- Introduction
- Getting started
- Setting up Mod Projects
- Alternatives to Worldsmith
- Debugging & Testing
- Next up
Introduction
Jump King has a world of modding capabilities, and as part of the Workshop update we have refactored and exposed a series of game systems to support the creation of mods. A mod for Jump King can be split broadly into three categories:
- Custom Content (Maps, Sprites, Sounds)
- Custom Blocks (New block types used by custom maps)
- Custom Behaviours (New game modes or in-game functionality)
The mods you create may end up being a combination of these three categories. Here we will run you through the authoring process for creating some simple options to get you on your way to making your first mod.
Getting started
It is mandatory to install the SDK to target on .NET Framework 4.5, you can easily follow these steps in this StackOverflow’s post.
Setting up Mod Projects
Mods that contain custom blocks and/or behaviours will be comprised of a C# project that outputs a Library (.dll), targeting .NET Framework 4.5.
To create a mod in Worldsmith, you’ll need to:
- Open Worldsmith through Steam.
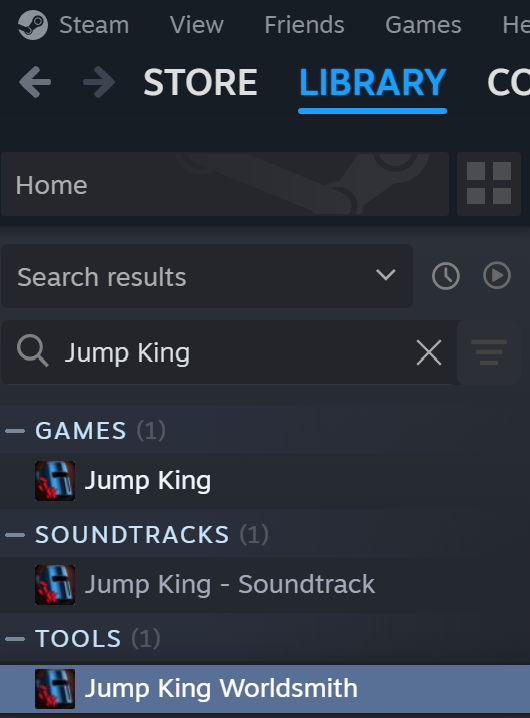
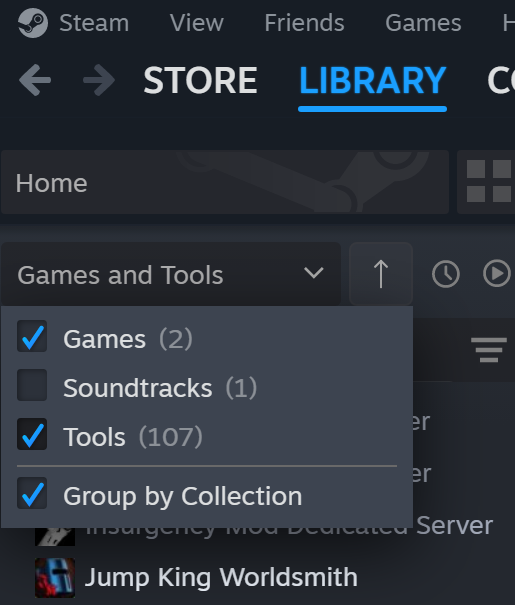
If you do not find it in your library, head over in your Steam library, then on top-left you can find a dropdown and a search box.
Either try searching for “Jump King Worldsmith” in the search box, or by clicking the dropdown, select “Tools” and Worldsmith will now appear in your sidelist like shown.
Once opened, make sure you are in the home page of Worldsmith, this is what the page should roughly look like:
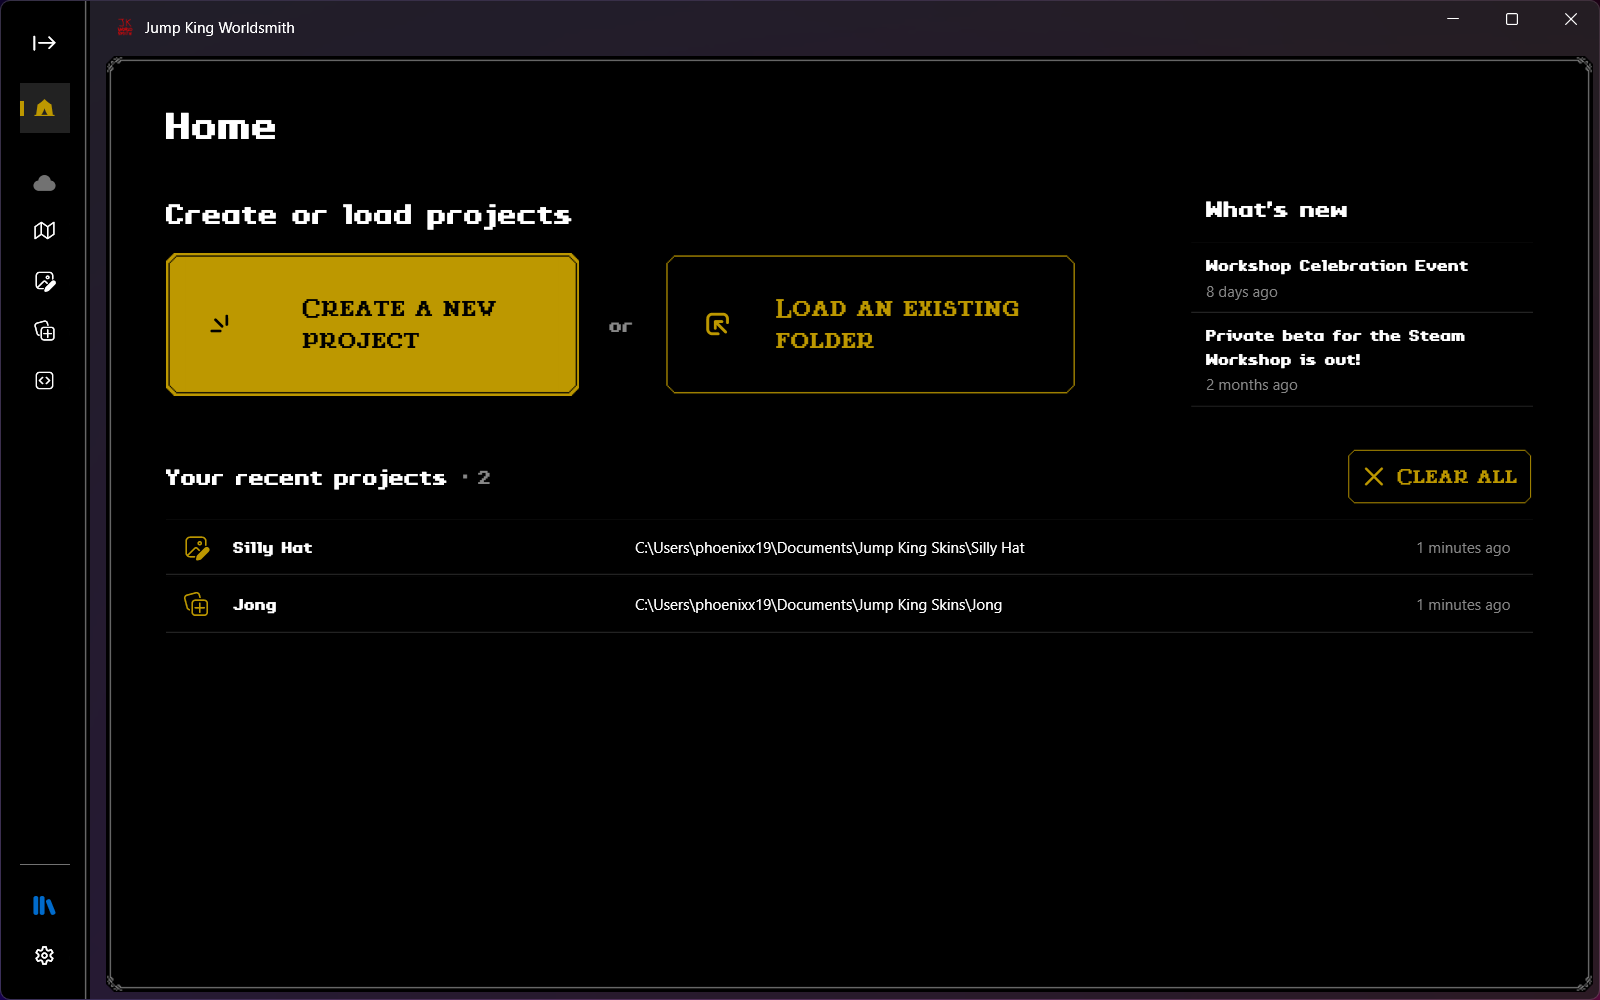
- Click on Create a new project.
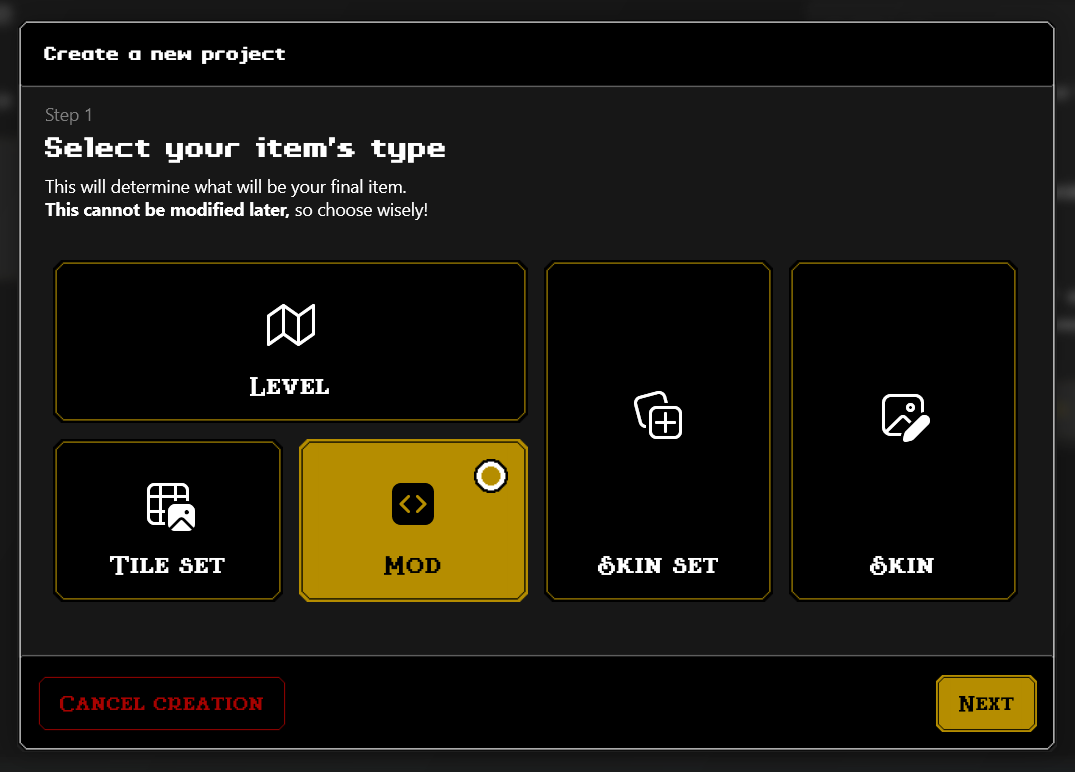
Worldsmith will ask you which item you’d want to create, select Mod and click Next.
- Once clicked Next, Worldsmith will ask you what you want to call your mod (you can change this later) and where do you want to place it in your computer. Under Name, click on the input box and write the name of your mod; and under Folder, click on the folder icon to select which folder to use for your item.
Make sure you create a new folder for your mod or make sure the folder is empty before continuing! Worldsmith is currently in development and this is a temporary solution.
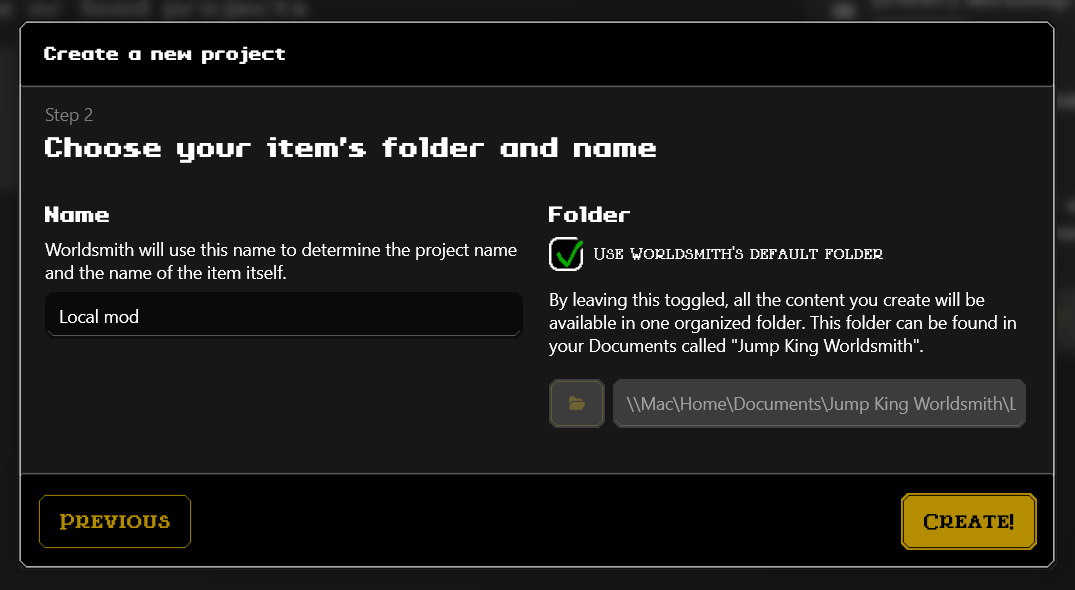
Click Create!, once clicked it Worldsmith will generate the default sample mod in the directory chosen.
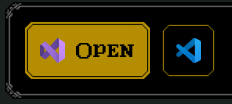
Once created, the Worldsmith footer will display three buttons: click on the yellow-filled with the Visual Studio logo on it with the text “Open”.
Once Visual Studio opened, build the solution by clicking
BuildthenBuild Solution(or more preciselyBuild NAMEOFYOURPROJECT, in this scenario they are both the same).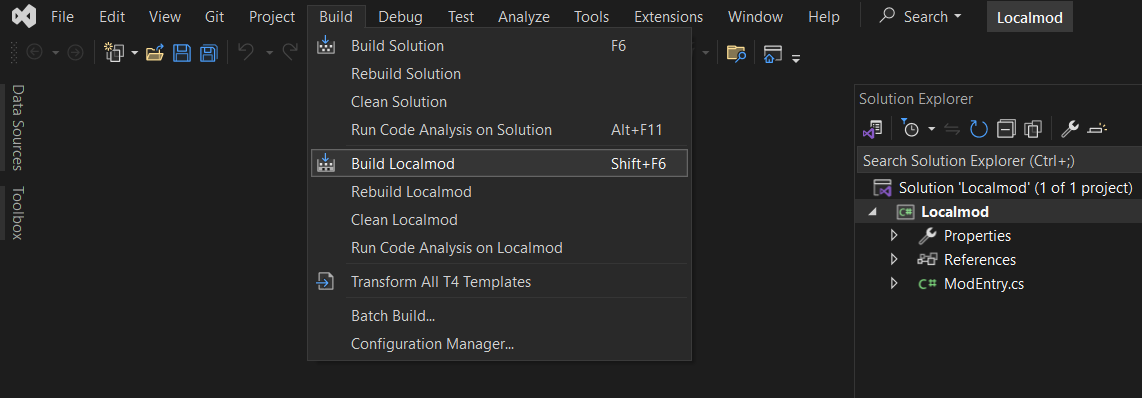
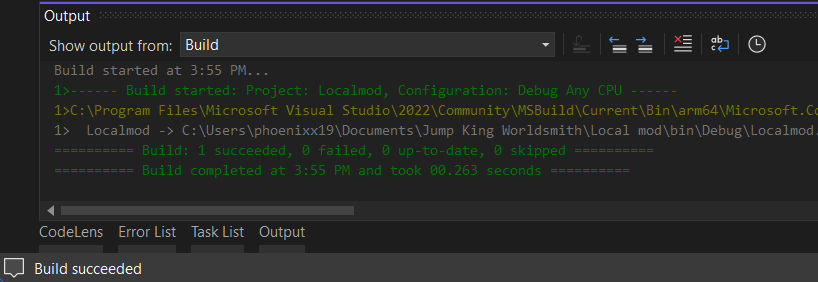
If the footer of Visual Studio or the Output says “Build succeeded” like in the picture below, you have successfully created and built your first mod for Jump King.
Alternatives to Worldsmith
If Worldsmith is not for you, there are two alternatives you can choose from. Although not recommended, these are always viable alternatives.
It is advised to use Visual Studio 2022. If you cannot use Visual Studio 2022 and you are on a previous version, read how to manually set up your project.
Jump King Mod Template (Visual Studio 2022)
The ‘Jump King Mod Project’ template will streamline the process of setting up your mod. This template will only function on Visual Studio 2022 or newer, there is a free version of Visual Studio available for everyone.
This is what Worldsmith uses under the hood to create your mod projects.
Download Jump King Mod Template v1.0.0 - 28/02/2024
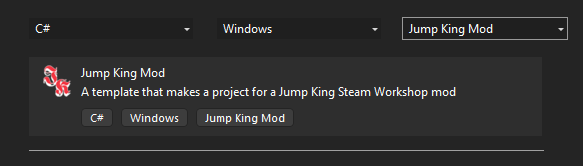
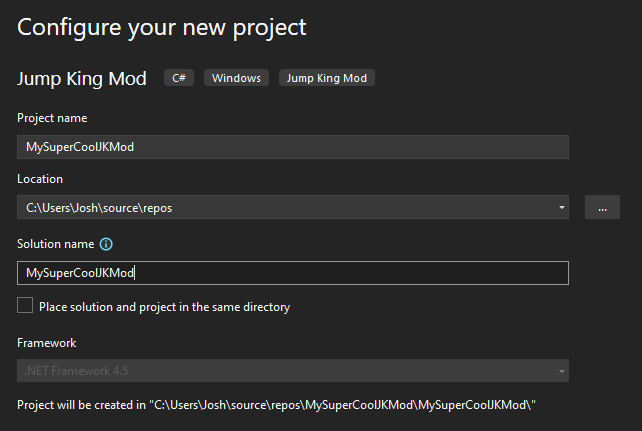
Once installed you can select the Jump King Mod Project template when creating your project.
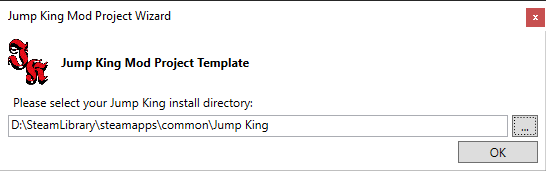
You will get a pop-up from the “Jump King Mod Project Wizard” asking you to point it to the location of your Jump King game. This is so it can properly set up your project.
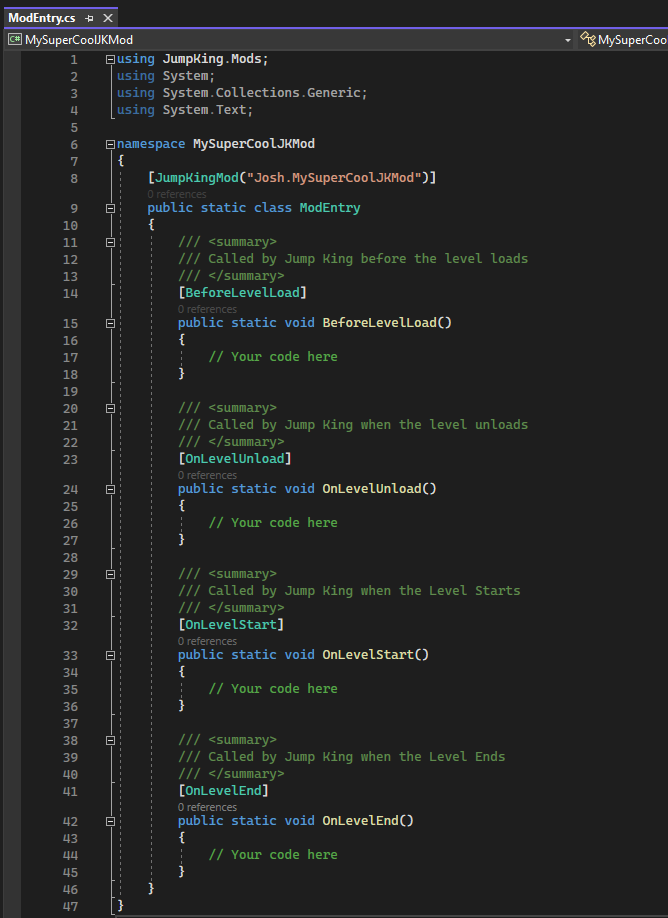
Once complete your project will open! Be sure to update the text inside the JumpKingMod attribute to something more fitting for your mod.
Manual Setup (Visual Studio 2022 or previous)
Select the “Class Library (.NET Framework)” option from the Visual Studio templates.
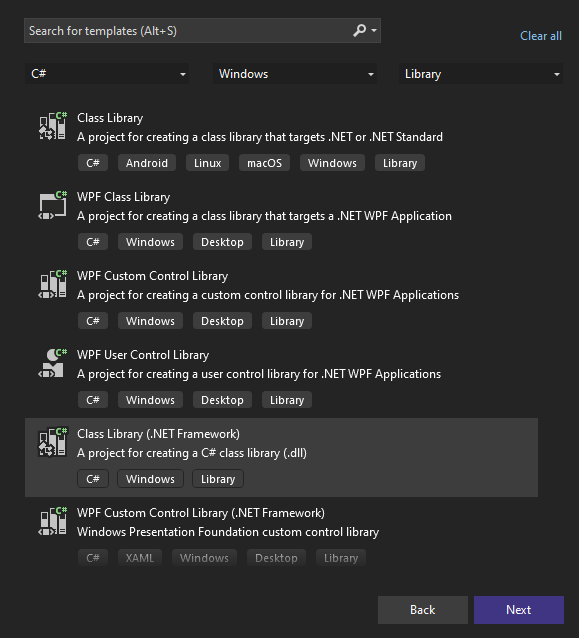
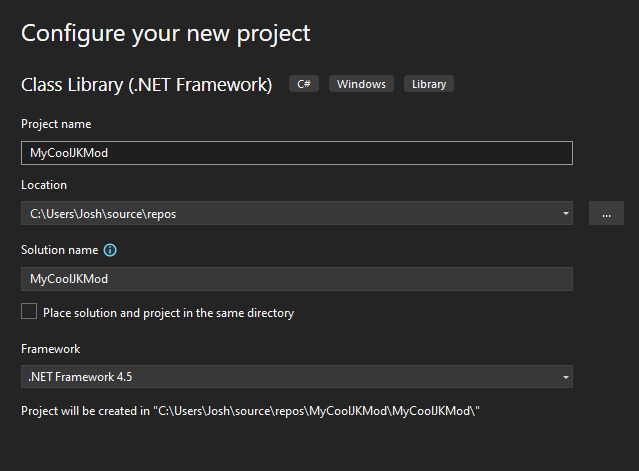
Name your project and ensure it is targeting .NET Framework v4.5
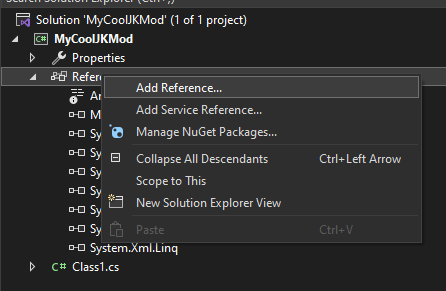
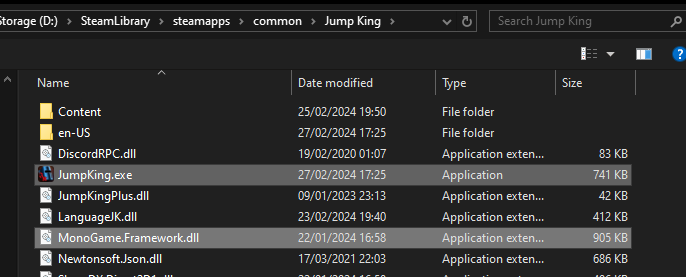
To make use of the attributes and types referenced by Jump King you will need to add it as a reference to your project, how to do this varies depending on your IDE of choice. For Visual Studio, go to the Solution Explorer and right click on the ‘References’ option underneath your project and select ‘Add Reference’, then select the ‘Browse…’ button in the bottom right and navigate to the JumpKing.exe in your Steam install directory.
Right click on ‘References’ under your project in the Visual Studio Solution Explorer and select ‘Add Reference…’
Select ‘Assemblies’ then click ‘Browse’ in the bottom right
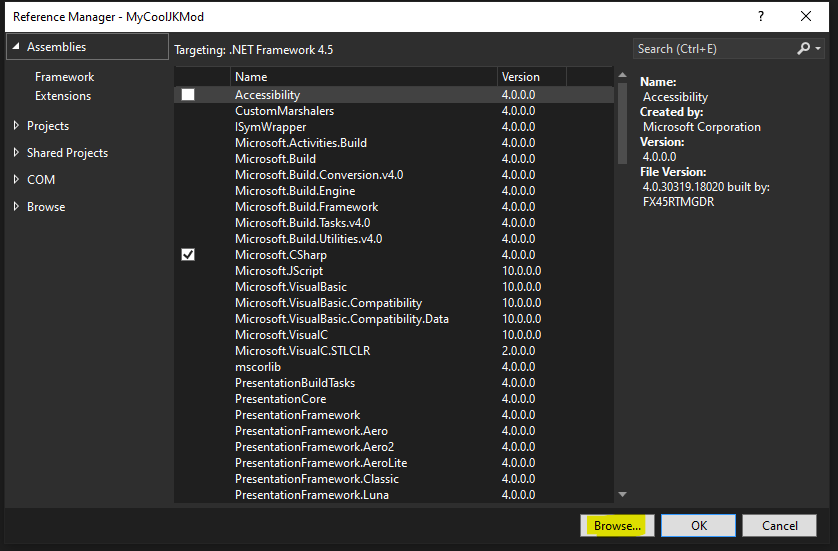
Navigate to your Jump King install directory and include JumpKing.exe and MonoGame.Framework.dll
Debugging & Testing (without Worldsmith)
For both alternatives to Worldsmith, the debugging & testing part is somewhat the same and is as follows.
In order to test your mod locally, you need only build it into a .dll, and then place this file (and any dependencies!) in the /Content/JKMods/ folder in your Jump King game’s Steam install directory. It will now be loaded when the game is ran.
Debugging & Testing
After you have built your project, you might want to test it in-game to see if it works properly. To do so, tab back into Worldsmith.
In the same footer you’ve used to open the project in Visual Studio/VSCode, on the other side you might find a button labelled “Debug in-game”.

By clicking on it, Worldsmith will copy the Debug build files onto the local mods folder that Jump King reads on start-up and will start Jump King for you, avoiding copy-pasting files that the other two alternatives will have to go through.
Debugging tips
If using Visual Studio, you can attach a debugger to the Jump King game directly to breakpoint and navigate through any of your custom code when it is loaded.
If you’re struggling - you can add
Debugger.Launch()to your mod temporarily, which will prompt you to attach a debugger instance to the game when it is hit.
Additional logs about the game’s ModLoadLog.txt and crashlog.log files respectively, which should both be found next to the JumpKing.exe
Next up
Learn how a Mod Project is tied to Jump King and learn what attributes are for on the mod making page.