Introduction to the Workshop
what you need to know to get started.
Table of contents
What is the Workshop?
The Steam Workshop is designed as a place for all Jump King fans and community members to participate in the creation and use of content such as levels, skins and so on for Jump King!

What is a level?
A level is additional content that can be played just like New Babe Plus and Ghost of the Babe.

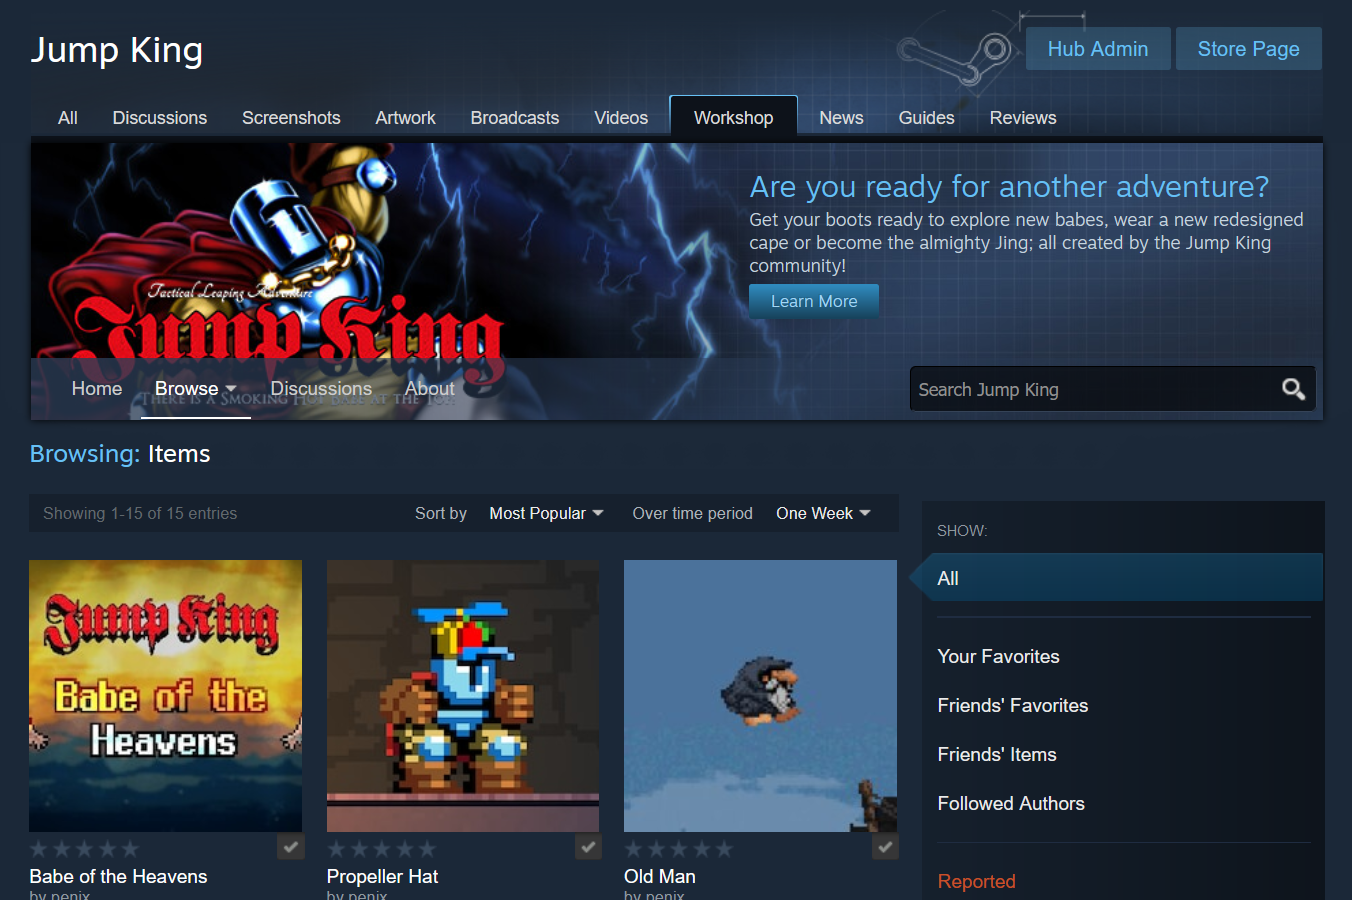
The example above shows a portion of a screen from the level Babe of the Heavens by Meea.
The level hierarchy
A level is made up by a folder with a bunch of folders and files inside of them.
The structure is too complex to show, since it’s over 50 files and folders combined.
Everything will be explained later so there’s no need to see the structure as of now.
What is a skin?
A skin is a cosmetic that replaces one or multiple existing item’s texture.


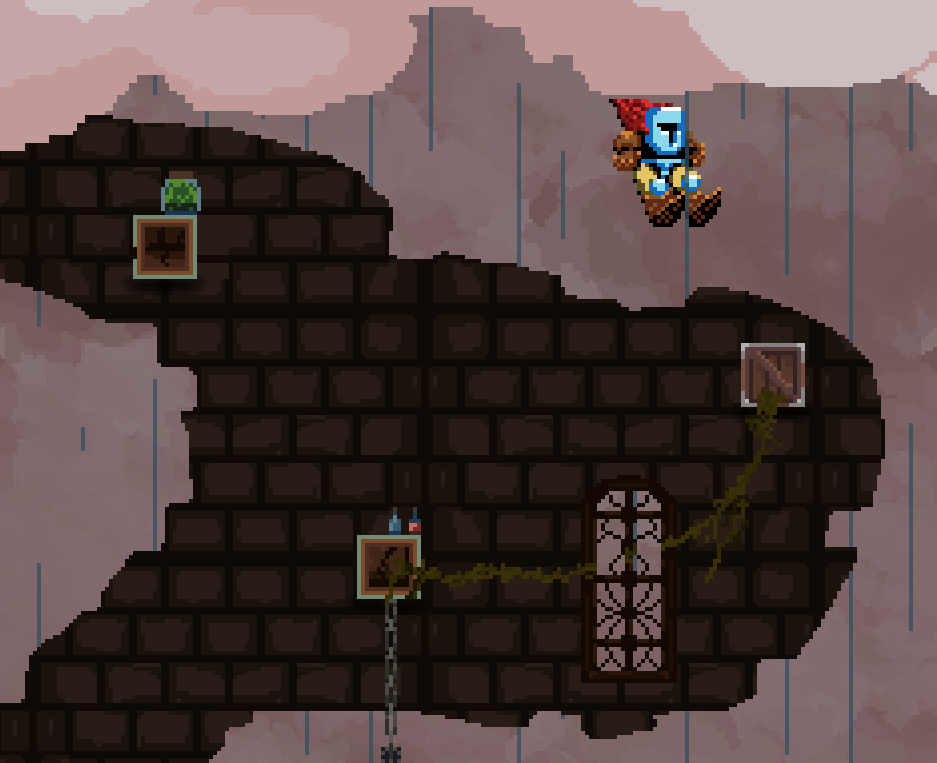
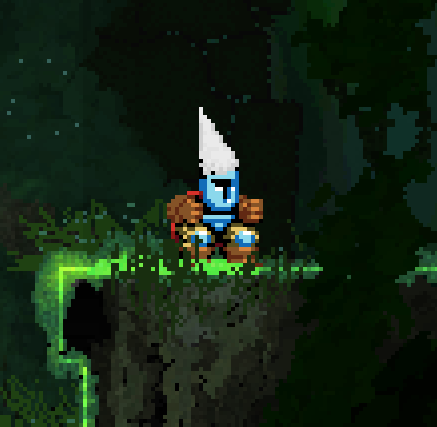
The examples above show a single skin and a skin set, respectively Dunce Hat by IntroCar and Old Man by Volcanic.
Difference between single skin and skin set
If you are looking to skin one single item, you should do a single skin.
Otherwise if you are looking to skin multiple items, what you need is a skin set.
Single skin hierarchy
A single skin is made up by a folder with group of files:
- a configuration file always called
cosmetic_settings.xmlthat tells the game, which item skins, its enable state and the filename; - a PNG1 file that contains the skin, the name should the same as stated as the filename in the configuration file above
Following the example, this could be a possible outcome for a single skin:
📂 Brown Tunic
 ┣ 📜 cosmetic_settings.xml
 ┗ 🖼 Brown Tunic.png
Skin set hierarchy
A skin set is made up by a folder with group of files:
- a configuration file always called
set_settings.xmlthat tells the game, which items are skinned, its enable state and the filenames of all skins; - all the PNG1 files that contains the set, the names should the same as stated as the filename in the configuration file above; (for ease of use you should use a text format on each file name to easily identify which packed file is a skin, just like the following example)
Following the example, this could be a possible outcome for a skin set:
📂 Jing
 ┣ 📜 set_settings.xml
 ┣ 🖼 Jing_Crown.png
 ┣ 🖼 Jing_Shoes.png
 ┗ 🖼 Jing_Cape.png
Tip
You could think of this as multiple single skins with one unified configuration file.
What is a tileset?
Making a level can be quite long and tedious, tilesets can help you and everyone else in the community to speed the detailing process further, therefore a tileset is a collection of tiles that can be used to design and create a level faster.
Tileset hierarchy
A tileset is made up by a folder with 2 files:
- a configuration file always called
tileset_settings.xmlthat tells Worldsmith (not the game), where each tile is located and which tags it contains; - a PNG file always called
tileset.pngthat contains the tileset
Following the example, this should be the outcome for a tileset:
📂 Bricks and Plants Pack
 ┣ 📜 tileset_settings.xml
 ┗ 🖼 tileset.png
What is a mod?
A mod is a C# (programming language) code library that can change core mechanics of the game.
In order to make a mod you need to have at least a good knowledge of programming.
A few examples of mods:
Mod hierarchy
The root folder of your mod should look like this:
📂 Random Jump Charge
 ┣ 📂 Properties
 ┃ ┗ 📜 AssemblyInfo.cs
 ┣ 📜 ModEntry.cs
 ┗ 📜 RandomJumpCharge.csproj
When building/testing your mod, new folders will appear:
📂 Random Jump Charge
 ┣ 📂 bin
 ┃ ┣ 📂 Debug
 ┃ ┗ 📂 Release
 ┗ 📂 obj
The bin/Debug folder is the default folder for when you build in “Debug”, this folder might include more files since it includes additional debug files that can help your editor/IDE to find bugs easily. The bin/Release folder is the default folder for when you build in “Release”, this folder defines when a mod is ready to be uploaded. The obj contents is necessary to build the mod.
Compiled
When compiled (whatever the configuration is between Debug or Release), the mod folder should look like a list of DLL (compiled library) files which should be your code and your additional dependencies if you have any.
Next up
Get all your requirements before starting and read the guidelines.
 Chat Ravens by PhantomBadger
  King vs Fly by Zebra
  HitboxResizer by Phoenixx19